If you are too busy to read my wordy post today I put a quick DIY with photos at the bottom of the page.
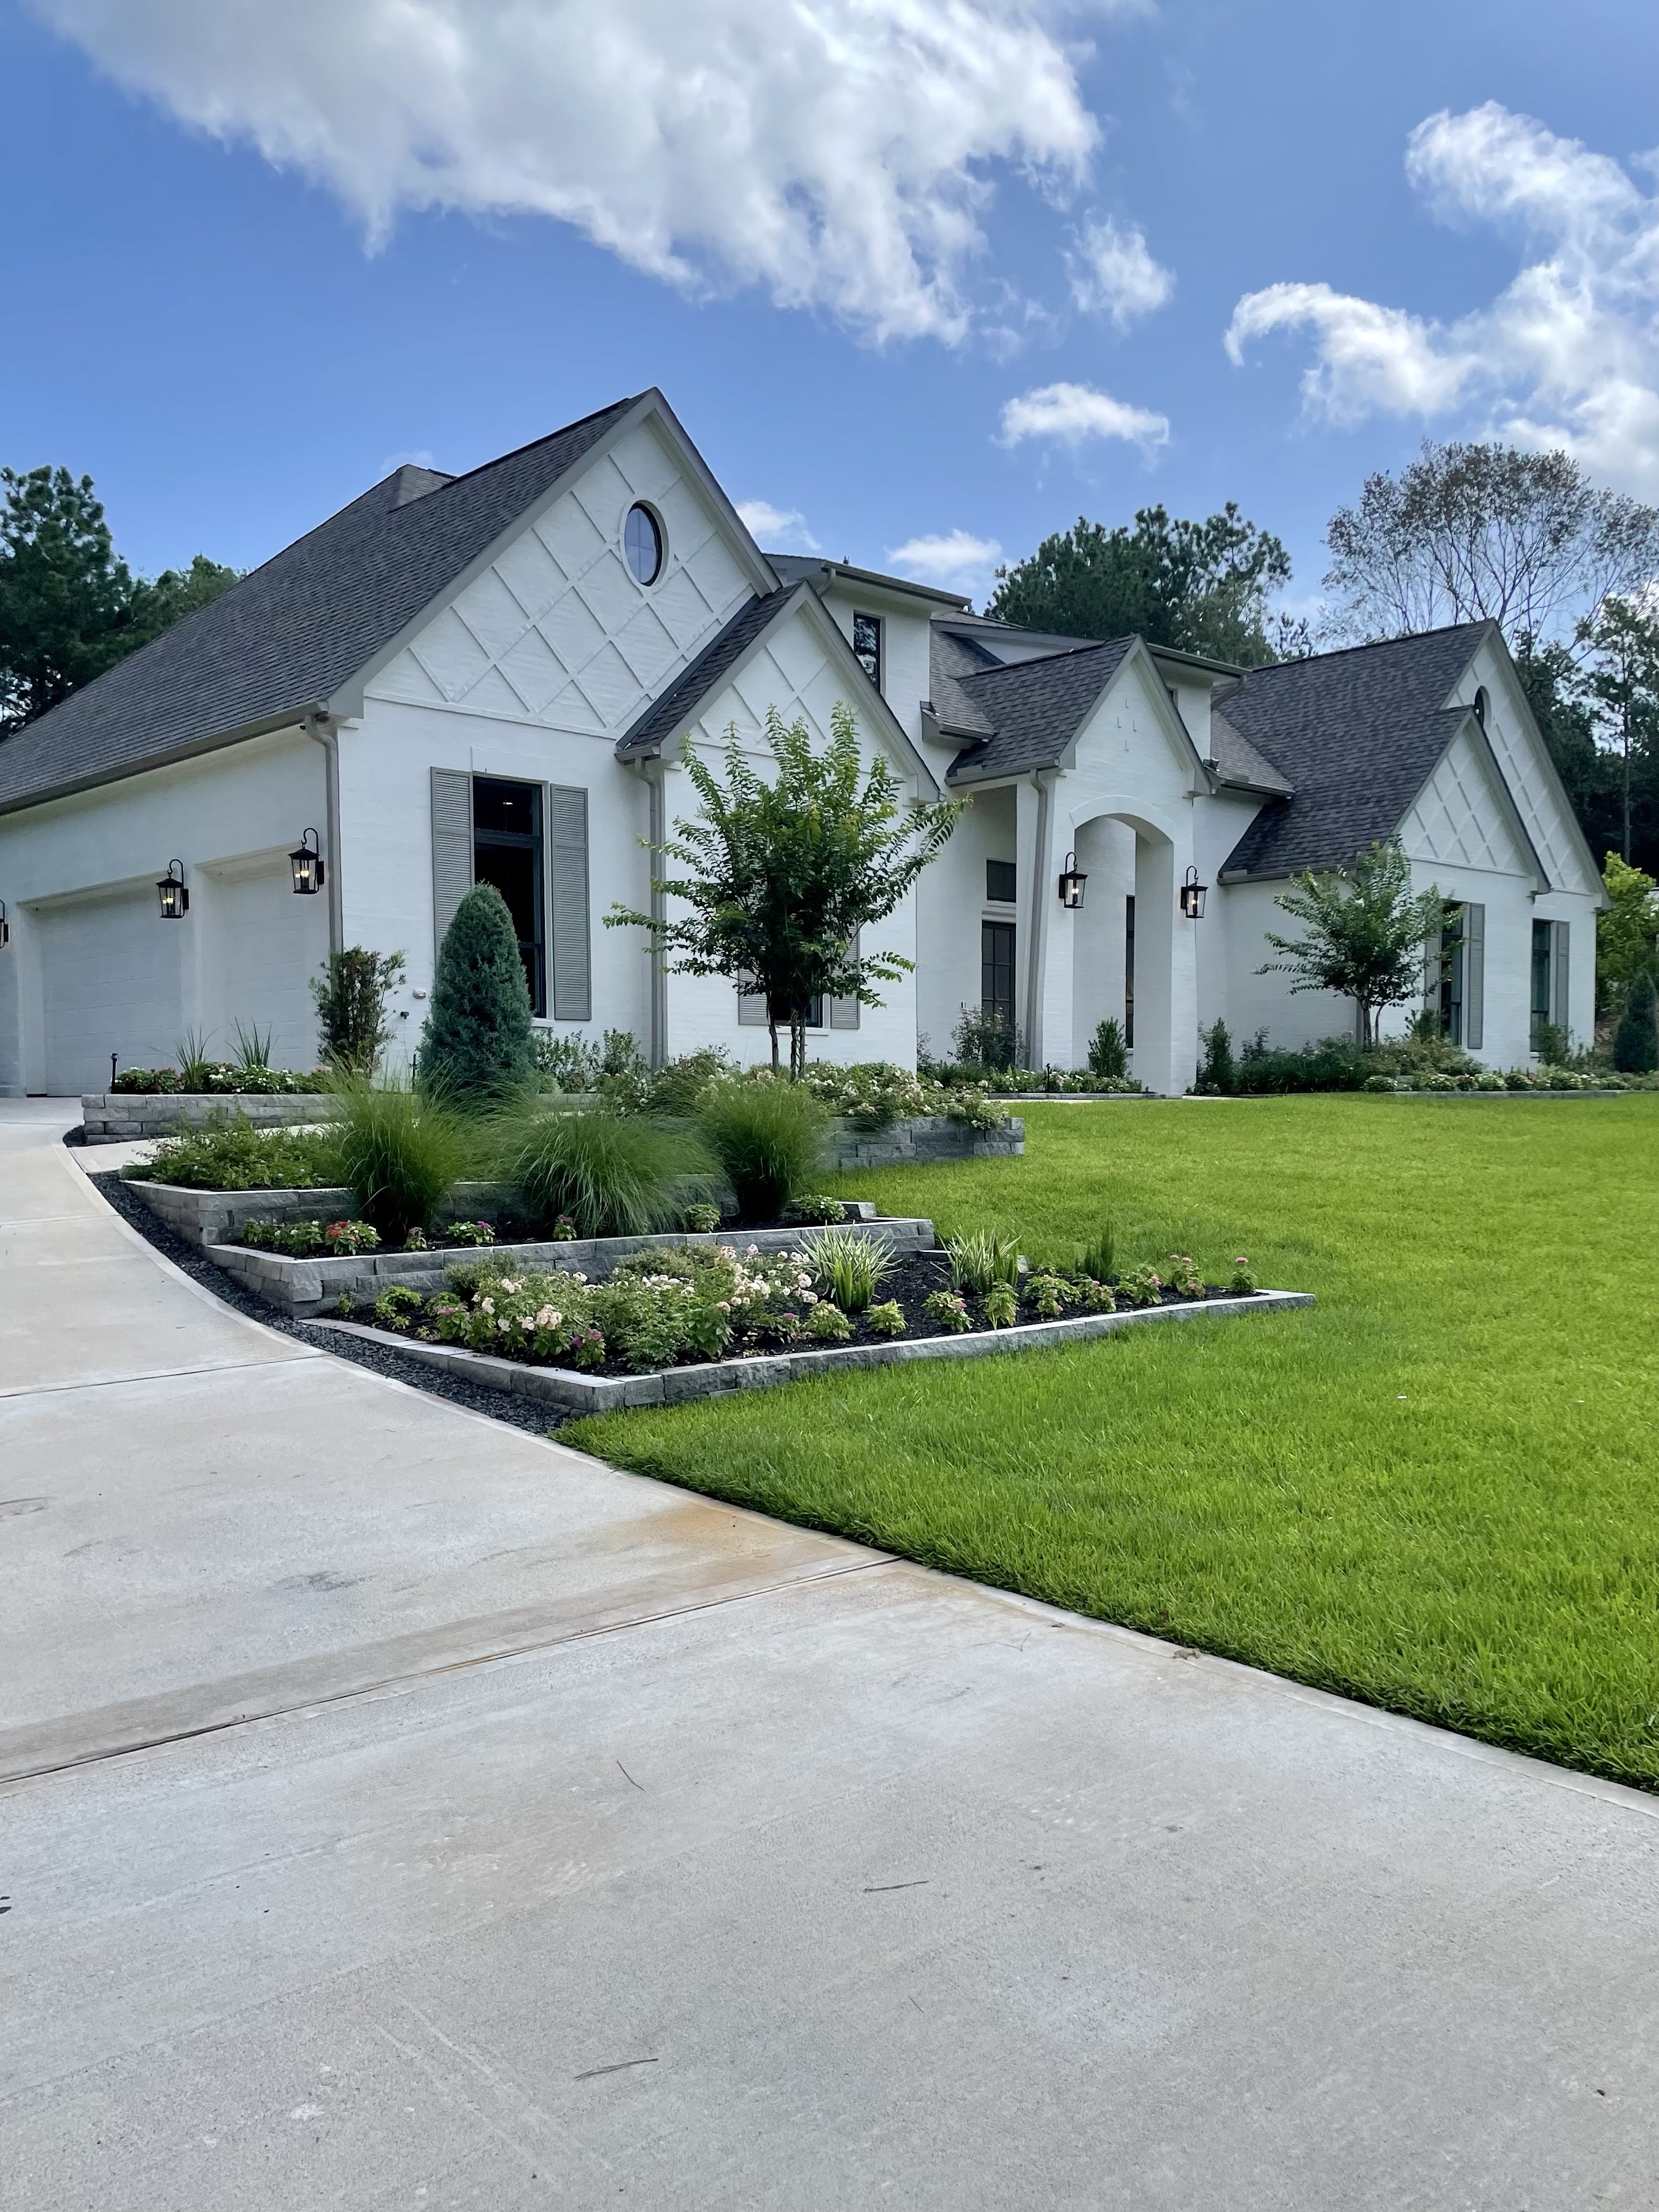
My brother in law and sister in law built a home recently in Durango, Colorado.
In case you are counting, this is home number four for them. We stayed at their vacation home in Costa Rica over spring break,
they have a beautiful, huge hilltop home in Austin that is currently for sale,
and are building a new home in one of my favorite small cities near our home in Montgomery, Texas.
Their plan is to live in Durango half the year and in Montgomery the other half. They rent out the Costa Rica home most of the year but visit frequently. It is a tough life, but someone has to do it.
When they moved into the home in Durango three weeks ago, they literally moved up to the 2600 sq ft home with what fit in a UHaul and their car. We arrived for a visit to find that they didn’t have things like mixing bowls, or an egg turner, or spoon rest. They have been so busy getting settled in that cooking wasn’t high on the list. They were also a little short on furniture. They had purchased or brought beds, two couches, chairs, barstools, a dining table an outdoor bench, and a bookcase. I was proud that they had been shopping at local resale and thrift shops for items and had purchased a few accessories at the shops. I think I may be wearing them down… a little bit.
What they did not have were end tables and coffee tables in their main room or the upstairs den. We set out shopping for stuff our first day there. They took us to the shops that they like. I liked the stores, too. They were unique and interesting pieces, but wowser, the tables were very expensive. Like $900 to $1200 per table expensive. I would much rather spend that money on supplies and thrift store furniture and a whole lot more.
When I saw a little $20.00 solid pine toy chest that had several of the most unfortunate paint jobs, I knew it would work as a coffee table with some love. It was painted with a really thin blotchy black color. Someone along the way had painted it white, and there was also an attempt at painting flowers on the chest with red streaks.
The steps are simple:
Strip down to smooth, but not bare wood. Wipe it all down and get clean. I used Lysol wipes.
This had to happen so I could knock down the thick ridges from the painted flowers. I used Citristrip on the whole thing to knock off the black layer and then focused on the flowers. (As usual, I forgot a before picture.) Here it is with the first layer off:
Spray paint the whole chest. I sprayed the chest twice, letting it dry completely between coats. The paint color was Rustoeum Seaside.


This is a project I did on the fly with very limited supplies or space. All the spray paint work was done across the street in a vacant lot because the valley where the house is located was windy and the thought of getting turquoise paint on the car or house was scary.
Not a bad view while I worked. I understand why they have moved to Durango.
Sand away at the paint, following the wood-grain. You will know the paint you are sanding is dry if what you are sanding off looks like chalk dust. I hand sanded using this awesome sanding block with a handle. (You can see the sander in the box to the left of the chest.)
In some places go all the way to bare wood and in others go down through paint to the colors below.
Once I was pleased with the amount of sanding, I stopped. There is no magic formula.
Once I wiped it all down again I rubbed in glaze mixed with dark brown latex paint. The gaze to paint ratio was about three parts glaze to one part paint.
I used a dampish cotton cloth to literally rub it in. It did not take very much at all with each coat. It took two coats for me to be happy with the look.
I rubbed it down with paste wax when I was finished to give it a luster.
Here it is finished. I really like the look. All in all it cost about $20.00 in supplies which were all bought at a pretty small Walmart so they are readily available.


Leave a Reply