
This past weekend we started out with a plan to put in a faux ship lap wall and make a headboard from reclaimed wood for our bedroom.
We live in a really nice five year old home in a master planned community. Our home is one of the models sold and has a great layout. What the home does not have is character. Last summer we started adding in a little character to the house by updating our bathroom. Bathroom makeover

I love the look of our bathroom now. It feels like it has been around a while and has a story to tell.
Our master bedroom got mini makeover this past weekend. One of the things that I wanted to do was add some texture to the walls. I am a Fixer Upper fan, especially the white ship lap walls. I love the look that the slightly irregular horizontal wood adds to a house.
A quick search online led me to several sights that looked easy enough and not super expensive.


Armed with the information from the sights we started planning the wall. First we measured the wall and got the square footage ( see that math stuff does pay off). Hubby headed off to Lowe’s after work to get the utility plywood mentioned where he found out that they don’t carry that any longer but they have something similar. He asked for the wood to be cut in 6″ sections and told them he would pick it up the next day. Long story short after two more trips to Lowe’s with no wood cut he headed to our Home Depot where he found this product: Underlayment

Just like the stuff from Lowe’s, it also comes in four foot by eight foot sheets. We had them cut the sheets into 5 7/8 inch strips. FYI- Mr. Math is the one who figured out to do 5 7/8″ to take into account the saw blade width. If you ask for them to be cut in 6 inch sections you will come out with one that is way thinner than the others. This stuff is just over a quarter centimeter thick so it is super thin and flexible. The wood at Lowe’s is a half centimeter thick which would make the gaps more noticeable and would be less flexible.
Here is what six sheets cut into strips looks like.


We started at the top of the wall and worked our way down so that any trimming would be done at the baseboard, not at the top of the ceiling. Here is our room before we got started:

The wall was about three inches longer than two sections. We used our air nailer to put the wood up

We cut the first section of each row into random lengths and started each row at opposite ends of the room.

The effect was a staggered wood look. If a piece had a sticker on the front, we used the back side. (We tried getting one sticker off and it was clear that it would be a pain in the neck to get them off.) The darker sections were the back sides of some boards. I used wood filler in the nail holes and Hubby sanded over the wood filler to get a smooth surface. At this point is was my intention to get busy painting the wall white but Mr. Math, my long-suffering husband, loves wood and really liked the look. He rarely asks me to do something specifically for him but this time he did ask if there was any way that the wood grain could show through. I remembered on that on the Remodelaholic blog a while back they had a color washing technique.

I decided to give it a try. I got busy with watered down white paint, a brush and rags, lots of rags. I could only work in about 18 inch square sections at a time so I had to work fast to eliminate dry lines. It was a workout my friends! like an Advil and Epsom salt kind of workout. The room has 10 foot ceilings and my fear of height did not help the process. I think I got better as I went along but I really do like the look of the wall. I used a brush to paint on the watered down paint then a rag to rub it in and take off the excess. I sort of felt like the Karate Kid (paint on, wipe off, repeat).

Against the dark wall it looked terrible and I started to panic a little but as I moved on it really started to look the way I hoped.


The two pictures above really don’t reflect the color that it turned out but you can see that there are not any major overlap marks and that it is consistent.
The photo below shows the color as it actually looks but I could only get this one small picture to give you the real look.

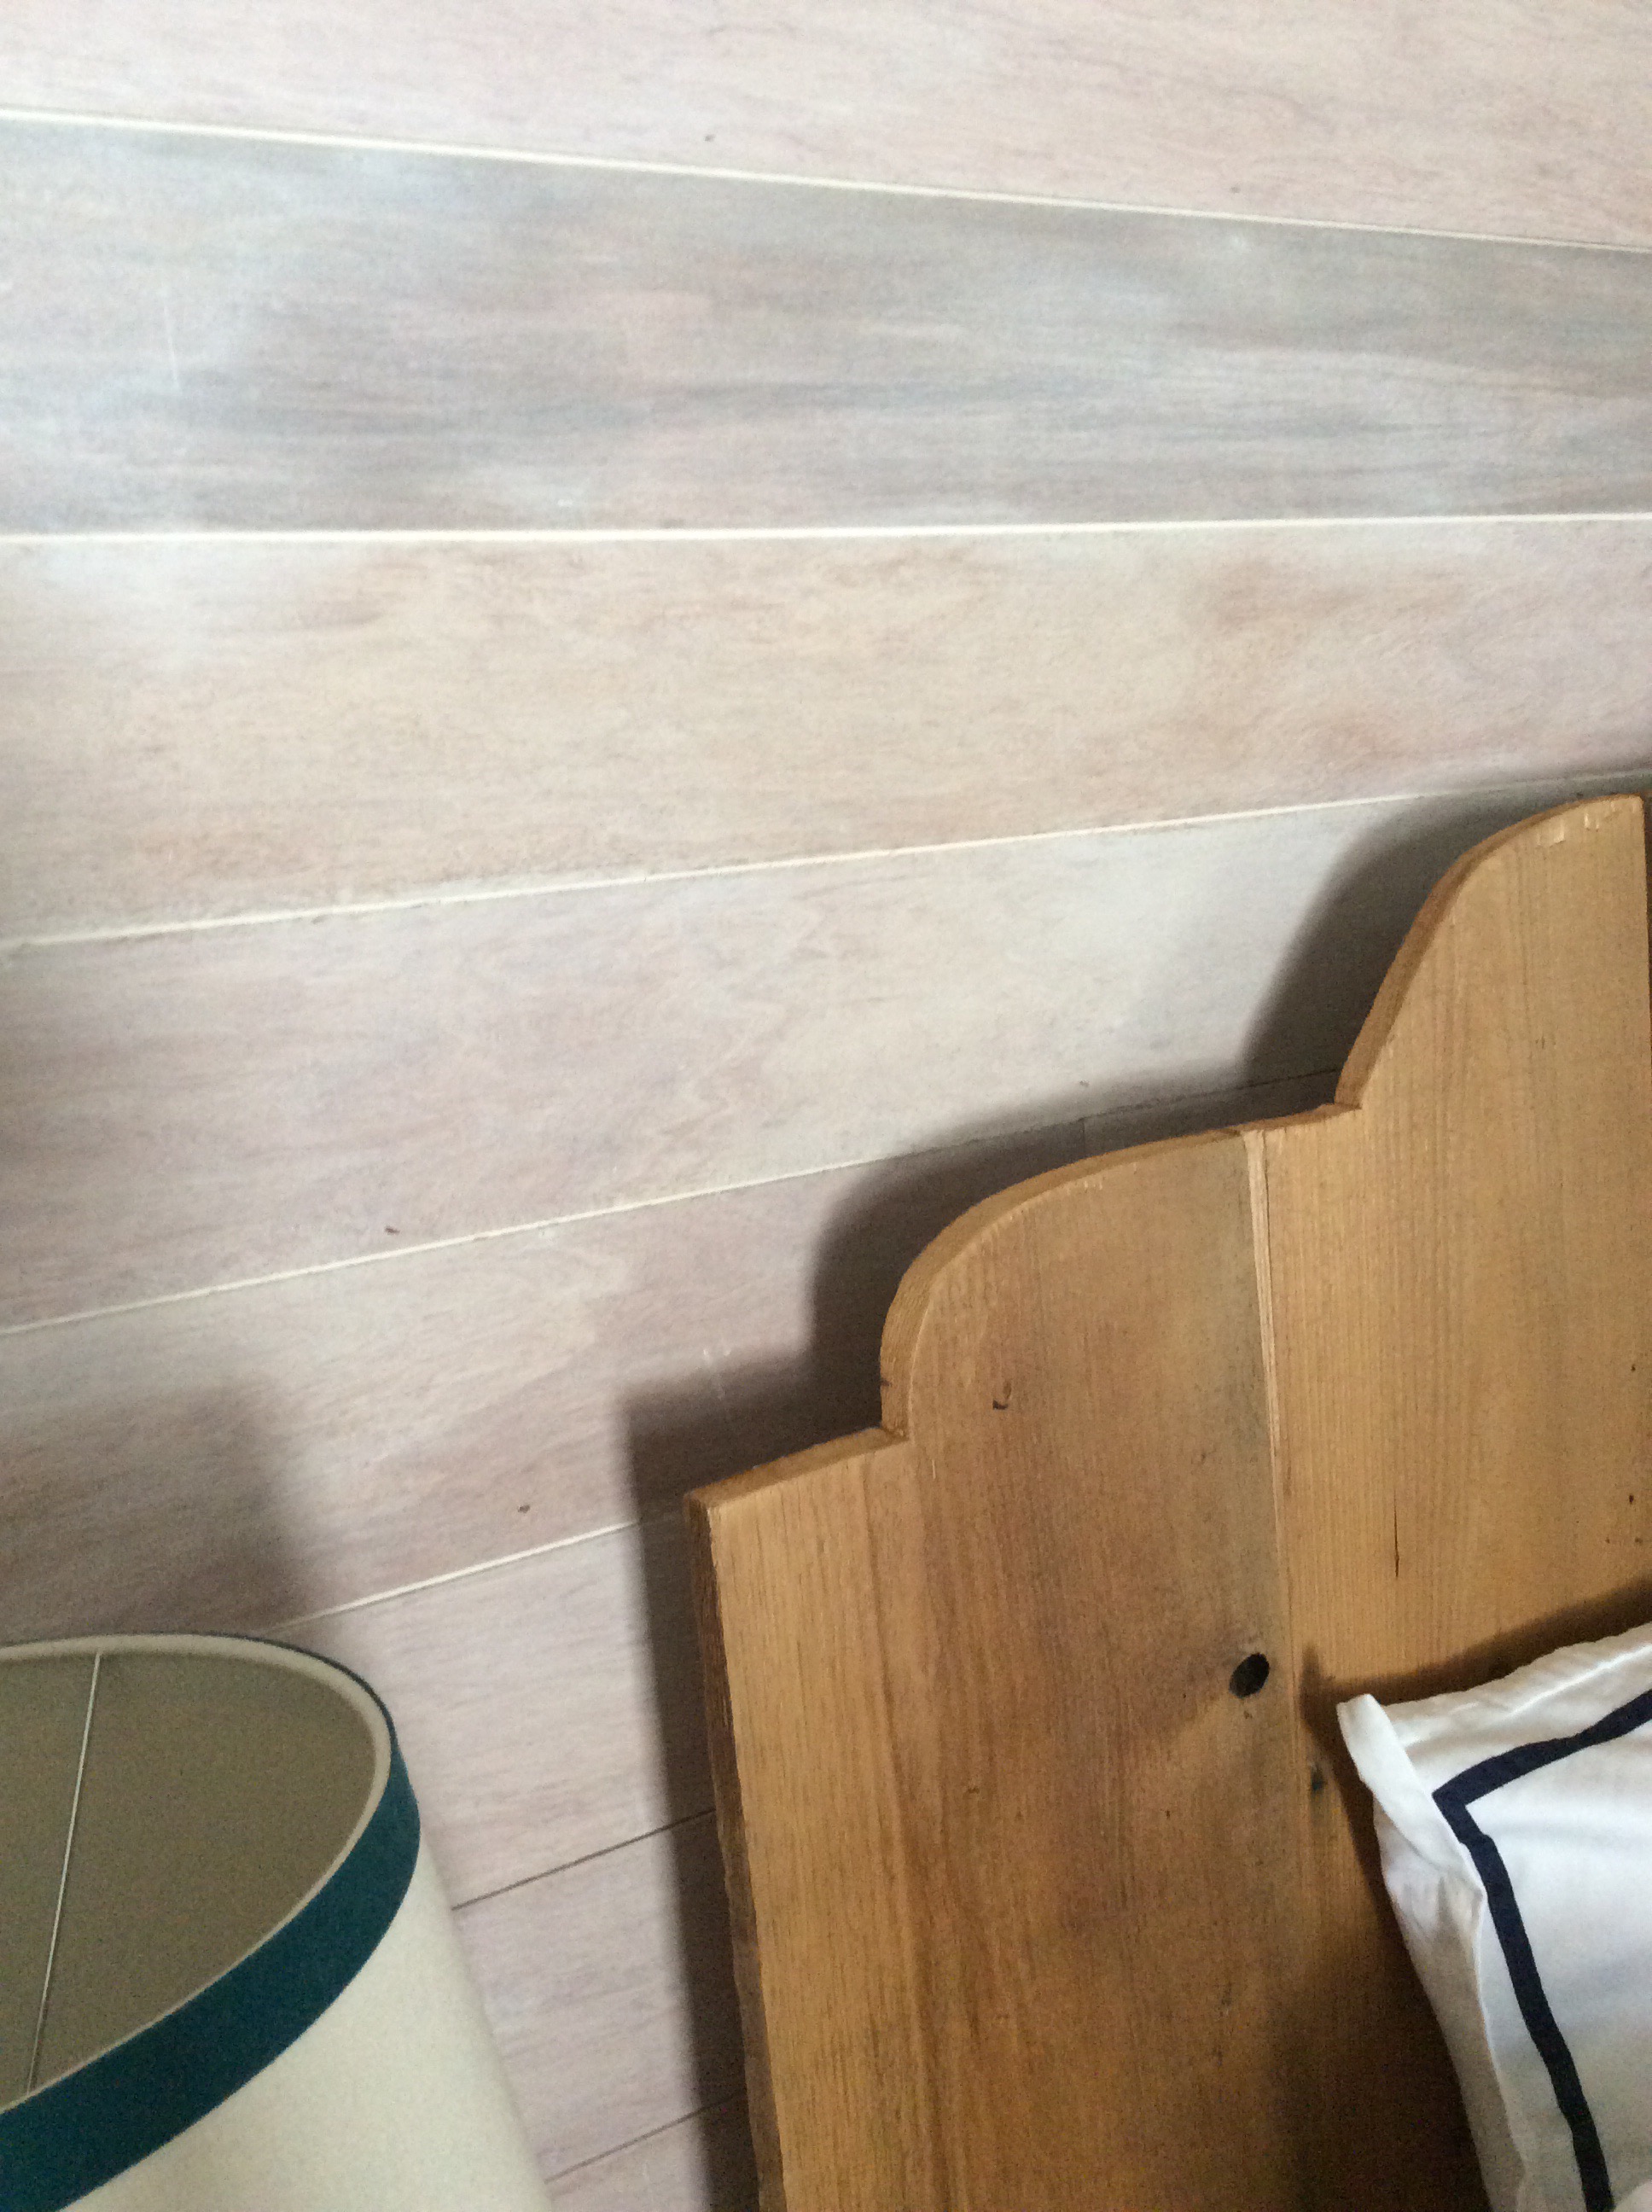
Here is the finished wall. I love the effect even if this is not what I started out to do. Those happy accidents are always the best.


The plywood was $12.97 per sheet and it took 6 sheets for this big wall. The white wash used 2 cups of cheap flat white paint. (I know what you are thinking but it really did only take two cups of paint.) The nice folks at Home Depot waived the 25 cent per cut fee because they were backed up and we were willing to come back to pick it up. All in the wall took about $80.00 to complete.
This was a project that provided you have access to an air compressor and nail gun, anyone could do.
It was nice to get something accomplished this weekend.
I would love to hear from you.
Blessings,
Karen


Leave a Reply