Coldspring, painting, workshop

The Workshop

We have had a setback on the sale of the house.  I am still expecting that Star Hill will sell in time for us to buy our dream property so I thought I would show you guys the space we will be using as our paint booth, workshop, and carpentry shop.

There is a three stall corrugated tin building on the property that will be perfect for our workspace.

1-IMG_9671

See the long building next to what will be the Guest Shed?

1-IMG_9669

It doesn’t look like much from the outside but looks can be deceiving.

We plan on turning the end bay into a paint booth. That means I will be able to paint and poly furniture inside out of the weather, away from bugs, dust and wind.  It will increase the number of days I can work on furniture.  After this very wet winter, that is exciting to me.  I did not get any pictures of the paint booth.  It is large and empty right now.

The center bay will be our carpentry shop or large tool shop.  The table saw, air compressor, compound miter saw, drill press, table sander, and scroll saw will be in this space.  This will be where the building and repairing takes place.  At Star Hill we only have one space and we are constantly having to wait for the cutting to be done before I can get out tools for assembly,  sanding,  or staining.  There is a glass French door in in the space with a separate storage space.  I am sure that the glass door will need to go but I like having a space that can be closed off.

IMG_1019 IMG_1020

The end space that is now a welding shop will be the workshop space.  There is even a wood burning stove for my cold, wet, winters.

IMG_1023 IMG_1021 IMG_1018

We are so hoping that it works out.  It would be a dream come true for us to have this amazing space to put our own stamp on. Think happy thoughts for us.  Fingers crossed.

I hope you have a wonderful day.

Blessings,

Karen

Country Style, master bedroom, painting, reclaimed wood, rustic, shopping, the suburban home

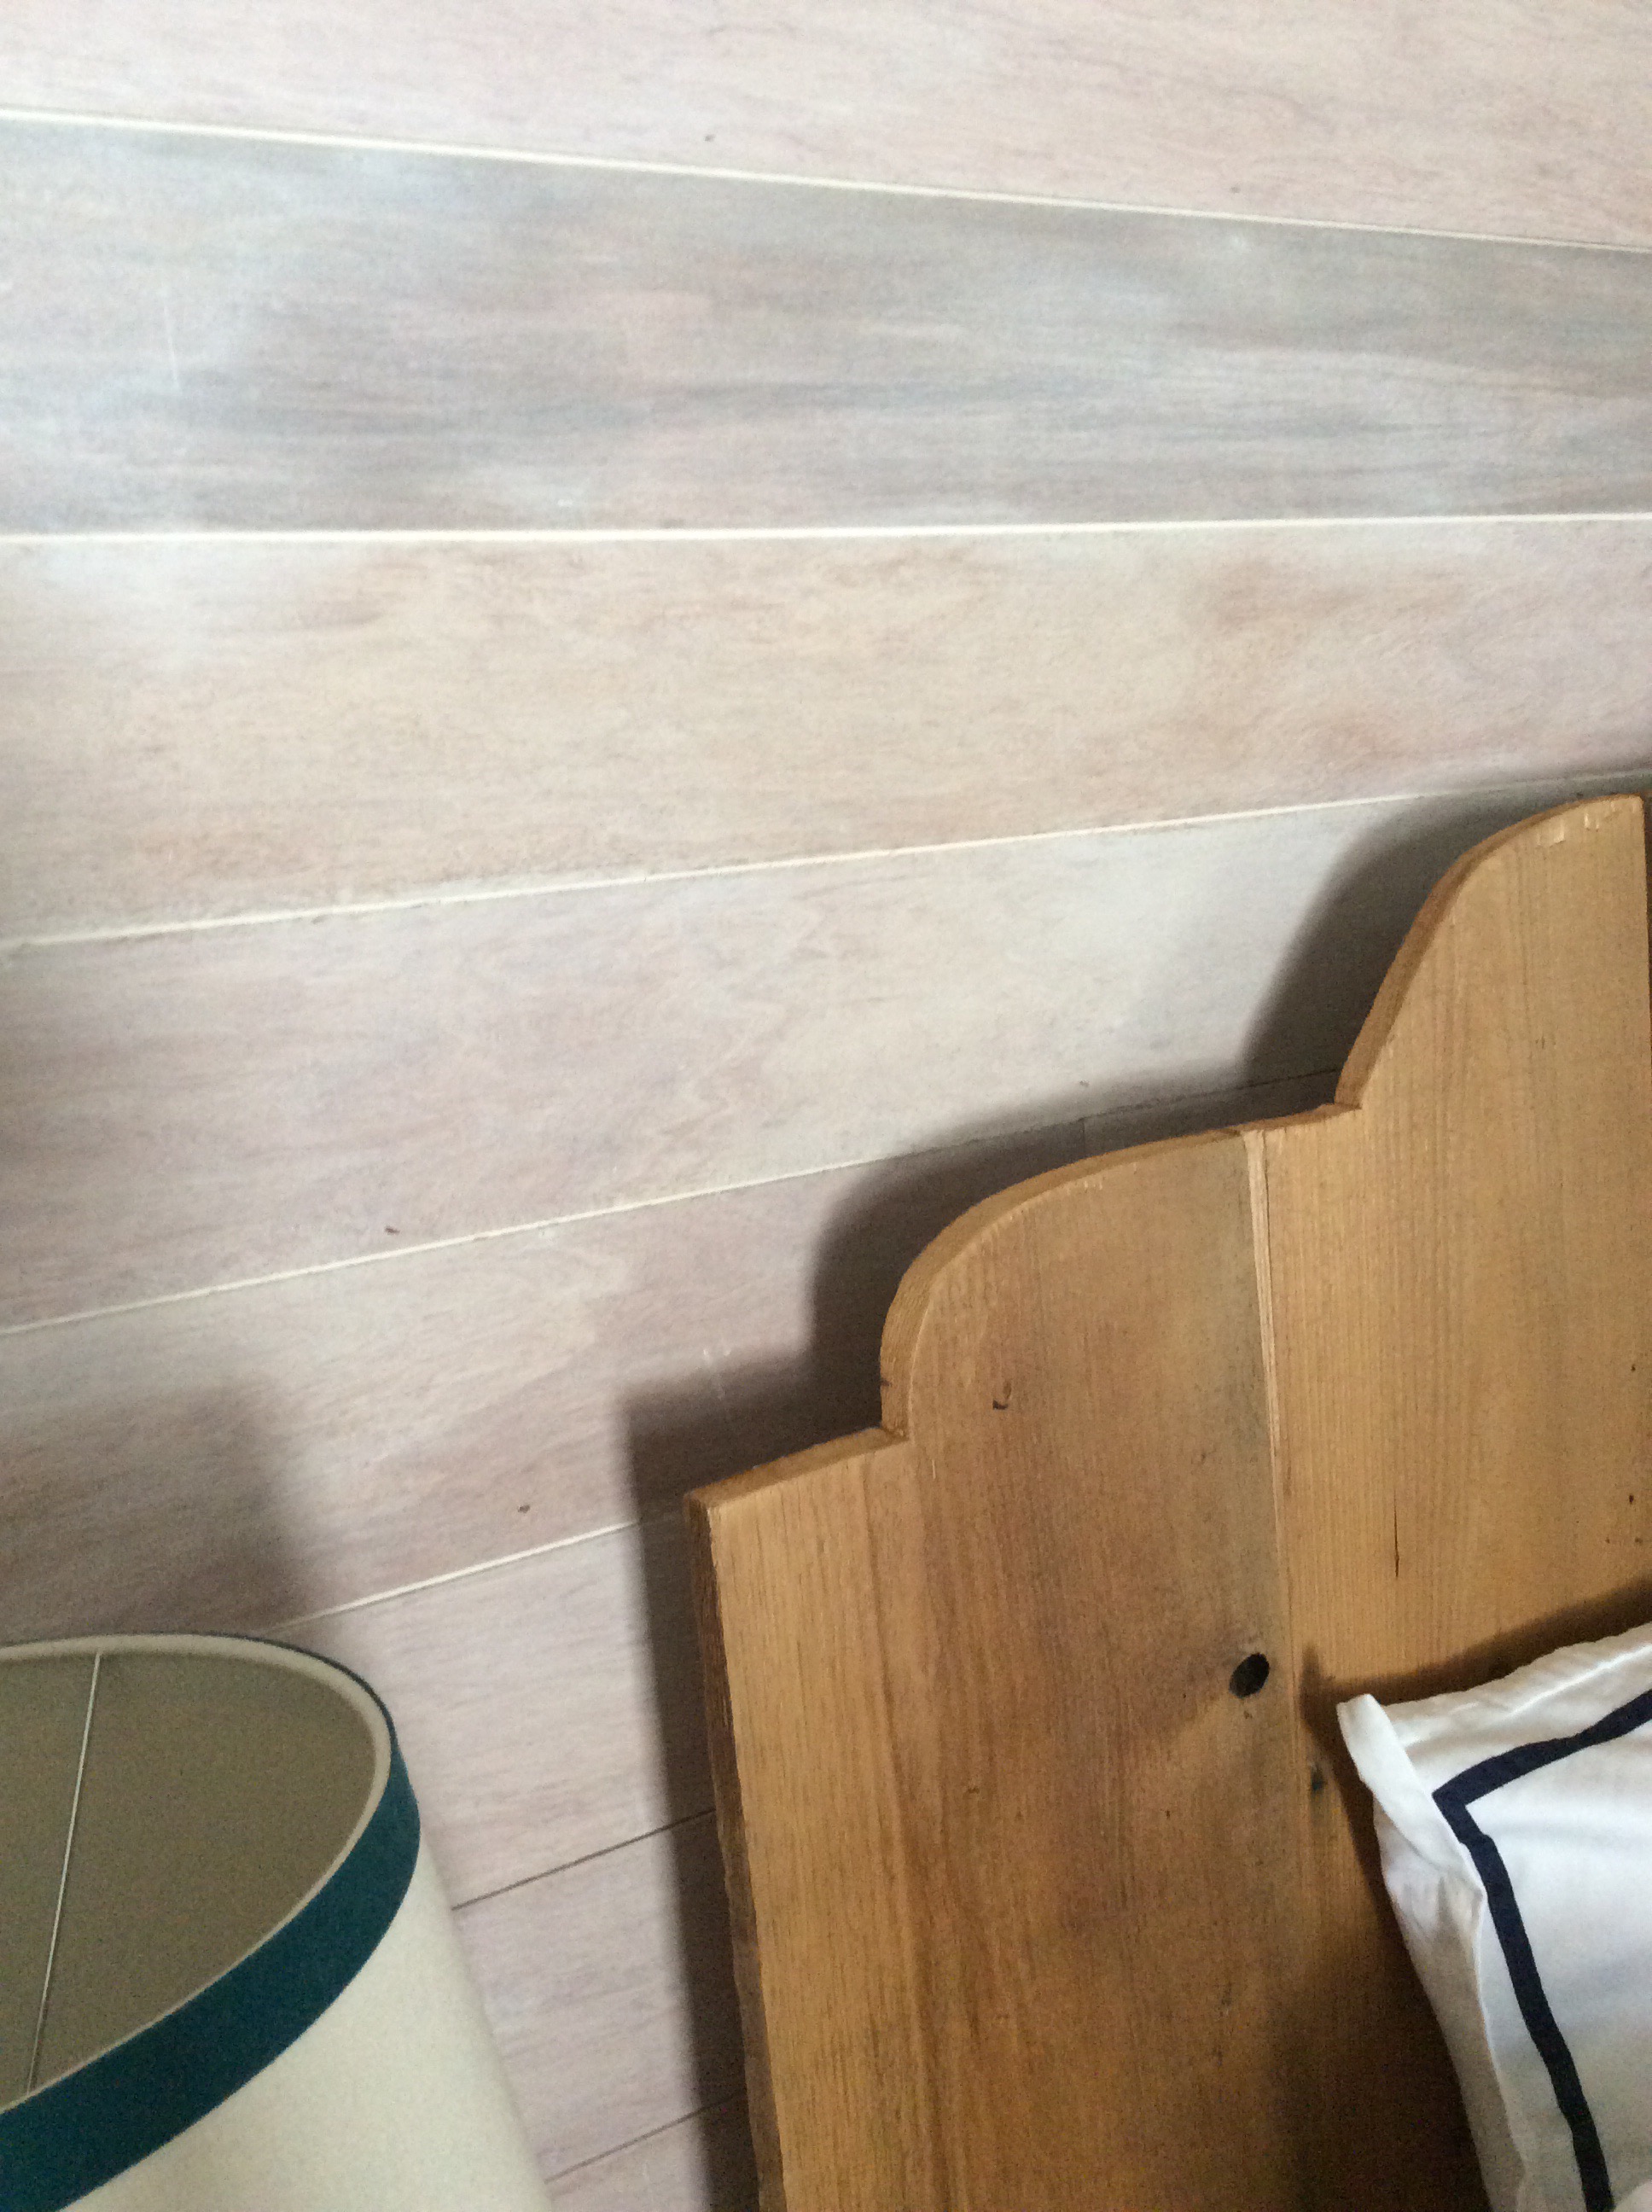
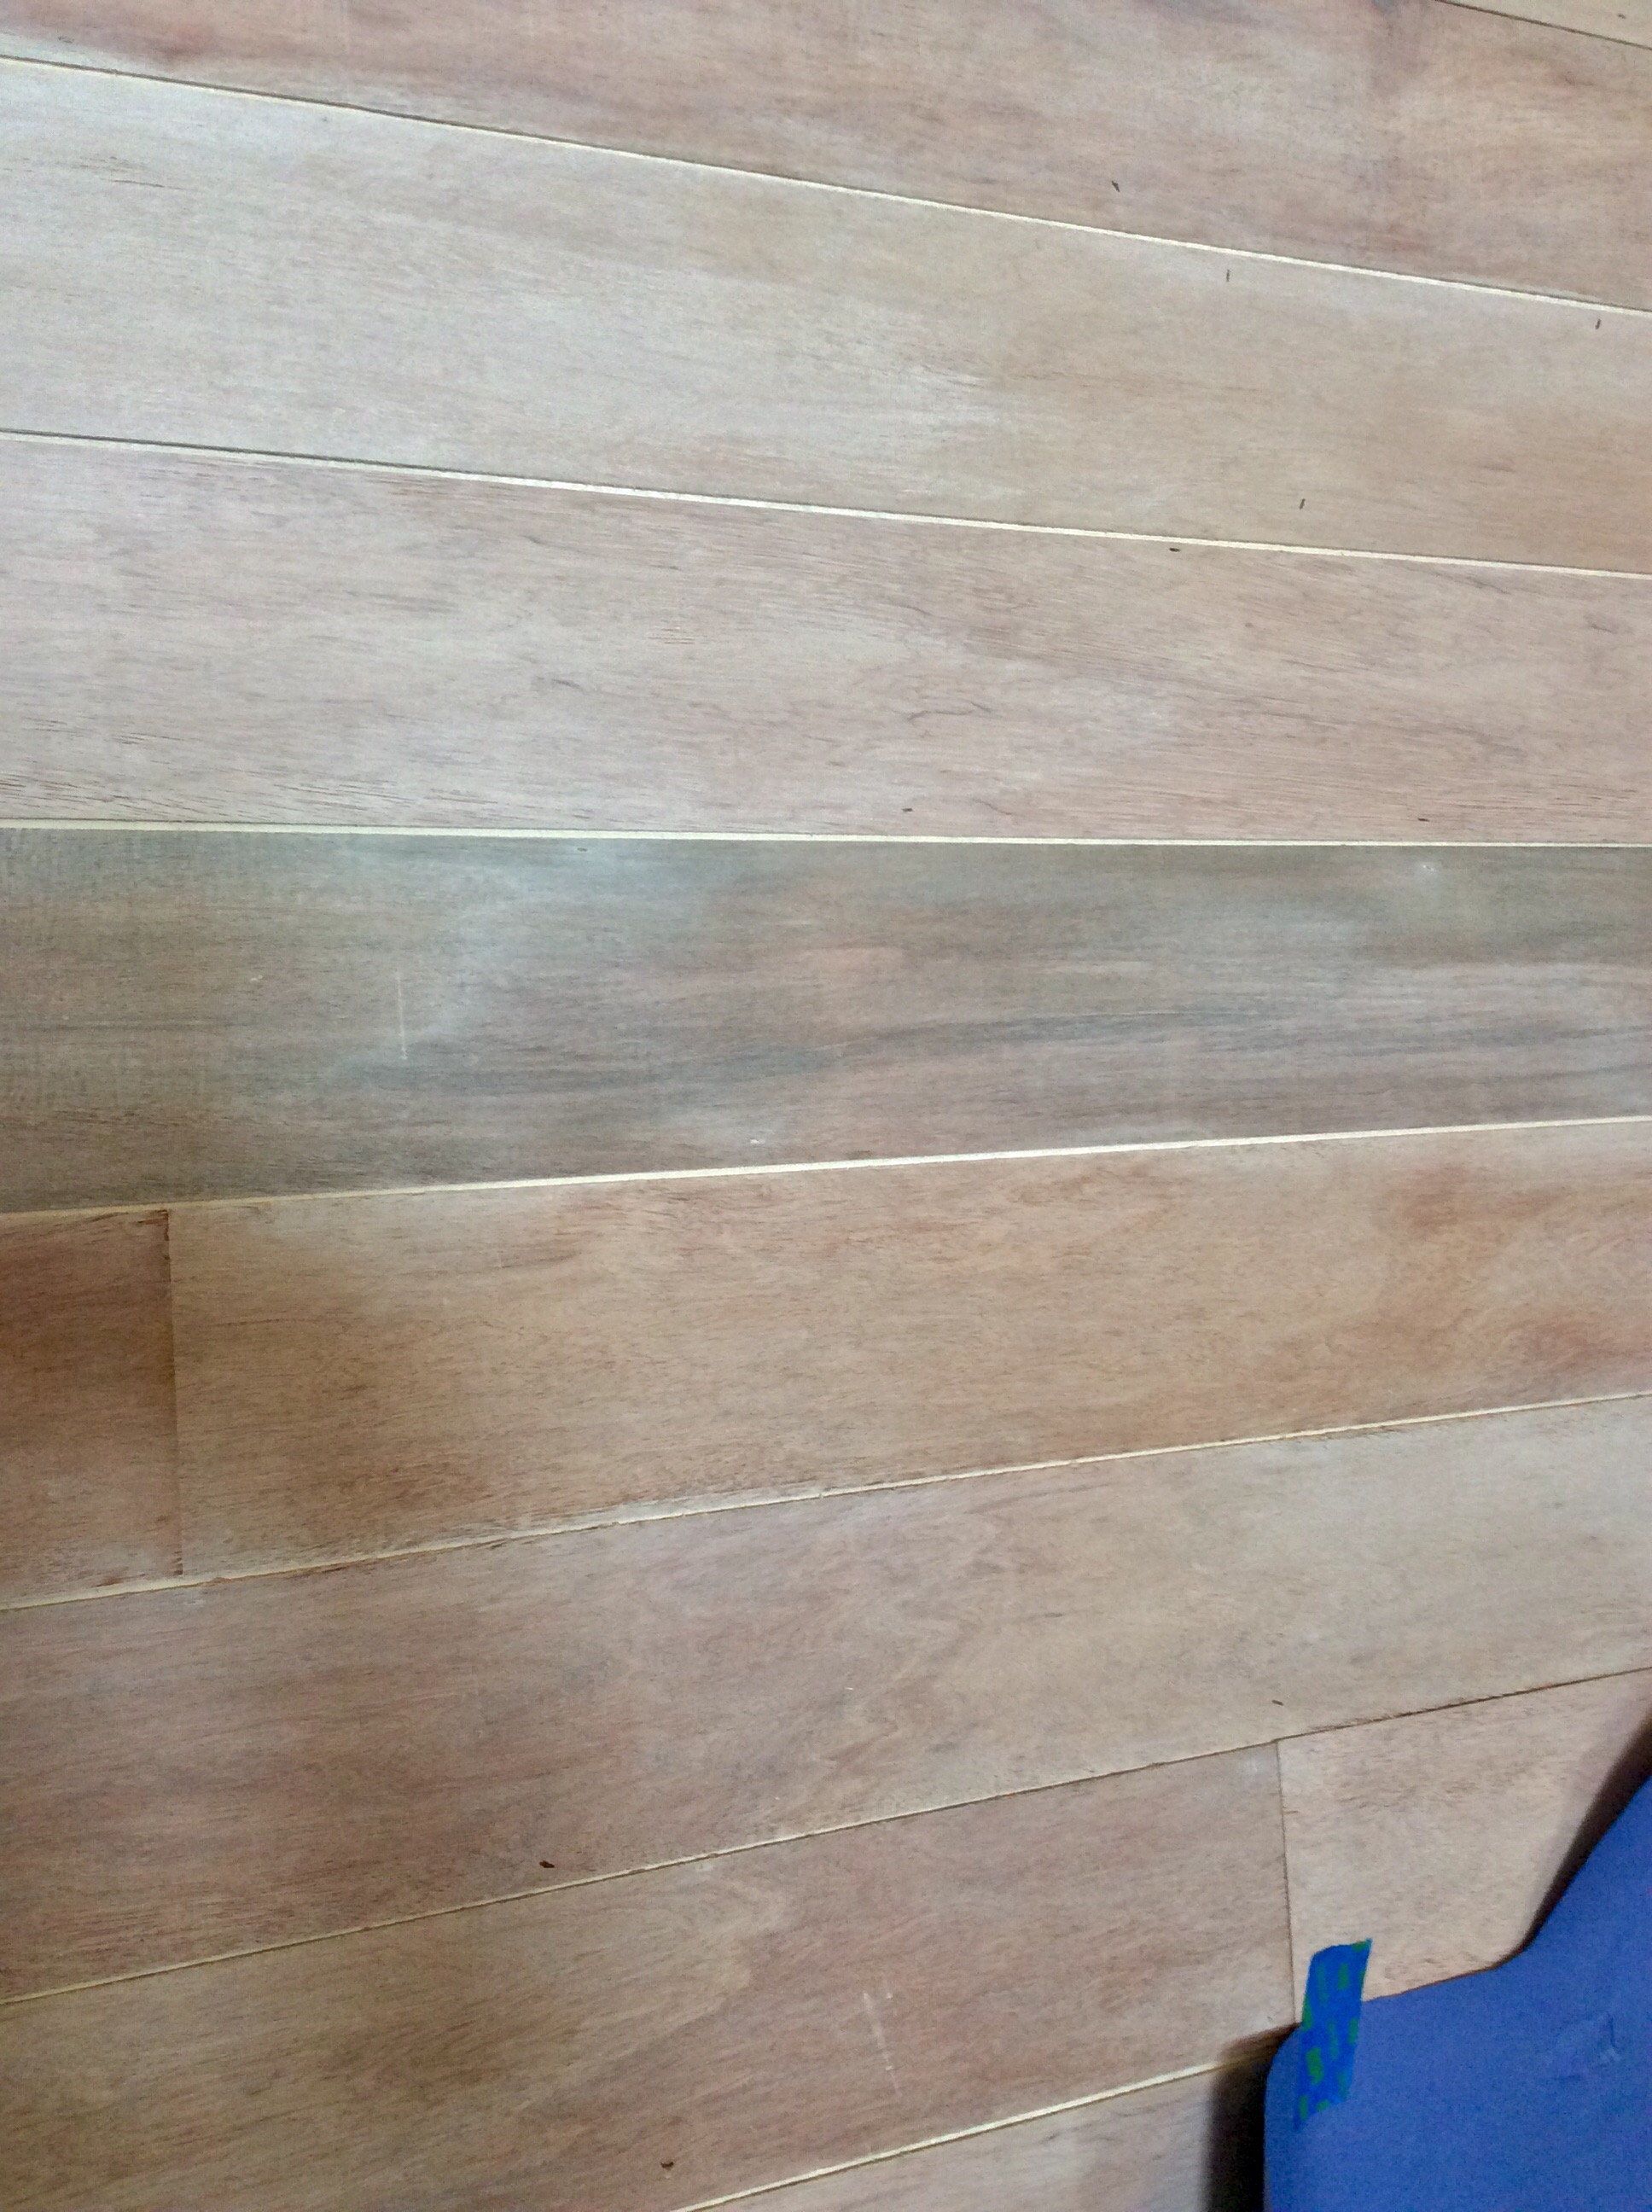
Whitewashed Wood Faux Ship Lap Wall

This past weekend we started out with a plan to put in a faux ship lap wall and make a headboard from reclaimed wood for our bedroom.

We live in a really nice five year old home in a master planned community.  Our home is one of the models sold and has a great layout.  What the home does not have is character.  Last summer we started adding in a little character to the house by updating our bathroom.  Bathroom makeover

bathroom vanity using restoration hardware finish

I love the look of our bathroom now.  It feels like it has been around a while and has a story to tell.

Our master bedroom got mini makeover this past weekend.  One of the things that I wanted to do was add some texture to the walls.  I am a Fixer Upper fan, especially the white ship lap walls.  I love the look that the slightly irregular horizontal wood adds to a house.

A quick search online led me to several sights that looked easy enough and not super expensive.

Sawdust 2 Stitches

Faux Ship Lap sawdust2stitches planks

The House of Smiths

Sweet Pickens

Armed with the information from the sights we started planning the wall.  First we measured the wall and got the square footage ( see that math stuff does pay off).  Hubby headed off to Lowe’s after work to get the utility plywood mentioned where he found out that they don’t carry that any longer but they have something similar.  He asked for the wood to be cut in 6″ sections and told them he would pick it up the next day.  Long story short after two more trips to Lowe’s with no wood cut he headed to our Home Depot where he found this product: Underlayment

IMG_0872

Just like the stuff from Lowe’s, it also comes in four foot by eight foot sheets.  We had them cut the sheets into 5 7/8 inch strips.  FYI- Mr. Math is the one who figured out to do 5 7/8″ to take into account the saw blade width.  If you ask for them to be cut in 6 inch sections you will come out with one that is way thinner than the others.  This stuff is just over a quarter centimeter thick so it is super thin and flexible.  The wood at Lowe’s is a half centimeter thick which would make the gaps more noticeable and would be less flexible.

Here is what six sheets cut into strips looks like.

IMG_0871faux ship lap

We started at the top of the wall and worked our way down so that any trimming would be done at the baseboard, not at the top of the ceiling.  Here is our room before we got started:

IMG_0874

The wall was about three inches longer than two sections.  We used our air nailer to put the wood up

IMG_0876

We cut the first section of each row into random lengths and started each row at opposite ends of the room.

IMG_0879

The effect was a staggered wood look.  If a piece had a sticker on the front, we used the back side. (We tried getting one sticker off and it was clear that it would be a pain in the neck to get them off.) The darker sections were the back sides of some boards.  I used wood filler in the nail holes and Hubby sanded over the wood filler to get a smooth surface.  At this point is was my intention to get busy painting the wall white but Mr. Math, my long-suffering husband, loves wood and really liked the look.  He rarely asks me to do something specifically for him but this time he did ask if there was any way that the wood grain could show through.  I remembered on that on the Remodelaholic blog a while back they had a color washing technique.  

color washing

I decided to give it a try.  I got busy with watered down white paint, a brush and rags, lots of rags.  I could only work in about 18 inch square sections at a time so I had to work fast to eliminate dry lines.  It was a workout my friends! like an Advil and Epsom salt kind of workout.  The room has 10 foot ceilings and my fear of height did not help the process.  I think I got better as I went along but I really do like the look of the wall.  I used a brush to paint on the watered down paint then a rag to rub it in and take off the excess.  I sort of felt like the Karate Kid (paint on, wipe off, repeat).

IMG_0883

Against the dark wall it looked terrible and I started to panic a little but as I moved on it really started to look the way I hoped.

IMG_0884 IMG_0888

The two pictures above really don’t reflect the color that it turned out but you can see that there are not any major overlap marks and that it is consistent.

The photo below shows the color as it actually looks but I could only get this one small picture to give you the real look.

IMG_0051

Here is the finished wall.  I love the effect even if this is not what I started out to do.  Those happy accidents are always the best.

IMG_0913


The plywood was $12.97 per sheet and it took 6 sheets for this big wall.  The white wash used 2 cups  of cheap flat white paint.  (I know what you are thinking but it really did only take two cups of paint.)  The nice folks at Home Depot waived the 25 cent per cut fee because they were backed up and we were willing to come back to pick it up.  All in the wall took about $80.00 to complete.

This was a project that provided you have access to an air compressor and nail gun, anyone could do.

It was nice to get something accomplished this weekend.

I would love to hear from you.

Blessings,

Karen

DIY Projects, painting, reclaimed wood, vintage style

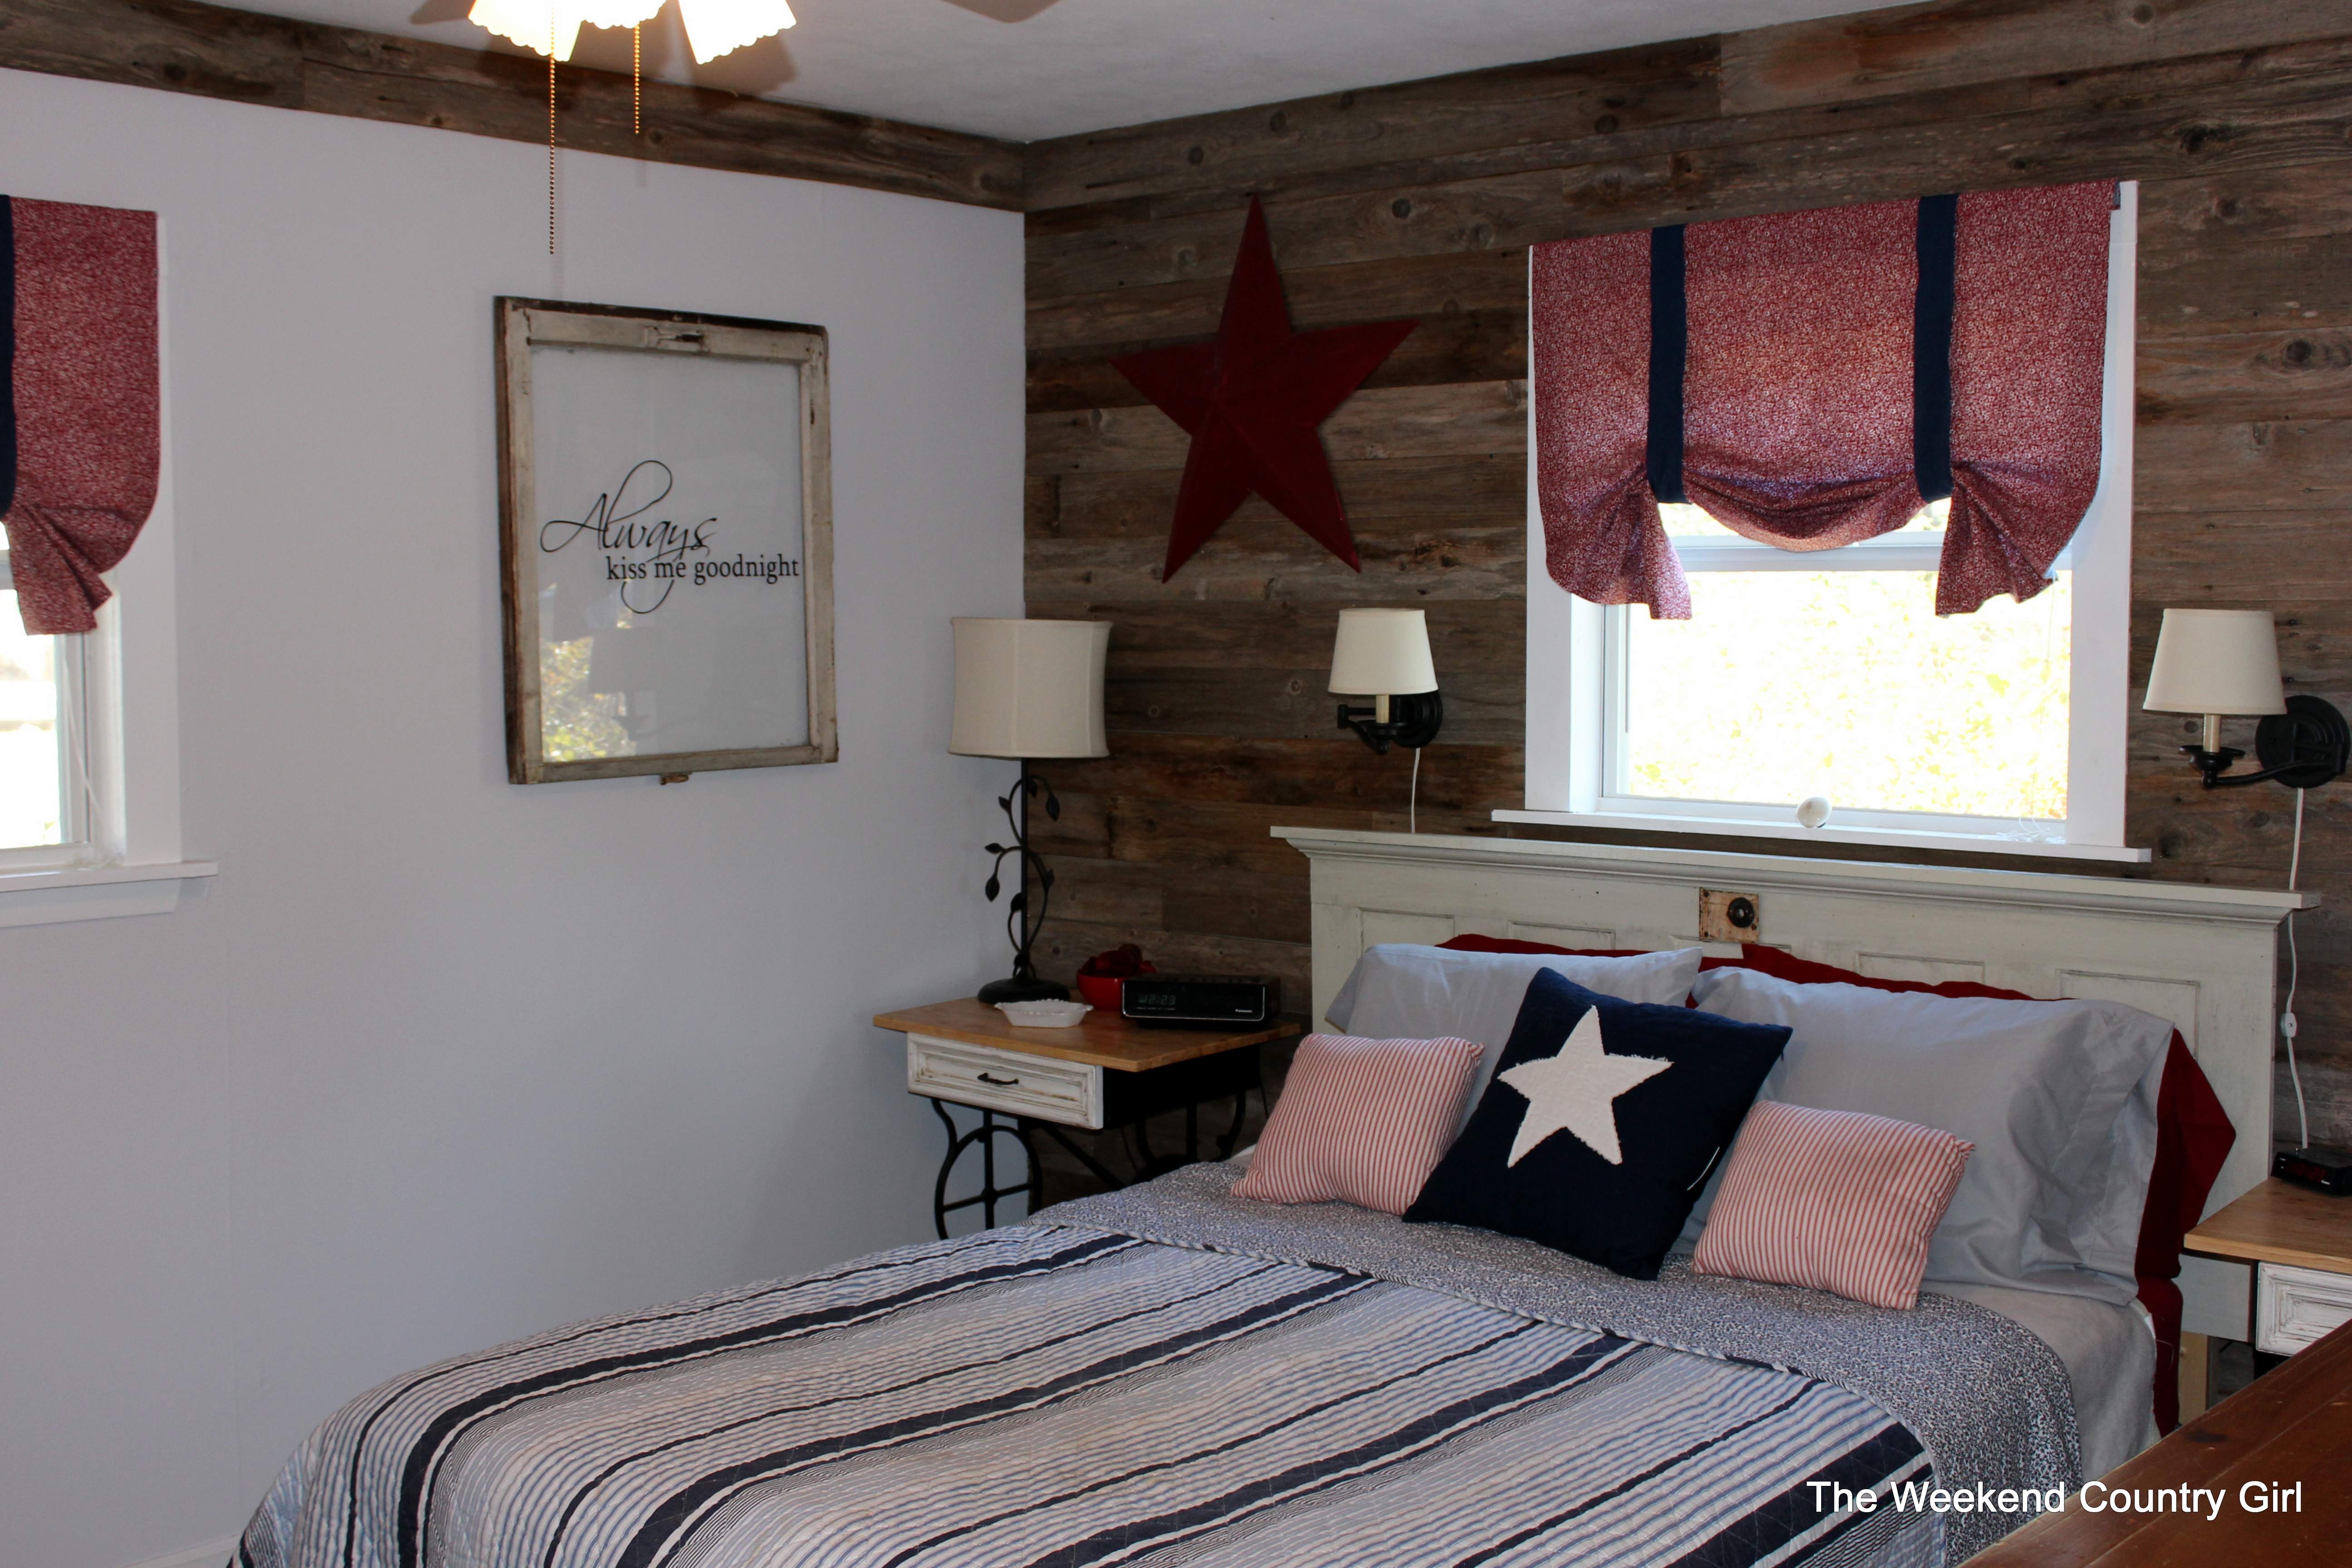
200 Dollar Bedroom Makeover 

Have you ever read the book If You Give a Mouse a Cookie by Laura Numeroff?  I was an elementary teacher a long time so I relate to a lot of children’s books.  In this particular book we learn that if you give a mouse a cookie, he is going to ask for a glass of milk which leads to a straw, then a napkin… the list grows.  

My master bedroom is a lot like that book.  Mr. Math finally convinced me to get a king sized bed.  Since we were already switching from a queen sized bed to a king I thought that it was the perfect time to do a mini makeover for the bedroom.  The change in bed size meant that we needed a new headboard, bedding, pillows, etc.  Add to the new bed that a friend just gave me a load of 12 inch wide reclaimed cedar and a plan started to form.

I have had this particular picture Pinned for a long time. Viva Terra


I love the rustic bed, the blue bedding, and the ship lap wall behind the bed.  Viva Terra calls this particular bed Gustavian and a king bed is $2195  with a $200 delivery fee.  It is a stunning bed but the chances of me paying that much for a headboard and footboard are almost nil.  I also love my bench at the foot of the bed to put on shoes so no footboard. 

I remembered that I had see this tutorial on Remodelaholic.  Curvy Reclaimed Wood Headboard Tutorial


I had also seen  this tutorial on how to make a faux shiplap wall using this plywood.  Sweet Pickins and knew it would be the perfect backdrop for the bed.


Well, this very rainy weekend we got the room done. The bed got delivered Monday but has been hanging out in our hallway until we could get the room makeover completed.  We did it and all in, the makeover- less the cost of the new bed, pillows, mattress pad and sheets, was  under $200.00.  As usual it didn’t go as planned, but I like the happy accidents.  I will have pictures and instructions this week. 

I hope you had a wonderful weekend.

Blessings,

Karen

Chair, collecting, Decorating, new home, painting, vintage style

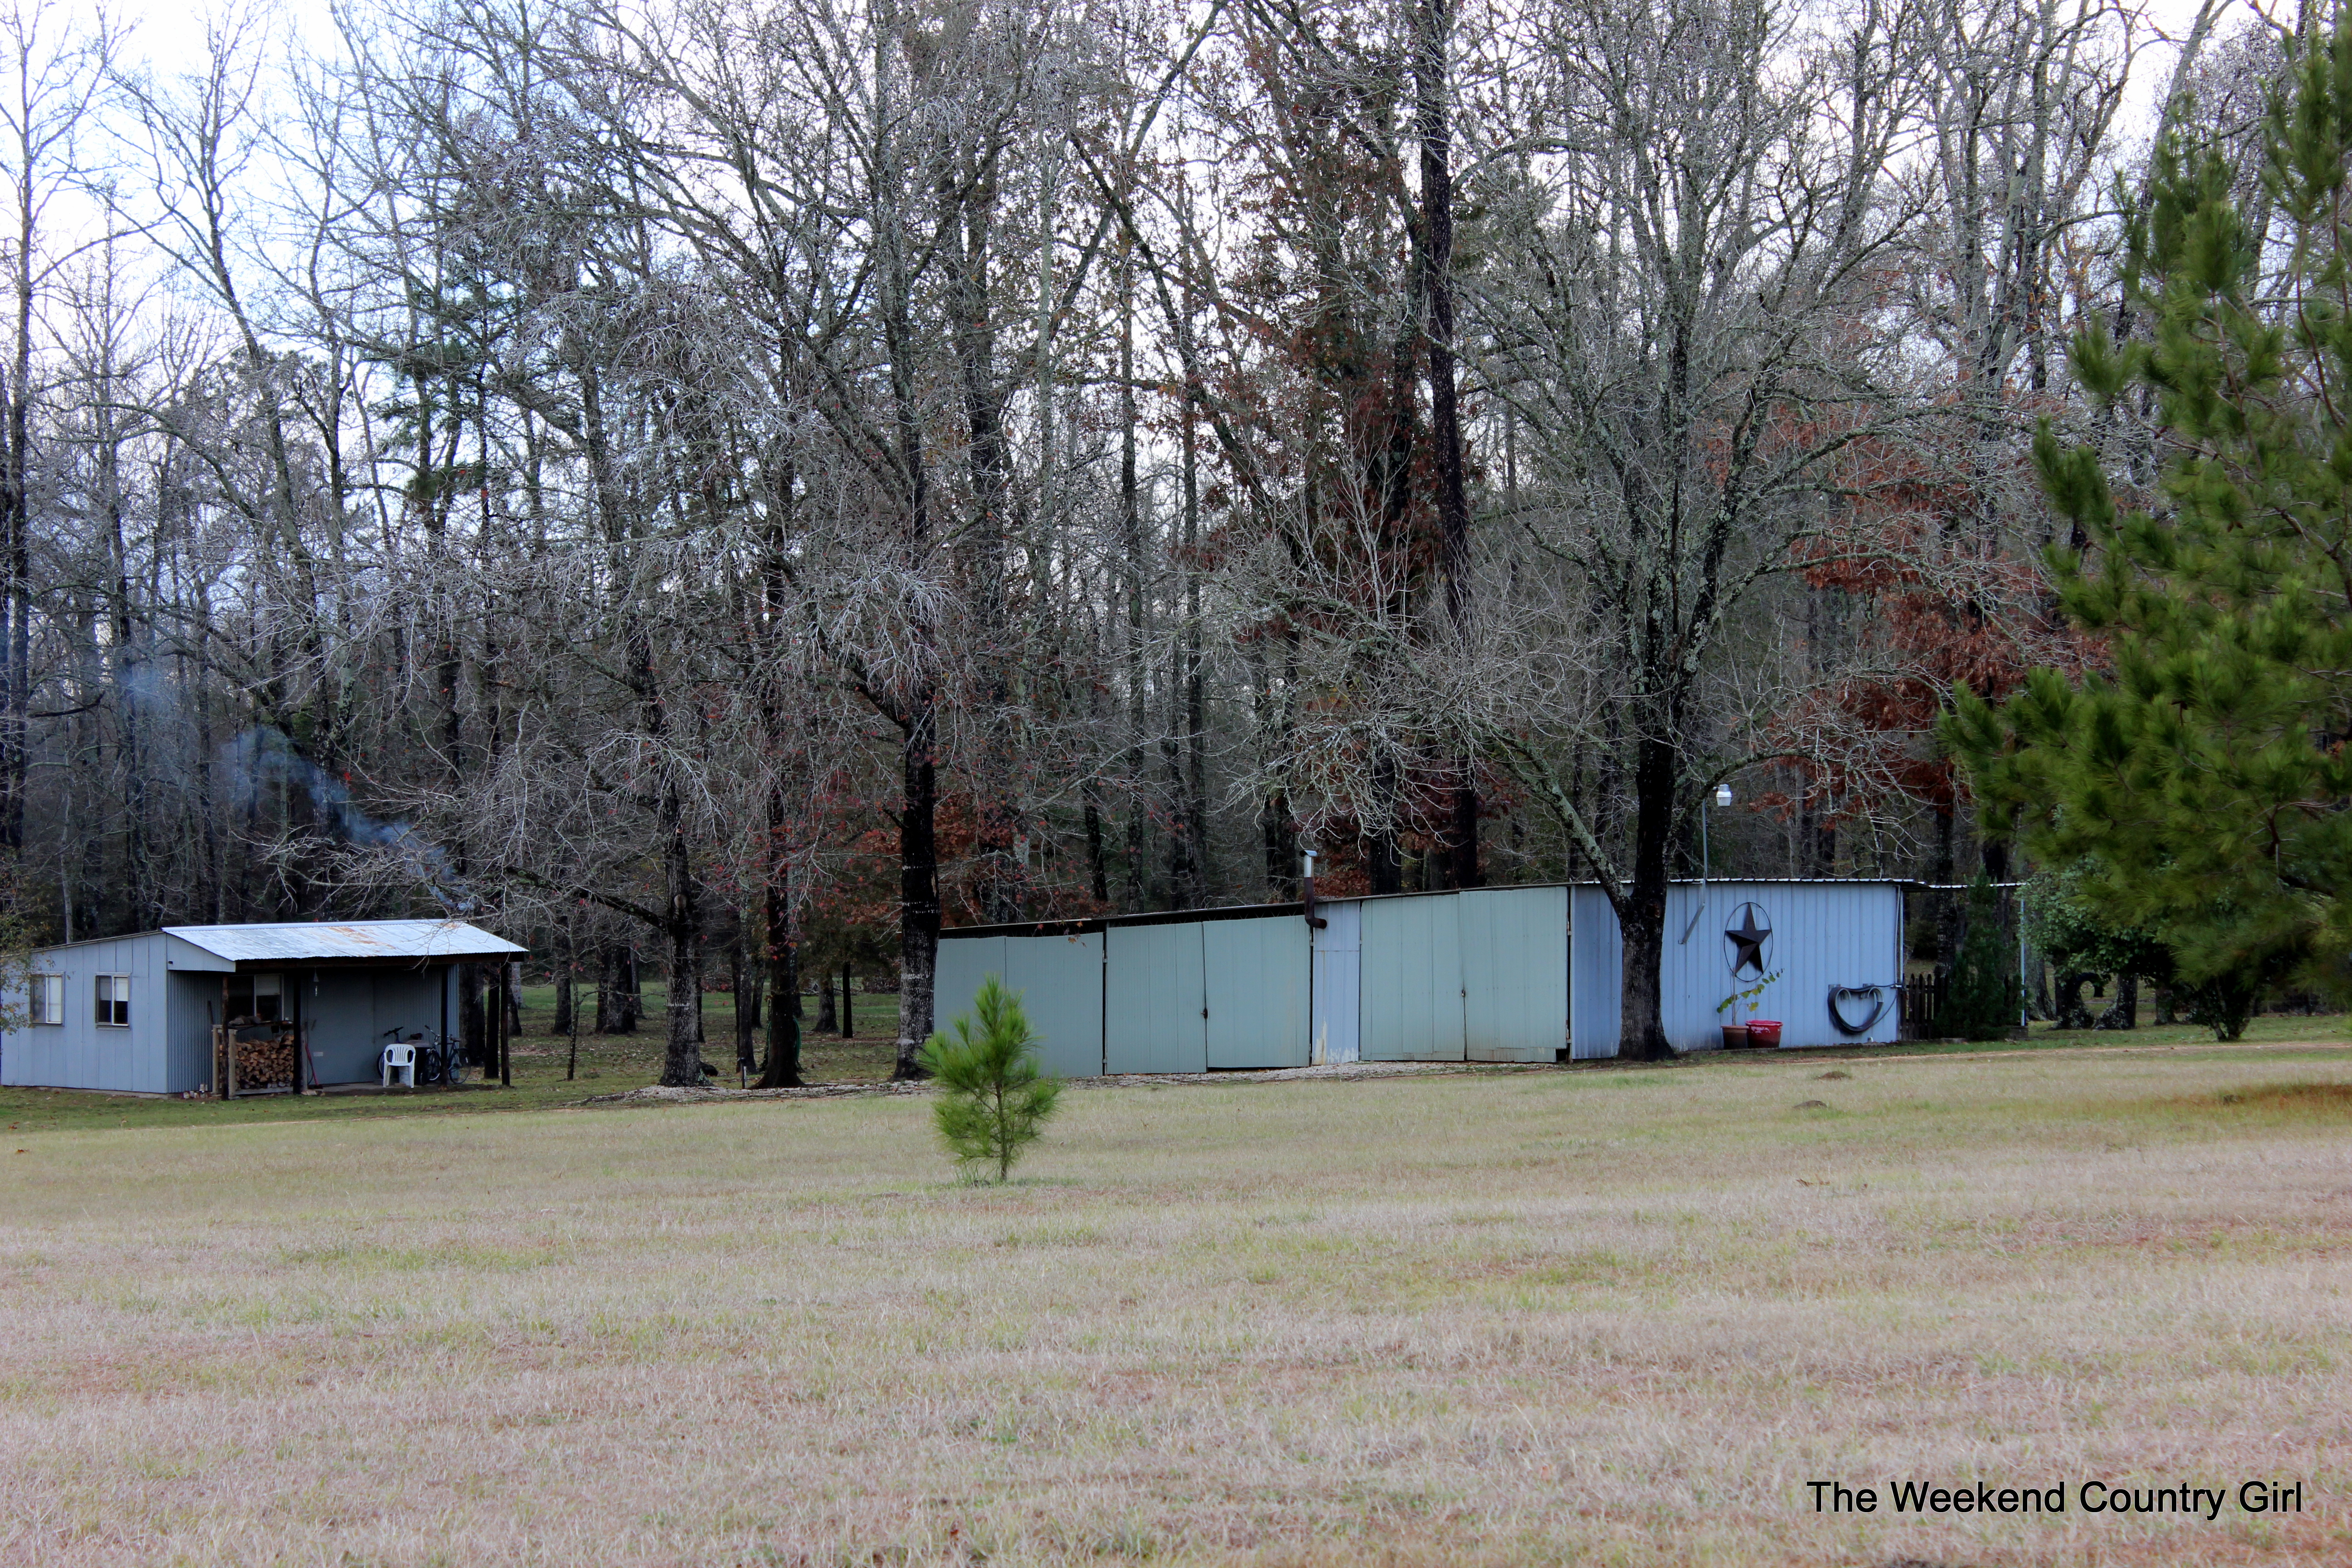
My Plans for the Guest Shed

I am HATING and I do mean HATING having the Garagemahal shut down while the near the lake house is on the market.  It has been an unusually cold, wet winter in southeast Texas and I have been at loose ends.  It is too cold and or dark in the evenings when I come in to work on projects at home during the week and it is all about decluttering, cleaning, and moving stuff to storage on the weekends.  Oh how I hope this is all over soon.

One of the things that I can do right now is plan and dream.  After my big winfall at the clean out the barn sale, I am really thinking about the Guest Shed.  According to the tax rolls it is a little over 400 square feet.

2015/03/img_2458.png

I know you are probably not impressed with it, but it is cool. It has a wood burning stove, hardwood floors reclaimed from a high school gym and already has plumbing. Currently it is a wood shop but it wouldn’t work for me. The enclosed space wouldn’t accommodate moving furniture in and out. There is a better space on the property already.

 Have you ever tried Olioboard?  It is fun to use.

OB-guest shed 

If you have a room you are thinking about redoing it is a great way to envision the space. I have super cool mid century chairs instead of the ones pictured, we will be building a Murphy bed that will look like a cabinet. The space will have a bathroom with a shower, a kitchenette with my farmhouse sink find in it a and cabinets already in the space.

The one room guest house is going to have bright white walls, a whitewashed turquoise wall, bright curtains. (I am thinking orange print for the curtains.) I love the site Spoonflower for fabrics. Right now these are my favorites:

2015/03/img_2479.png

2015/03/img_2480.png

2015/03/img_2481.png

I am leaning toward the wood grain as a nod to the woods surrounding the shed.

I plan on getting a modern vinyl fouton that can double as an added bed. I think the artwork is going to be mid century-ish fish as another reminder of the lake nearby. ( I also think they are really cool.)

I found these cool images on Etsy.


 This Good Housekeeping 1959 photo is my inspiration with a more modern twist.

2015/03/img_2471.png

I collected some colors while out yesterday and I found the cushions for the lounge chair at Lowes. They are a green print.


Now if only our lake house would sell quickly.  Fingers crossed.

I hope you all have a dry, warm, productive day.

Blessings,

Karen

Coldspring, Country Style, Decorating, master bedroom, painting, reclaimed wood, Style, The City House

Mini Master Bedroom Makeover

Rain, rain, more rain, and cold meant no outside work, no Garagemahal furniture work during our week at Star Hill. Being stuck inside our 950 square foot house with husband, bored dog, and a restless wife meant something had to be done. That something was updating our bedroom. For less than $50.00 got the room freshened up. We painted the walls Behr Subtle Touch, I made Roman shades, and put in a reclaimed wood hat rack.

Every room at Star Hill has some variation of red, white and blue. Anything that goes into the house has to be tough and washable. We play hard at the lake. Last summer I found a blue striped Ralph Lauren quilt for $20.00 on clearance at Marshall’s and I knew it would be staying in the room. We purchased one gallon of Behr Subtle Touch zero VOC for $27.00 and $17.00 worth of fabric for the mini makeover.

1-IMG_9626 1-IMG_9627

Here are the best pictures of the color before we painted.  I snapped these after we already got started moving stuff.

I have to give props to my husband. When it comes to painting, he is the best at cut in work. He can paint right up next to the ceiling or in this case, the reclaimed wood without taping off anything. It is a gift I don’t possess. I did the rolling and we were done in two hours. The fleshy tan color i never cared for is gone and a soft gray is now in the room. We have also had a standing hat rack in the room, taking up a square foot of space in our tiny room. We need something to hang summer boat hats, spring rain gear, and wet winter hats, gloves, and scarves.

My dad gave me three vintage coat hooks he took from a house being torn down. I loved the patina on them. They are perfect for a room with an old door headboard, a reclaimed wood wall, and sewing machine base side tables.

1-IMG_9684 1-IMG_9683

The most stressful project was sewing Roman shades for the windows. I am a terrible seamstress. I try, but it always seems to go wrong. This time it all worked out like I wanted. I used red and blue fabrics that coordinated with the bedding to make them and denim ribbon I had in the closet.

1-IMG_9631 1-IMG_9630

I love this vinyl cling on an old window.  It is the perfect art for our room and reminds Hubby to give me a good night kiss!

1-IMG_9686

This oak chair was two dollars as is at a resale shop.  I am crazy about the chippy blue paint.

1-IMG_9692

All put together, the room looks cleaner and more finished.

1-IMG_9681 1-IMG_9685

Another room ready for us to put the house on the market.

Thank you for taking the time to read my blog. I love to hear from you..

Blessings,

Karen

Decorating, Painted Furniture, painting, recycled furniture, Repurposed Furniture, Style

Headboard and Footboard into Bench

This past winter we got busy turning several headboard/footboard units into benches.  They turned out great, but I think know I frustrated my husband with so many projects all at once…during prime fishing season.   This particular set was purchased three years ago and has hung out in the garage waiting for me to get busy.   We actually cut this one up at the same time we did the other benches but it was moved over to the “finish later” pile when I could tell I would need help moving this one around and Mr. Math was in no mood to drag it around.

headboard-for-storage-bench

Fast forward to the end of summer.  I mean maybe it is not so fast, but forward progress none the less.  This weekend we decided to knock it out.  I call this bench our hurricane bench because it is so sturdy that the house would blow away before this beast goes anywhere.  Hubby even used a 2X12 for the front cross beam.

headboard bench 1-IMG_7144

The headboard and footboard are not old, in fact I would guess it is from the 90’s.  It was in rough shape when we bought it and hanging out in the Garagemahal for three years didn’t help it any.

worn wood worn post

When I got busy on the bench the first thing I did was unscrew the wrought iron on top.  I immediately started second-guessing myself.  I wasn’t sure that the iron should go back on.  As always, I shared my angst with my Facebook friends.  They were united.  It should go back on.  More on that later.

I feel like I say this a lot, but we love our paint sprayer.  I mean LOVE it.  It makes getting paint on so fast and we have learned that we can even spray on primer.

Here are a few shots of the wood filler in the holes, the sprayer and the coming rain that kept me stressed out.

wood filler in screw holes sprayer coming rain

The paint color is sea salt thanks to my Facebook friends, again.  I was torn between red, black or white.

The seat is deep.  The slats for the seats are 23 inches long and stained with Minwax Jacobean.

I knew I wanted the bench to be heavily distressed.  It turned out exactly the way I saw it in my head, in spite of the high humidity and rain showers that kept coming and going.

Here it is all finished up.

distressed wood shabby furniture heavily distressed 1-IMG_7158 bed to bench finished bed to bench distressed bench wood slat seat

You may notice that it does not have the iron on top.  In spite of my FB friends telling me to leave it on, it sold before I could finish it and the new owner didn’t want the iron on it.  She lives in an area that is close to the bay and since she wants it outside on her porch she was afraid it would rust.  I did take a picture of what it would have looked like with the iron in case you are wondering how it could have turned out.

wrought iron 1-IMG_7170

We have three more headboard sets in the Garagemahal, so I guess there are more benches in my future.

While we were spraying polyurethane, we  poly-ed a china cabinet that will be for sale soon.  It would be really cute in a nursery.china cabinet makeover china cabinet spray painting


Thanks for taking the time to read my blog.  I appreciate your comments and advice more than you will know.


Blessings,


Karen

painting, recycled furniture, Space Saving, the office

Turning a Wall Cabinet Into a Side Table

I am in the process of making my office a better reflection of who I am.  Lucky me.  I work where I have the opportunity to make where I work look like home.  I spend more waking hours of the day here than I do at home most days.

I need a table for my printer to sit on.  It needs to be narrow and have storage for printer supplies inside.  I happened to have had the exact piece I needed in the garage just waiting for inspiration.  It was designed to be a wall cabinet of a 1980’s Ethan Allen entertainment center.  I bought it as a part a set I bought for $70.00 a while back.  Two of the base sections are now my master bedroom side tables.

1-IMG_8053 1-IMG_8054 1-IMG_8055 1-IMG_8056

The wall cabinet that was also part of the set is smaller and more narrow.  It was just too short to work for a table.

Fortunately I remembered some legs I bought at the ReStore garage sale last year.  I bought 8 brand new legs for $2.00.  They sort of had a mid-century look about them and I thought they would be perfect for the printer table.

Attaching them was easy with the brackets included.

1-IMG_8012 1-IMG_8013

I used Rusteoleum Seaside to paint the side table.

1-IMG_8014 1-IMG_8016

The table is going to go on a wood wall when all is said and done so I wanted to show you how pretty it looks up against my reclaimed wood door.

1-IMG_8045 1-IMG_8048 1-IMG_8047

1-IMG_8050

The office is almost ready for me to show off.

I hope this inspires you to think outside the box when it comes to remaking items.


Have a great day!


Blessings,


Karen


painting, Real Life, the suburban home

Meet Fat Max

DIY Ladies, have I got a “guy” you need in your life. No, I am not talking about my Hubby. You have to find your own handy husband. I am talking about Fat Max by Stanley.  Remember, I do not get paid by anyone to talk about their products so it has to be good for me to talk about it. Okay he is not a guy, he is a toolbox. Seriously, if you are like me and have to work in less than ideal locations ( like the back porch) at our house you need to get one of these bad boys. They roll, are easy to use and open, and they hold a ton. 20140726-161343-58423351.jpg   Here it is opened up. fat max Closed and ready to roll.  The handle pulls up just like a suitcase in the back. There is a funny story behind my pair of Fat Maxes. Yep. I have two, I did not plan on getting two. My husband took me to Home Depot recently to look at one. I was so happy that he felt I needed my own tool box. In our family a toolbox is a rite of passage. To me it meant he thought I was serious about repurposing furniture. That makes me happy, and a little scared. I am not always sure I am serious about what I do and frankly I am plagued with self doubt on every single project. But, back to Fax Max and the story. At Home Depot, we checked out Fax Max and I knew it would work well. To the left of the floor model was a box with a picture of Max on it. We took the box to the front checkout. The box was opened and Max was scanned. Only when we opened the box again at the lake house did we discover that there were two. We were shocked and planned on returning the extra as soon as we got home. The only problem with that plan was that by the end of the weekend I knew we would be keeping both; one for the lake house, one for the suburban house. Convincing Home Depot that we wanted to pay for the extra Fat Max turned out to be tricky but we convinced them that we paid for one and got home with two and had decided to keep the extra. At the lake house the chest is filled with three sanders, sand paper, basic tools like a hammer, pliers, screw drivers, drill bits, stains, and containers of screws. It allows me to roll everything out on the porch at the Garagemahal.  I do a lot more construction type work at the Garagemahal than I do in the burbs. At our suburban house it is my mobile paint and prep shop. My sanders, brushes, Citristrip, scapers, paint tape, clean rags, stir sticks, paint openers, empty jars, and the paints I am currently using are all stored inside along with a container to keep the hardware to the piece being worked on together. 20140727-132931-48571349.jpg 20140727-131749-47869787.jpg I love that it slides open, it rolls, and has divided containers to keep all my mess separated. 20140727-132811-48491824.jpg I can easily move the tools by myself from the garage to the driveway or back porch when I get the urge to paint something. Everyone is happier here with my new set up. The night I got Fat Max, there was a crime scene on the news and guess what the CSI folks were dragging into the site… Fat Max.  He really gets around.

glazing, Painted Furniture, painting, silver, vintage style

Easy Zinc Finish on Wood Furniture

Type in “Zinc Finish” into Google Images and you get this set of images:

20140725-185331-68011758.jpg


I really like the aged metallic look that appears it has been around the block a time or two.

20140725-185502-68102516.jpg

Source

I like the patina colored zinc the best.

I have been looking longingly at Restoration Hardware zinc finishes. I would love to have a giant mirror like this one if it were still available and did not weigh 80 lbs:

zinc mirror

Source


Alas, it was not meant to be.

I started looking for options to get the look I like at a price that I could afford.  You can read about that here Getting a Zinc Finish

I read, and read, and read some more.  Then decided that there had to be an easier way.  For once, I was right.  There is a much simpler way to get the look.

This is what I used:

soft iron

and Color Smart ( Michael’s) silver metallic paint mixed with glaze.  ( I used some Behr Faux Effects Glaze I had on hand.)

craft smart silver metallic paint

I had a part of a door that we turned into a coat rack hanging out.  It was hanging out because I never really liked the finish.  It was a perfect piece to practice the process on.

20140726-184228-67348354.jpg

The steps were simple:

First spray paint the entire piece with the metallic paint.

IMG_7816


Next, paint on the glaze then rub it in.  Follow the individual boards with the direction to rub in/off the glaze.

IMG_7817 IMG_7818

Spray the whole thing with a flat or satin sealer when you have the look you are going for.  Tah Dah.  Done.

IMG_7825 IMG_7826


This shelf is going to be a place to hang towels in the new and improved bathroom.  Photos soon to come, I hope!

This project was super easy.  Even easier than I anticipated.


I used the same process on a small table and I wish I had painted the whole thing first with primer to eliminate the look of the wood grain.   I still like the table as it is, but it does not have the “made of metal” look

IMG_7836 IMG_7835 IMG_7837

I will be taking what I have learned and looking for a mirror to do in the near future. It would be super easy to do this finish on some of those cardboard letters that are in every craft shop.  They would look like expensive metal letters.   I think there is a beautiful metallic mirror in my future.

Painted Furniture, painting, Repurposed Furniture, resale finds, Style

A Quick and Easy Thrift Store Chest Makeover

If you are too busy to read my wordy post today I put a quick DIY with photos at the bottom of the page.

My brother in law and sister in law built a home recently in Durango, Colorado.

Durango Home

In case you are counting, this is home number four for them. We stayed at their vacation home in Costa Rica over spring break,

boca raca

boca raca condo

they have a beautiful, huge hilltop home in Austin that is currently for sale,

25 swiftwater

and are building a new home in one of my favorite small cities near our home in Montgomery, Texas.

Montgomery home     IMG_7396

Their plan is to live in Durango half the year and in Montgomery the other half. They rent out the Costa Rica home most of the year but visit frequently. It is a tough life, but someone has to do it.

When they moved into the home in Durango three weeks ago, they literally moved up to the 2600 sq ft home with what fit in a UHaul and their car. We arrived for a visit to find that they didn’t have things like mixing bowls, or an egg turner, or spoon rest. They have been so busy getting settled in that cooking wasn’t high on the list.  They were also a little short on furniture. They had purchased or brought beds, two couches, chairs, barstools, a dining table an outdoor bench, and a bookcase. I was proud that they had been shopping at local resale and thrift shops for items and had purchased a few accessories at the shops. I think I may be wearing them down… a little bit.

What they did not have were end tables and coffee tables in their main room or the upstairs den. We set out shopping for stuff our first day there. They took us to the shops that they like. I liked the stores, too. They were unique and interesting pieces, but wowser, the tables were very expensive. Like $900 to $1200 per table expensive. I would much rather spend that money on supplies and thrift store furniture and a whole lot more.

When I saw a little $20.00 solid pine toy chest that had several of the most unfortunate paint jobs, I knew it would work as a coffee table with some love. It was painted with a really thin blotchy black color. Someone along the way had painted it white, and there was also an attempt at painting flowers on the chest with red streaks.

The steps are simple:

Strip down to smooth, but not bare wood. Wipe it all down and get clean.  I used Lysol wipes.

This had to happen so I could knock down the thick ridges from the painted flowers. I used Citristrip on the whole thing to knock off the black layer and then focused on the flowers. (As usual, I forgot a before picture.) Here it is with the first layer off:

1-IMG_7420

1-IMG_7419 1-IMG_7418


20140725-074426-27866470.jpg

Spray paint the whole chest. I sprayed the chest twice, letting it dry completely between coats. The paint color was Rustoeum Seaside.

rustoleum

IMG_7423

20140725-074641-28001891.jpg

This is a project I did on the fly with very limited supplies or space. All the spray paint work was done across the street in a vacant lot because the valley where the house is located was windy and the thought of getting turquoise paint on the car or house was scary.

Not a bad view while I worked.  I understand why they have moved to Durango.

Sand away at the paint, following the wood-grain.  You will know the paint you are sanding is dry if what you are sanding off looks like chalk dust. I hand sanded using this awesome sanding block with a handle. (You can see the sander in the box to the left of the chest.)

sanding block


In some places go all the way to bare wood and in others go down through paint to the colors below.

IMG_7453       IMG_7454

Once I was pleased with the amount of sanding, I stopped. There is no magic formula.

Once I wiped it all down again I rubbed in glaze mixed with dark brown latex paint. The gaze to paint ratio was about three parts glaze to one part paint.

I used a dampish cotton cloth to literally rub it in. It did not take very much at all with each coat.  It took two coats for me to be happy with the look.

I rubbed it down with paste wax when I was finished to give it a luster.

minwax

IMG_7456 IMG_7457 IMG_7458 IMG_7459

Here it is finished.  I really like the look.  All in all it cost about $20.00 in supplies which were all bought at a pretty small Walmart so they are readily available.