Facebook
Twitter
Instagram
TikTok
YouTube
Search
The Weekend Country Girl
Before and After
Blog
Sand Creek Cottage
The Cast of Characters
The Corner of 8th and M
The Redneck Retreat
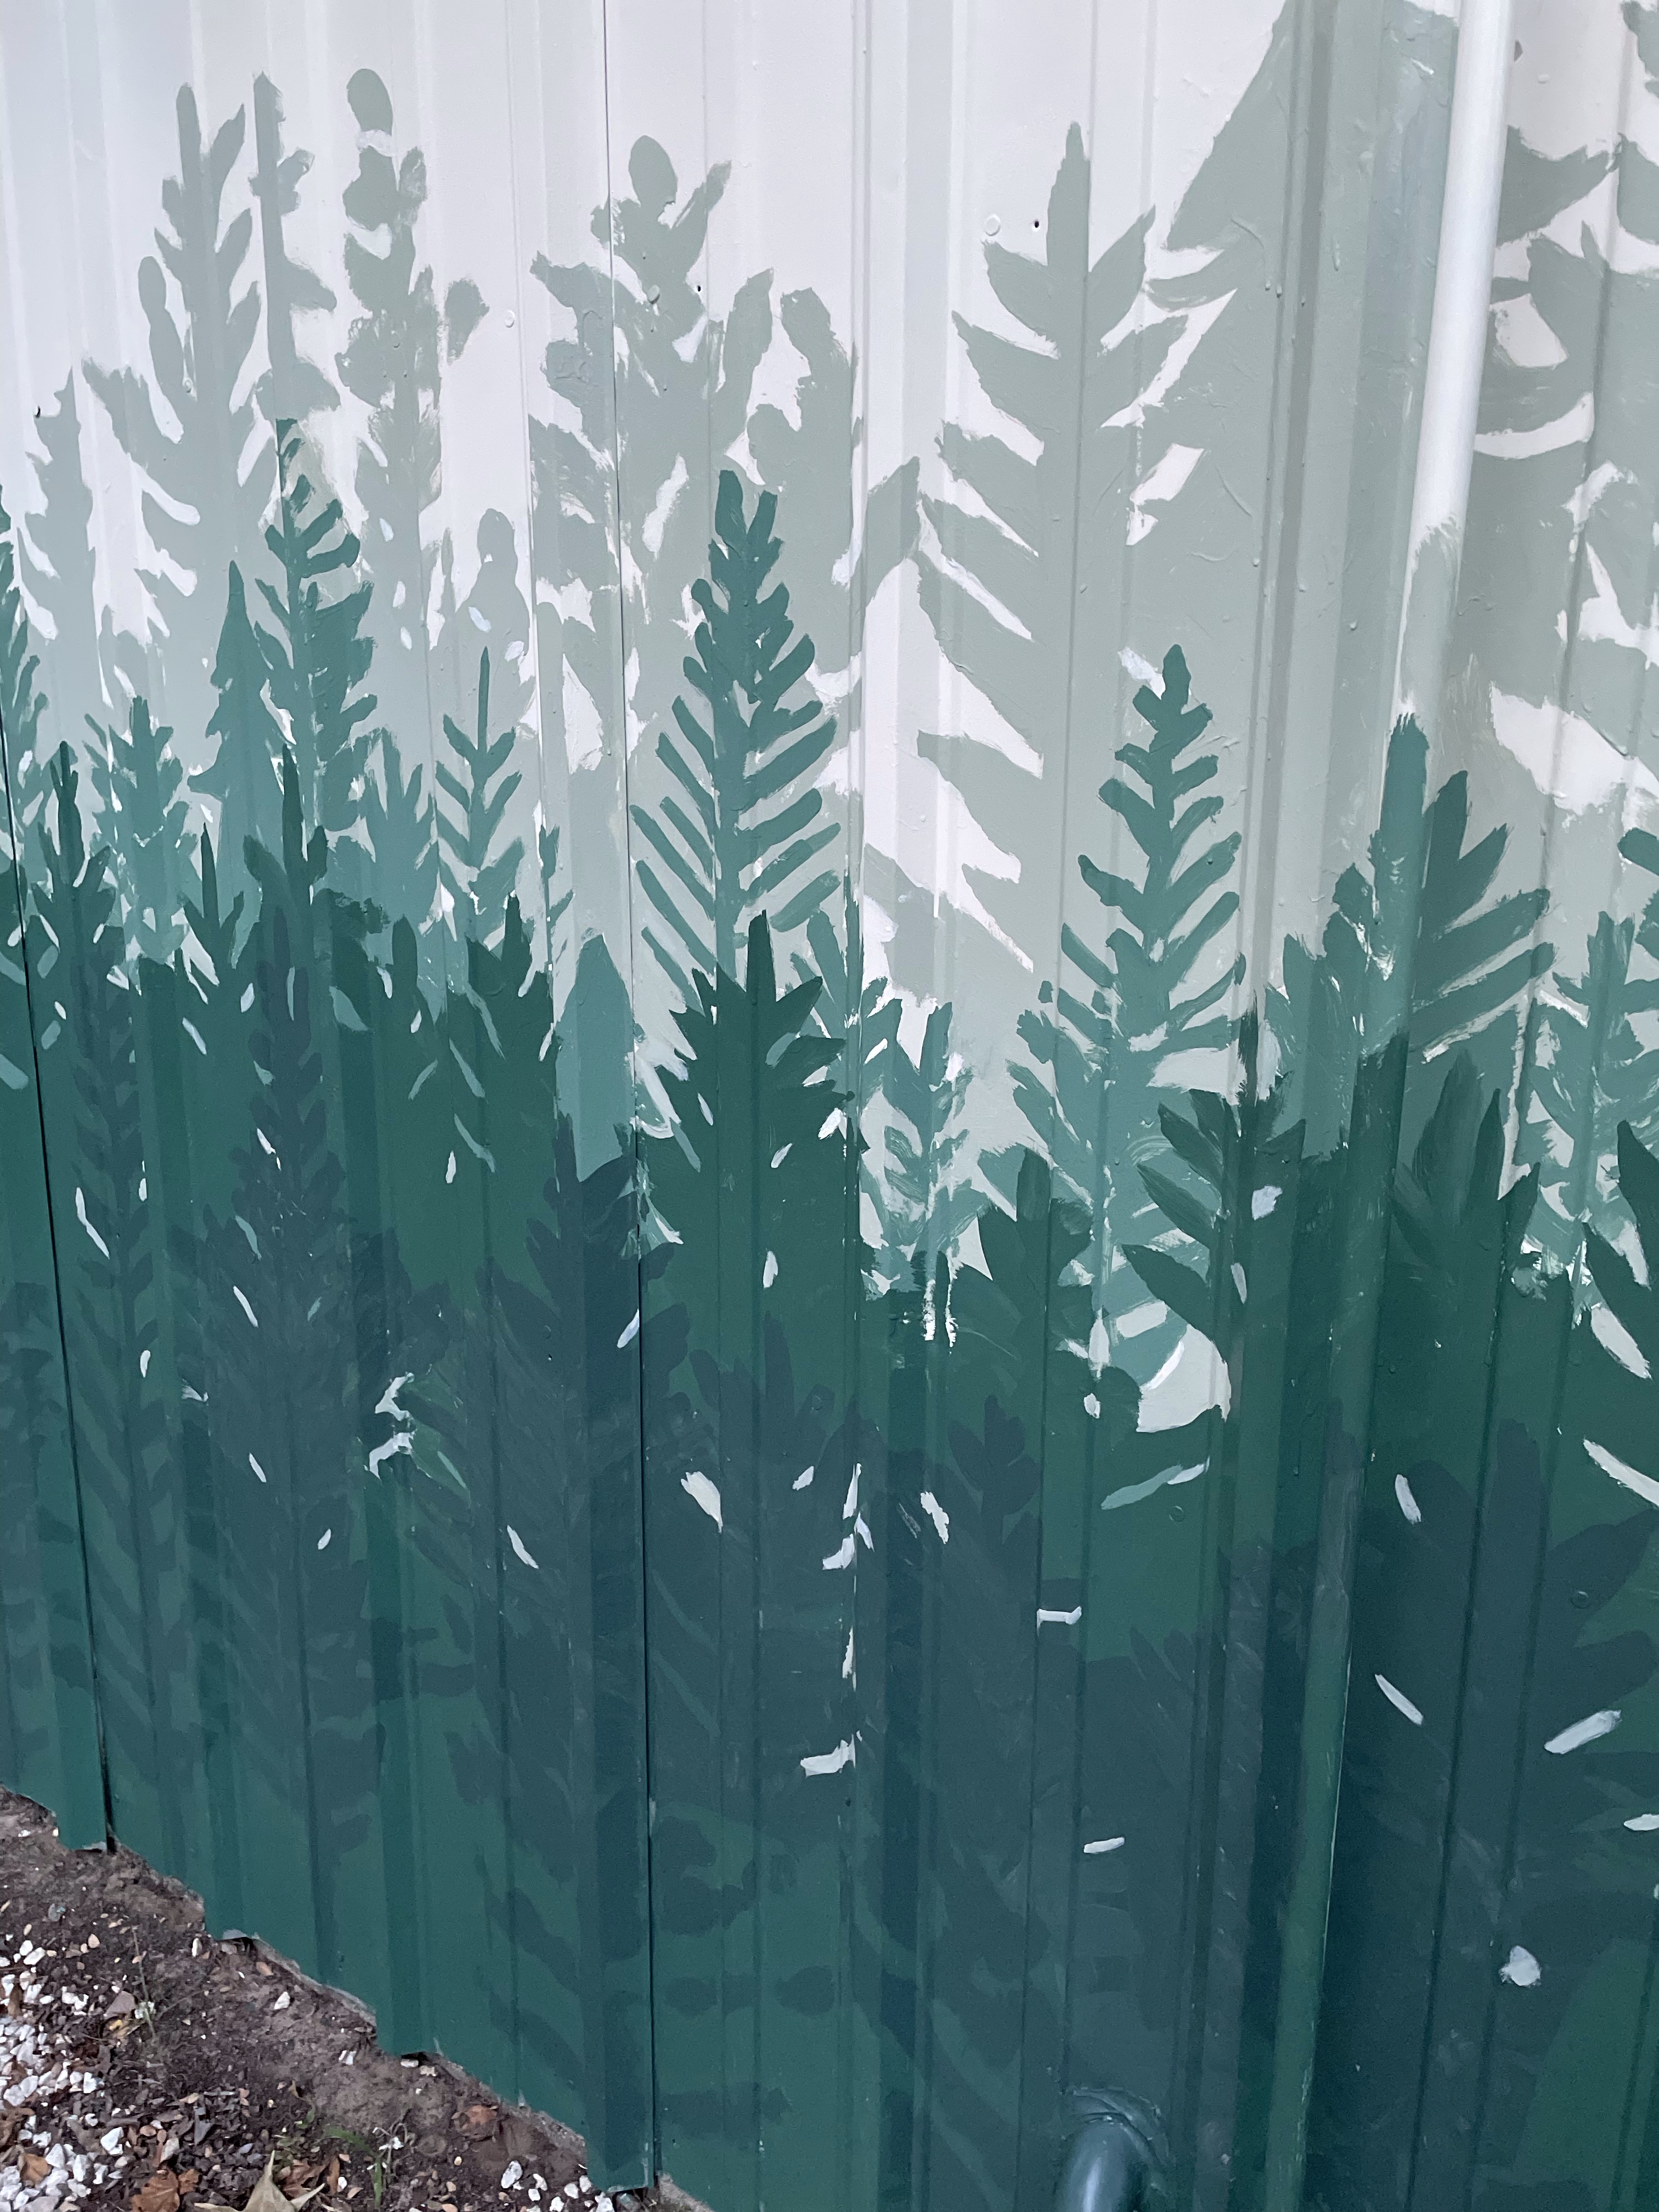
mural
August 20, 2022
A Giant Mural on the Cheap
Karen
Archives
Health
.
Fashion
.
Food
.
Shopping
.
Events
.
Fiction
.
Travel
.
Japan
.
Education
.
Loading Comments...
Write a Comment...
Email (Required)
Name (Required)
Website