Facebook
Twitter
Instagram
TikTok
YouTube
Search
The Weekend Country Girl
Before and After
Blog
Sand Creek Cottage
The Cast of Characters
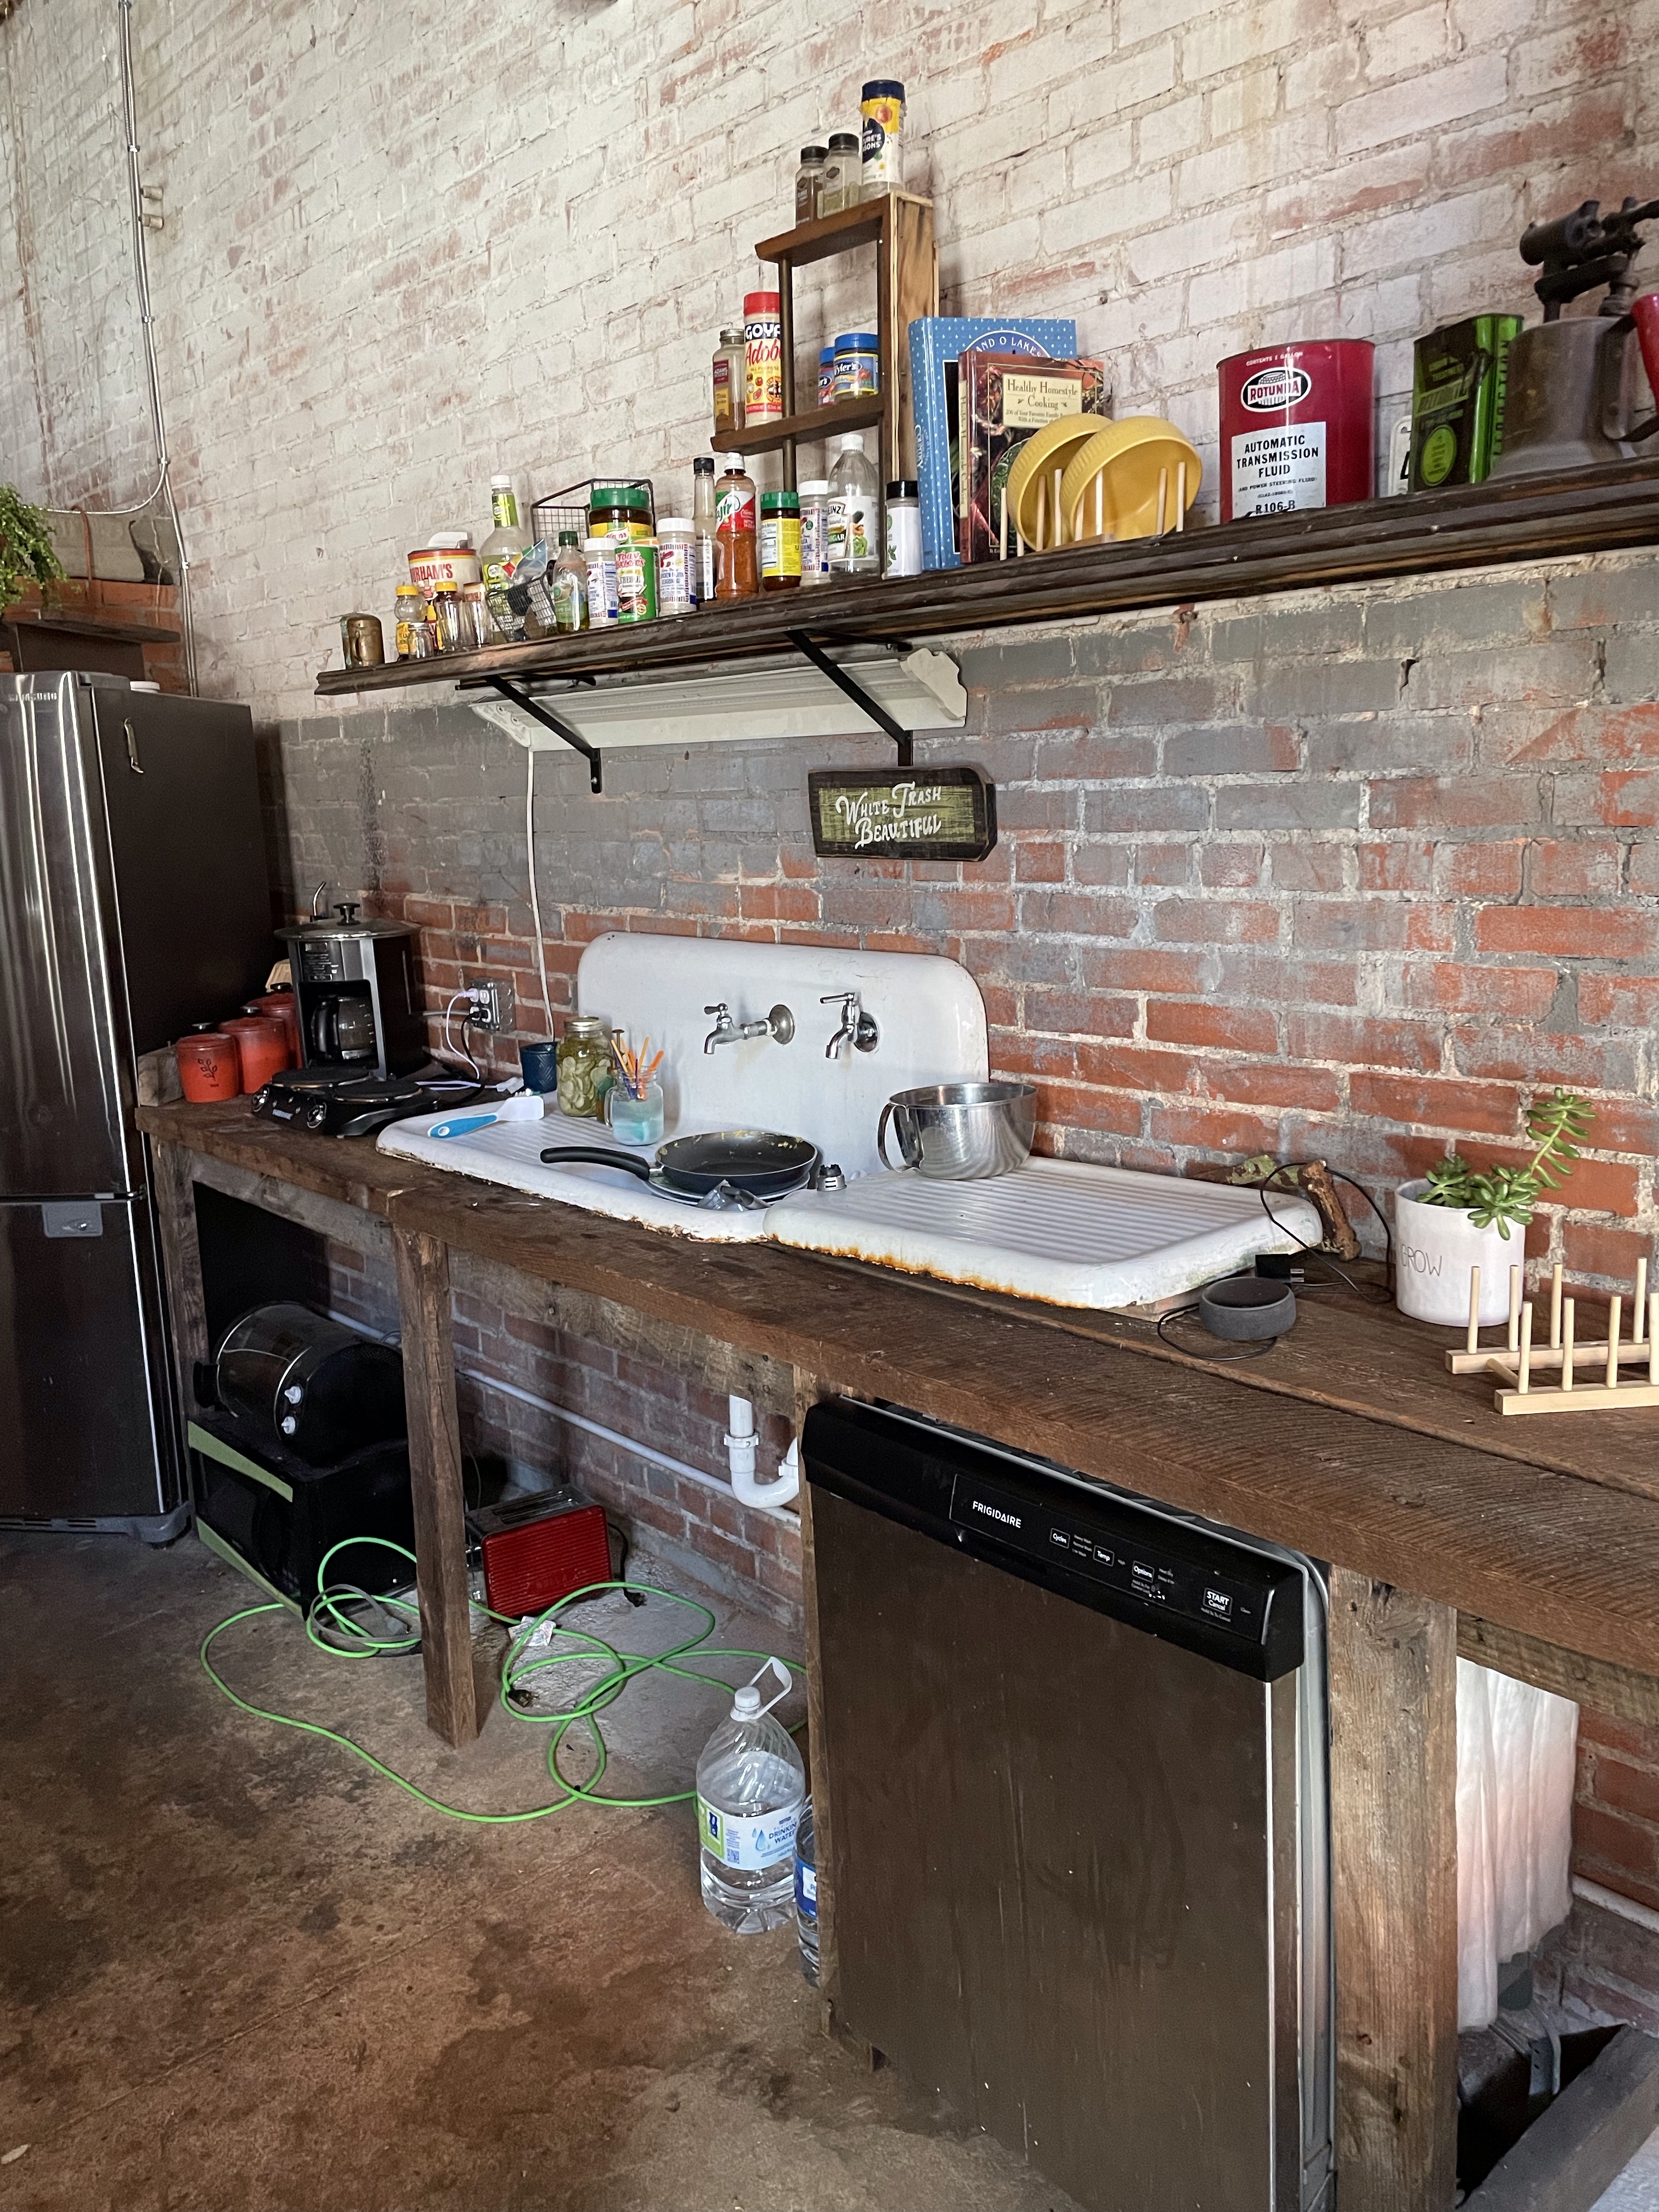
The Corner of 8th and M
The Redneck Retreat
Coldspring
February 8, 2024
Accidental Instagram Content Creator
Karen
June 5, 2023
Covering the Breaker Box in the Guest House
Karen
May 24, 2023
Recycled Materials Coffee Table
Karen
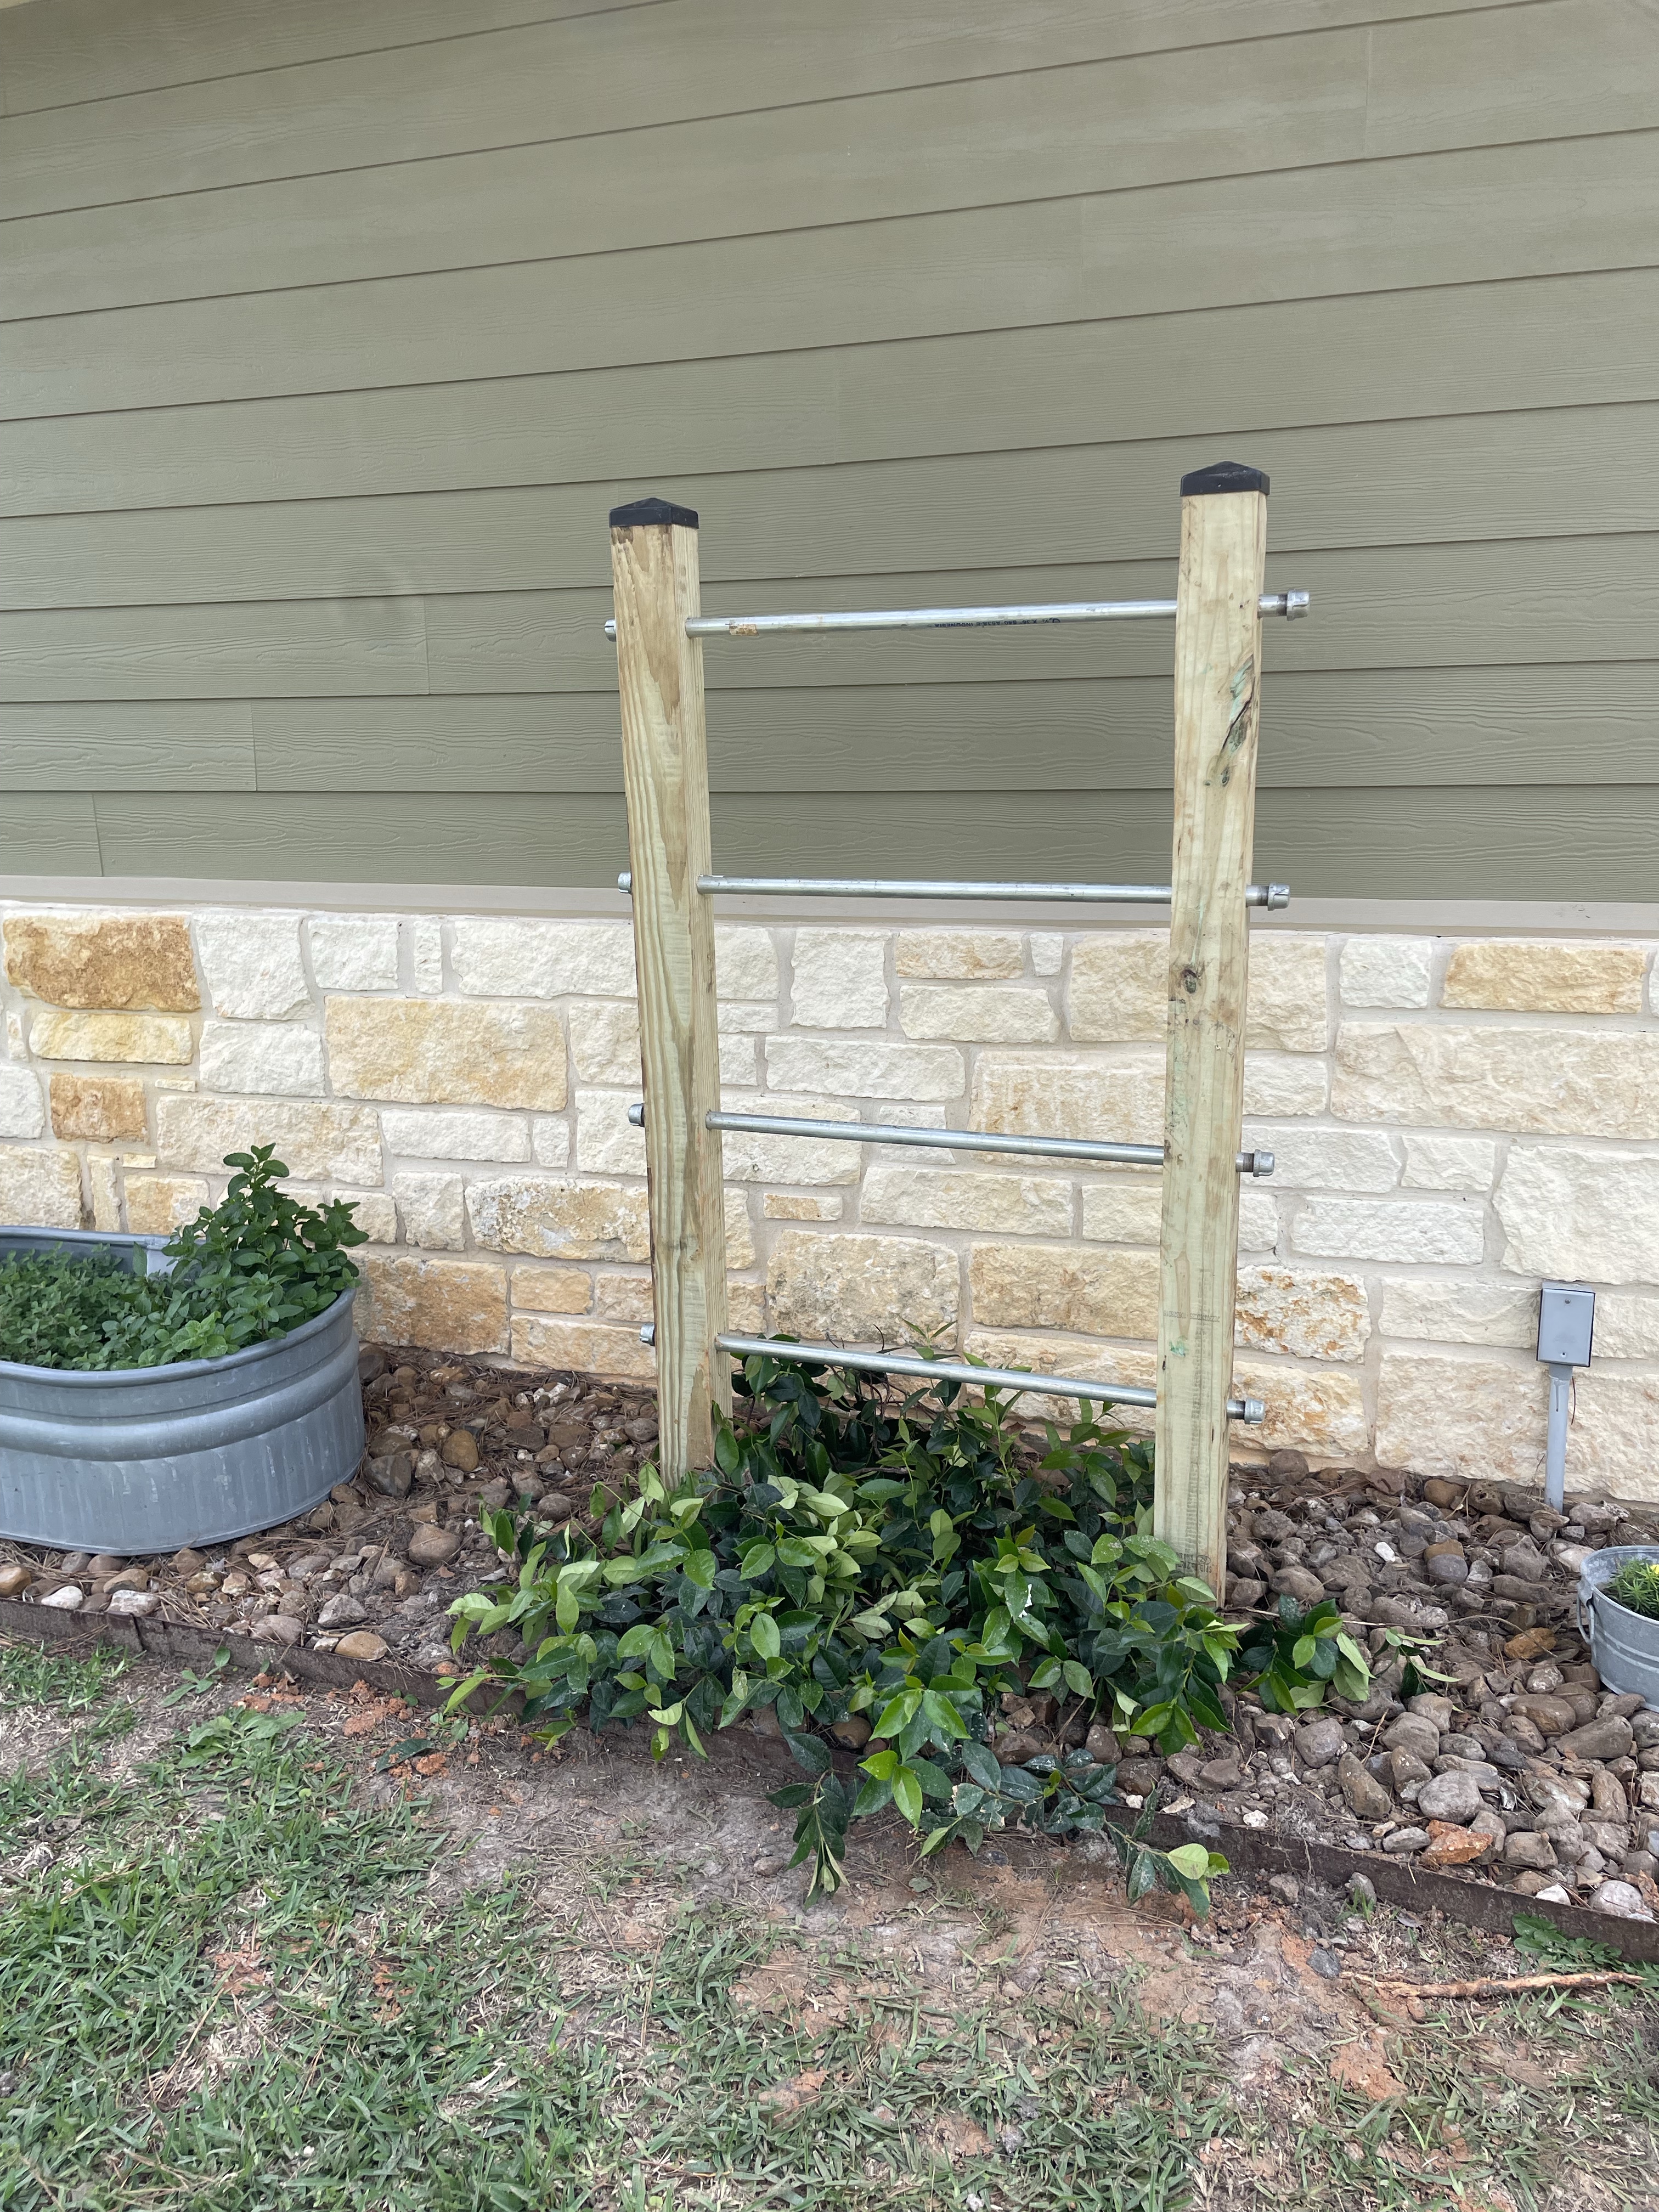
May 5, 2023
Making a Trellis
Karen
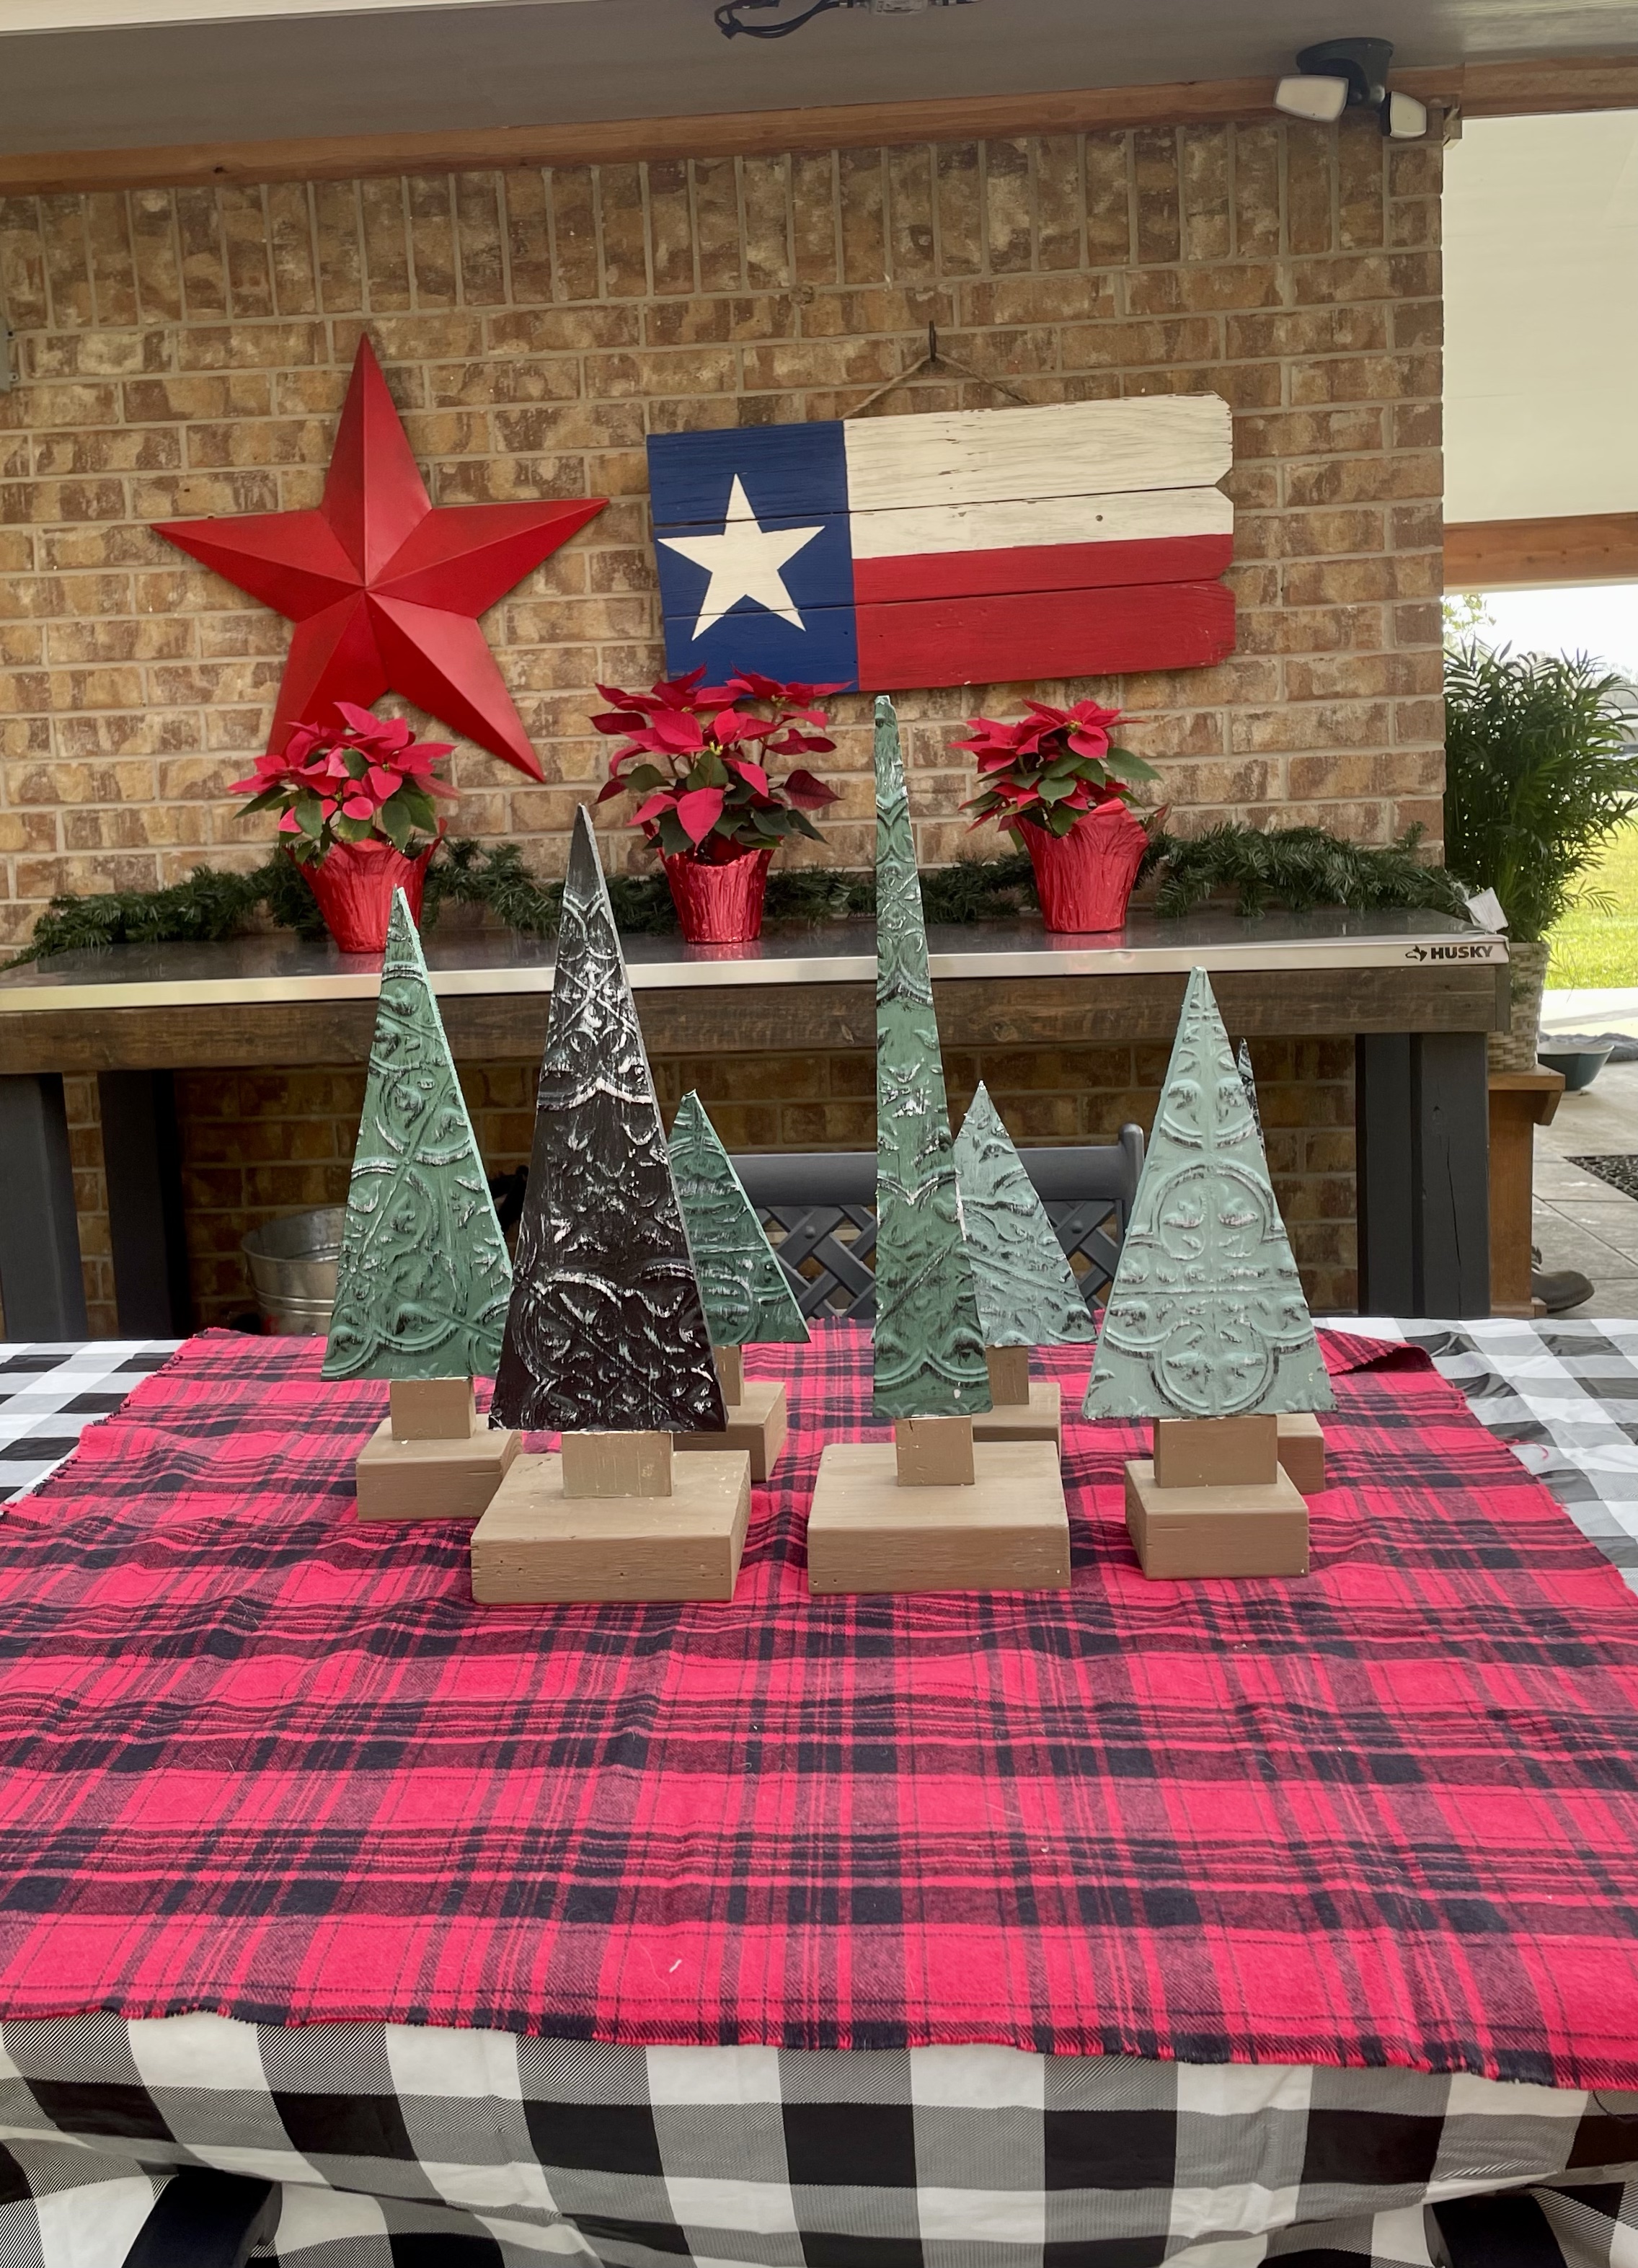
December 10, 2022
Using Dollar Tree Peel and Stick Tiles to Make Christmas Trees
Karen
September 8, 2022
An Unexpected Visit
Karen
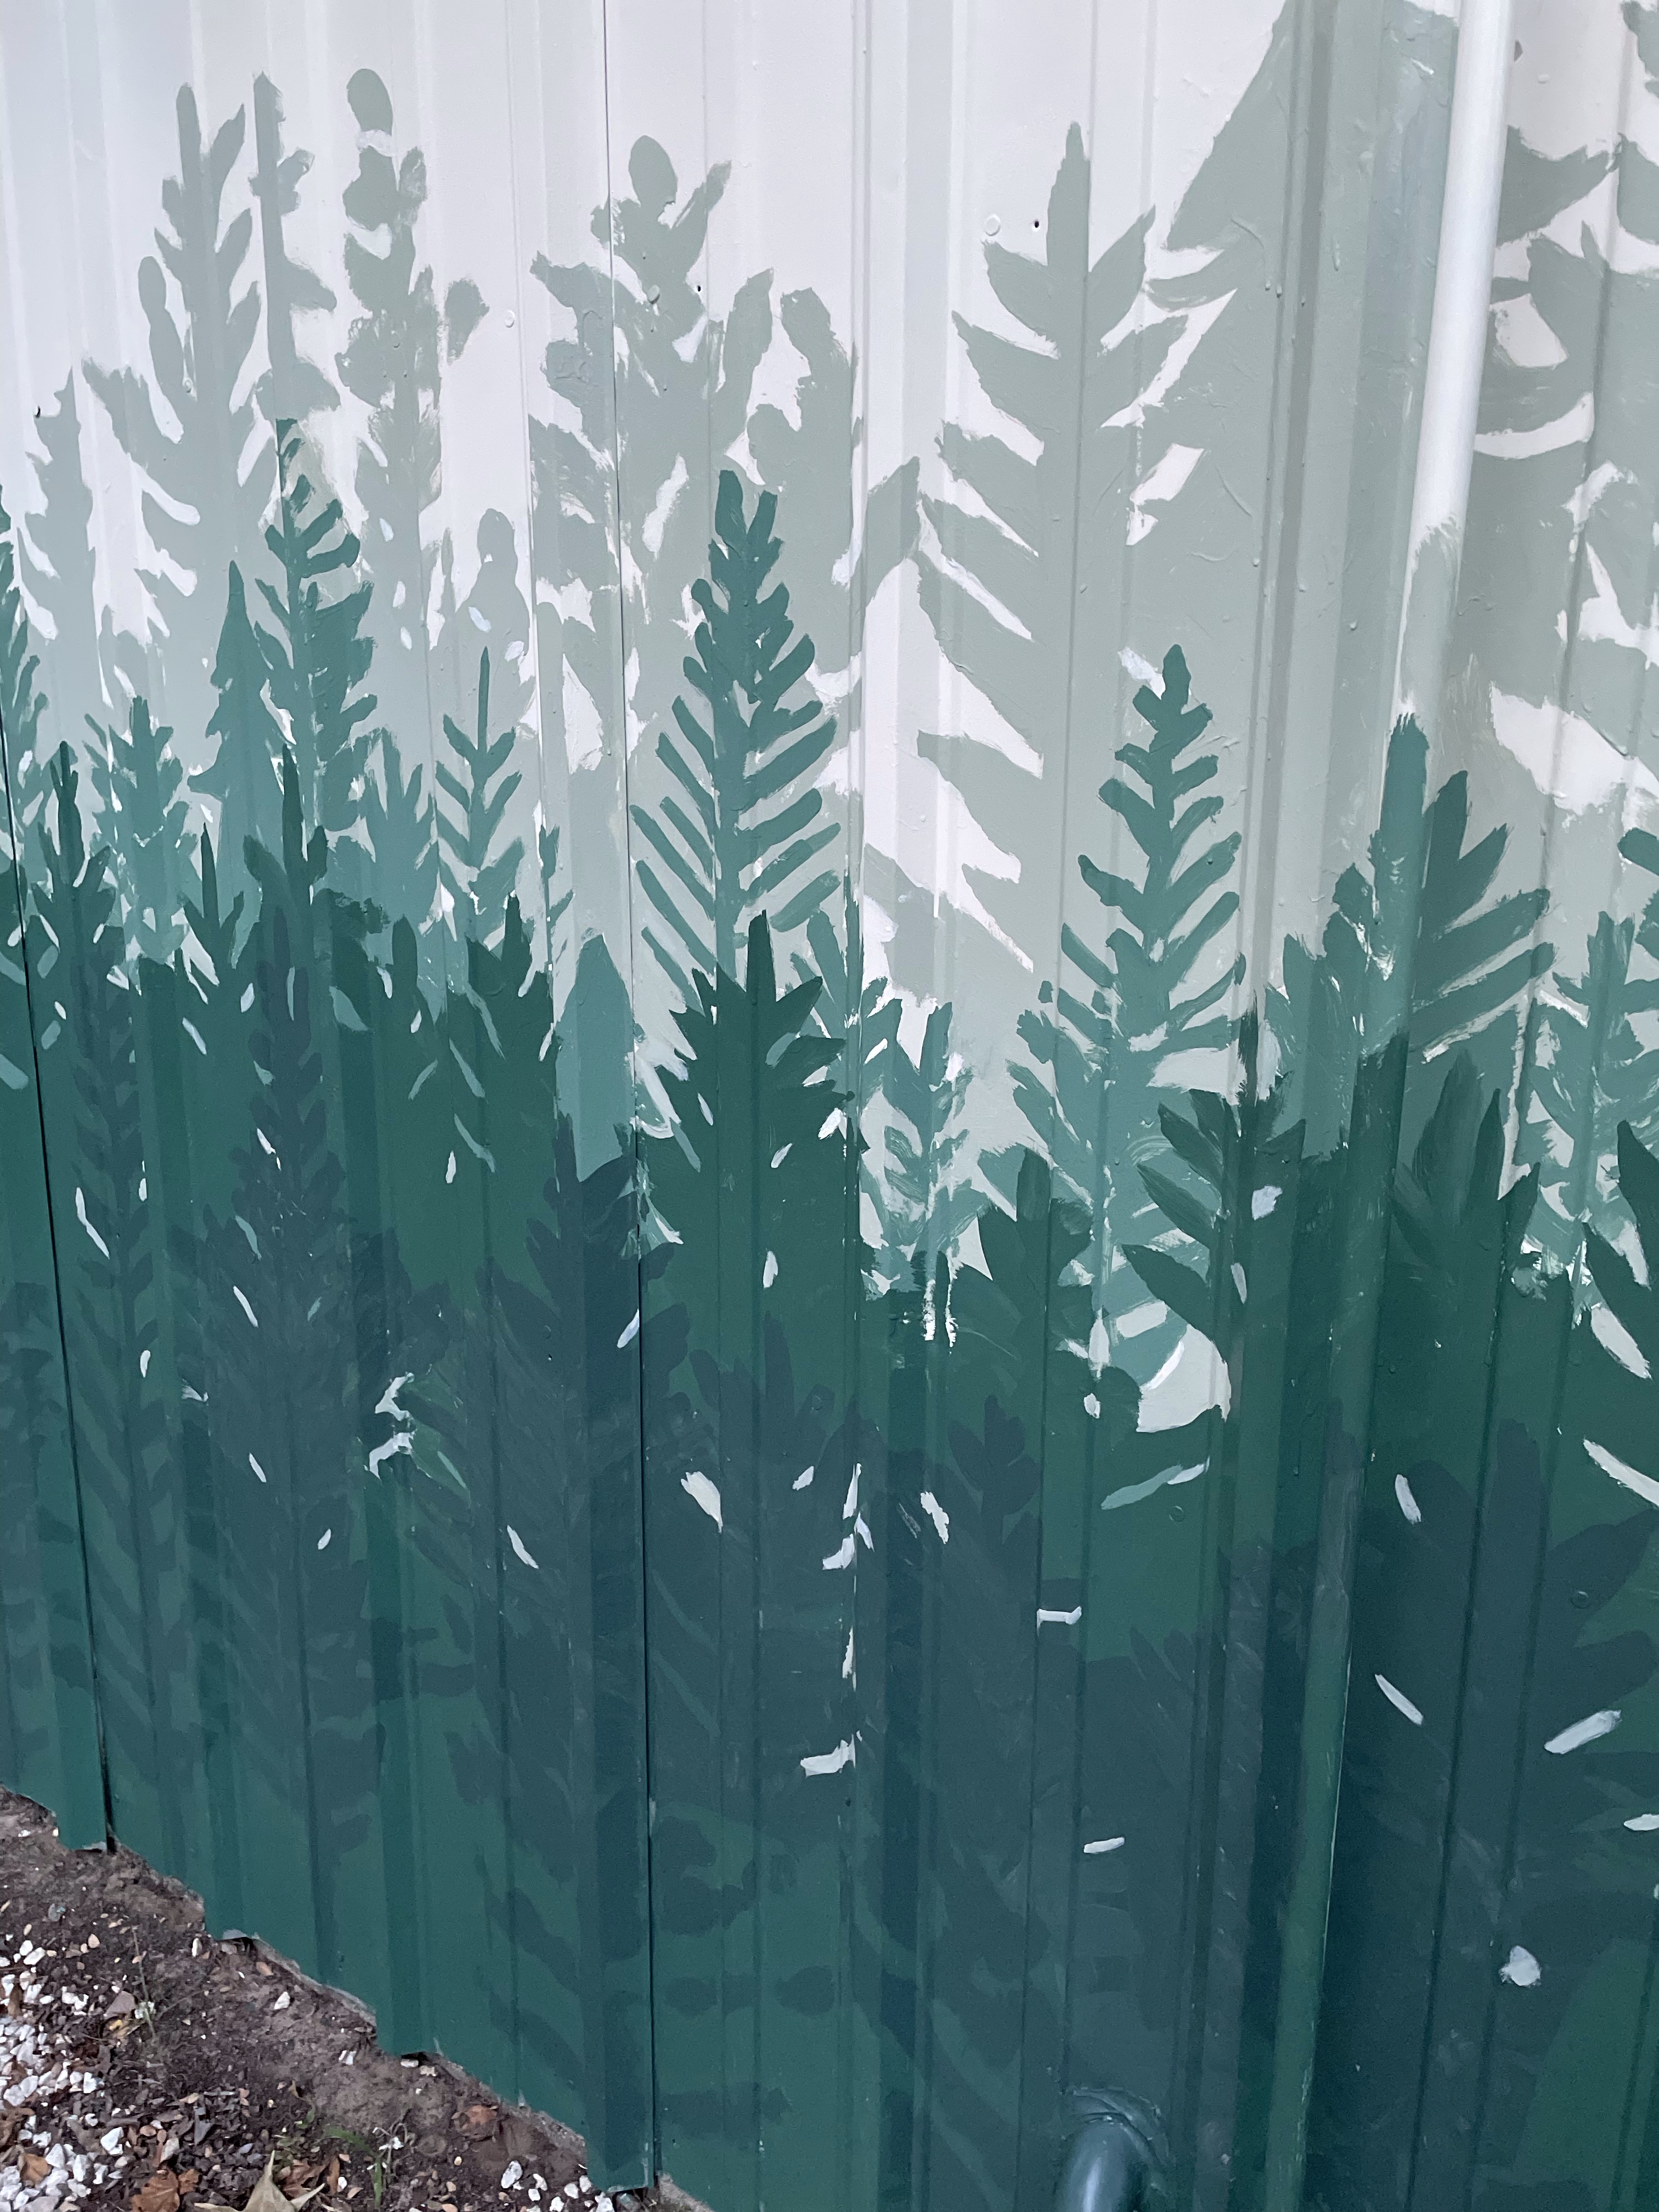
August 20, 2022
A Giant Mural on the Cheap
Karen
August 20, 2022
Operation Courtyard (Part 1)
Karen
June 27, 2022
Using Pinterest and Google Inspiration Boards
Karen
June 20, 2022
Naming the Guest House
Karen
1
2
3
…
14
Next Page
Archives
Health
.
Fashion
.
Food
.
Shopping
.
Events
.
Fiction
.
Travel
.
Japan
.
Education
.
Loading Comments...
Write a Comment...
Email (Required)
Name (Required)
Website