Facebook
Twitter
Instagram
TikTok
YouTube
Search
The Weekend Country Girl
Before and After
Blog
Sand Creek Cottage
The Cast of Characters
The Corner of 8th and M
The Redneck Retreat
Country living
April 12, 2016
A Fixer Upper Trip
Karen
March 18, 2016
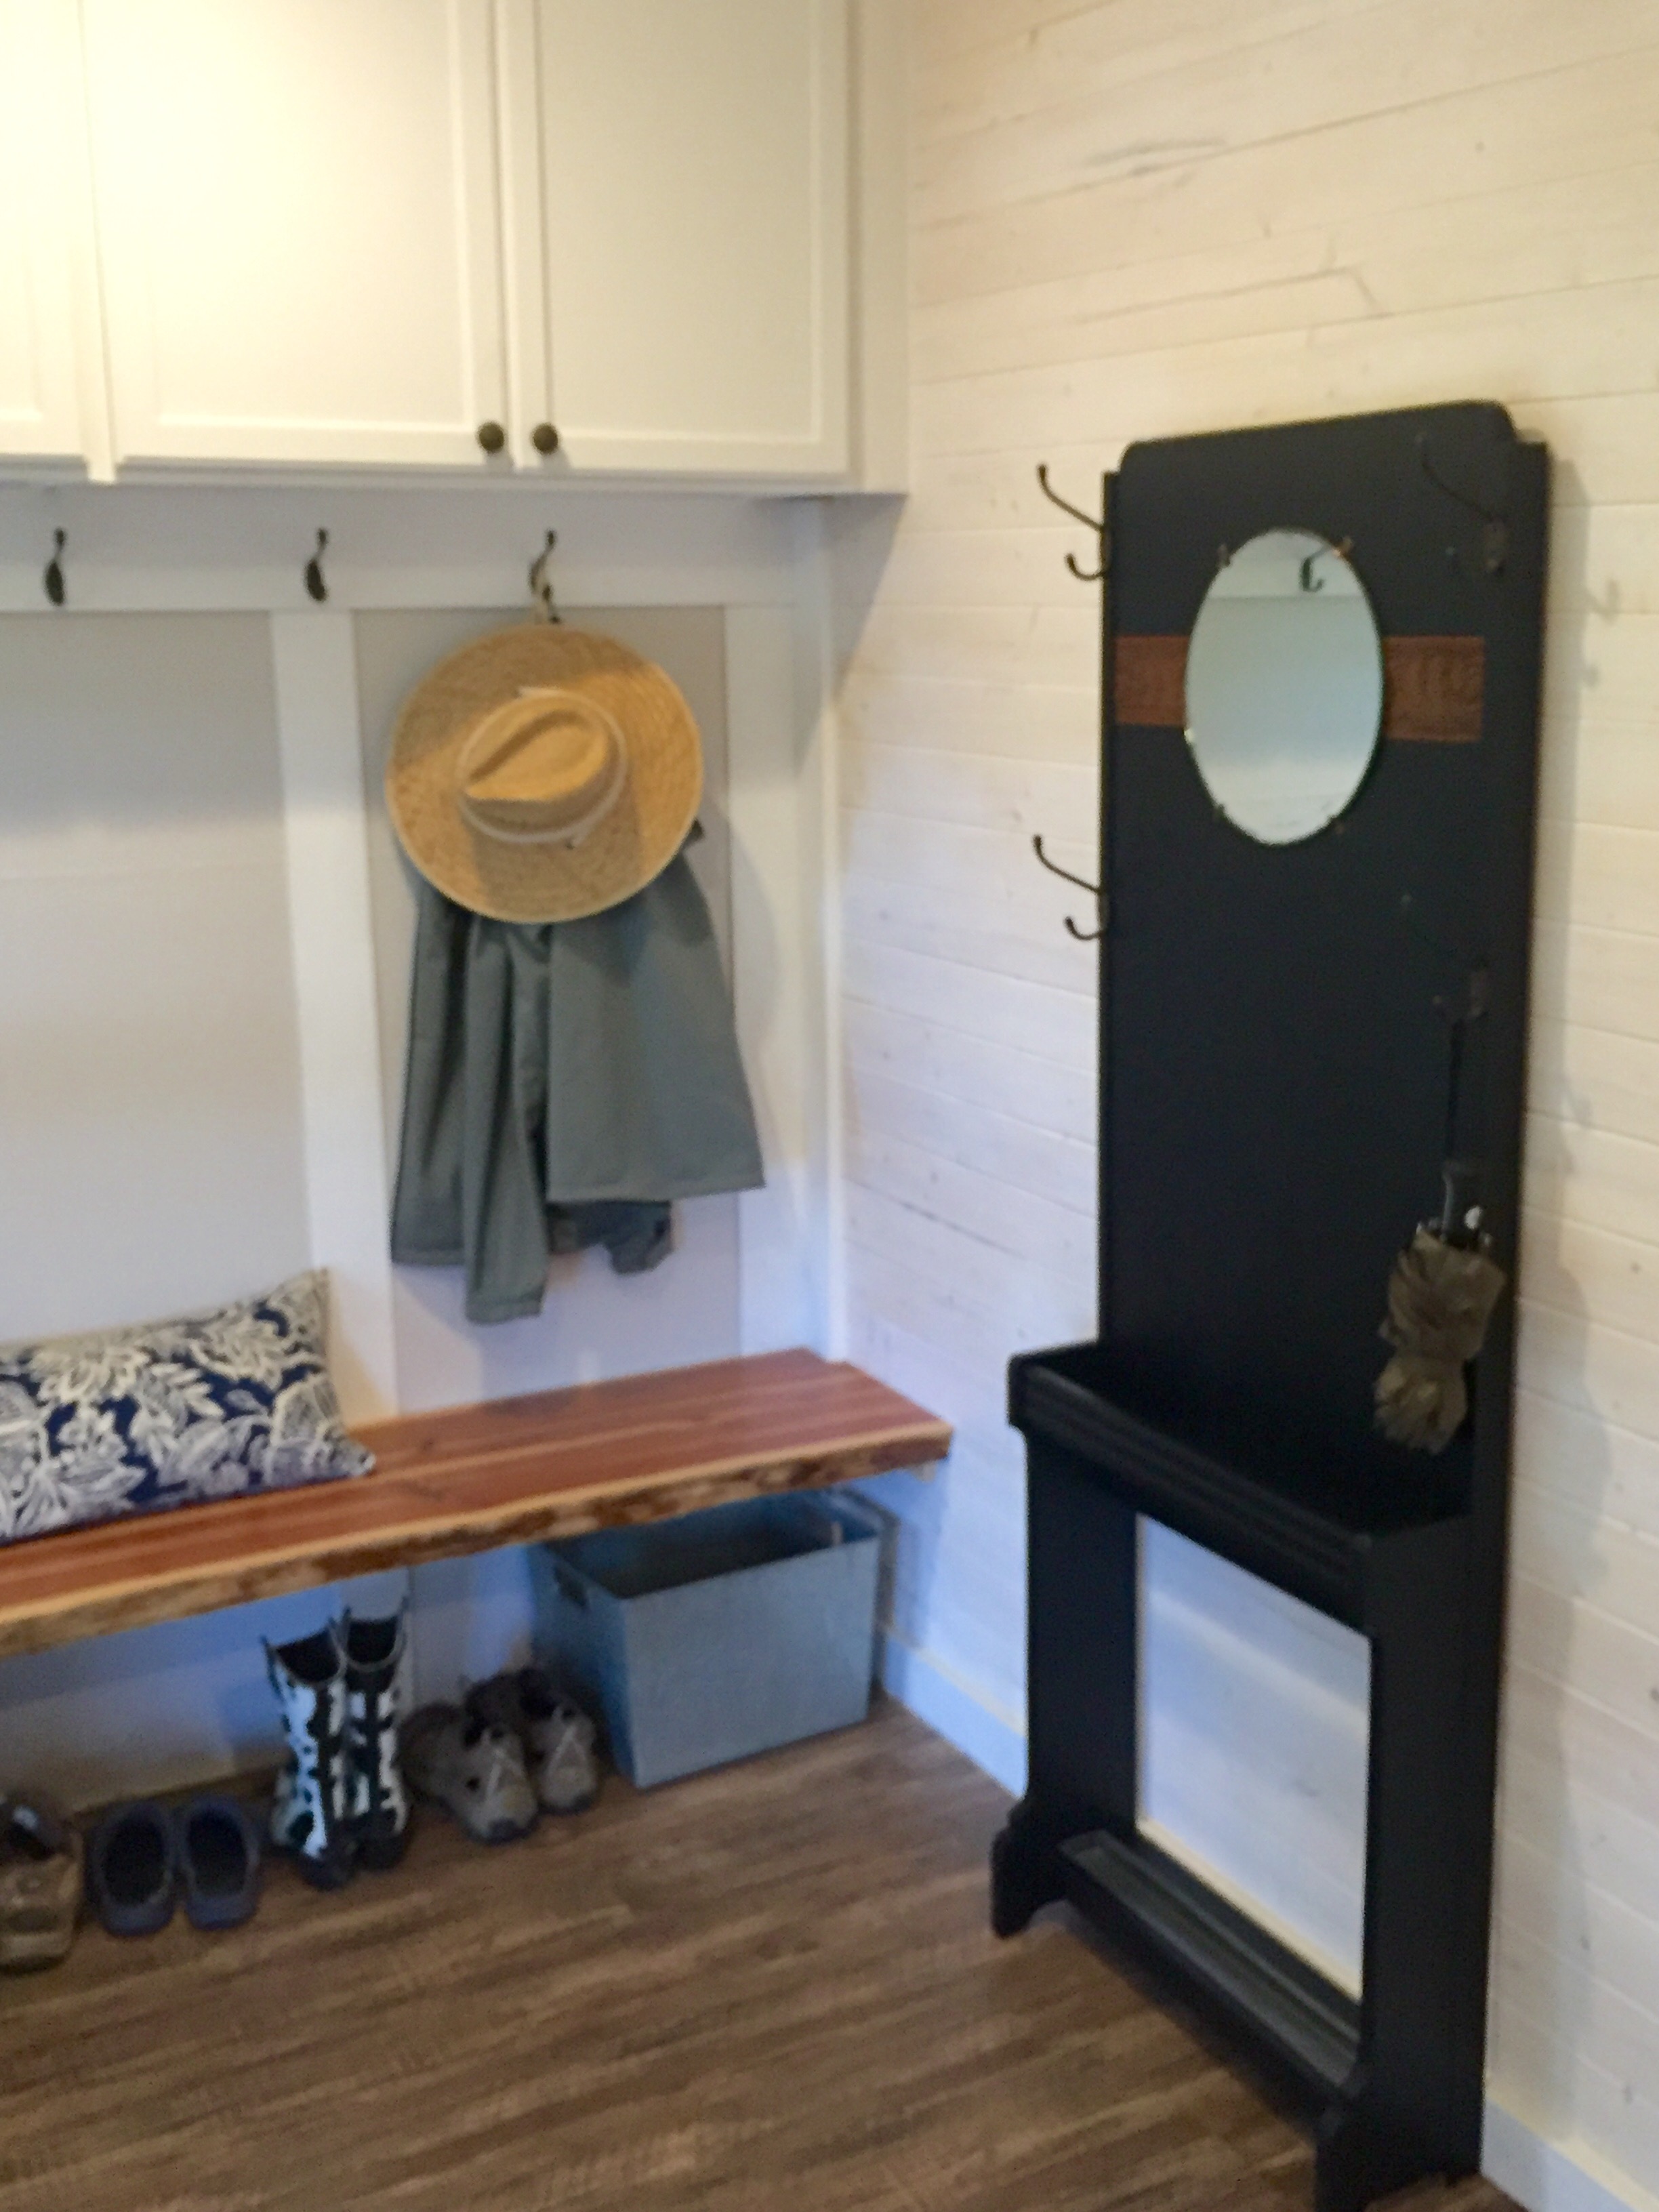
Creating a Mudroom
Karen
January 24, 2016
My Dream to Buy an Old Home
Karen
January 5, 2016
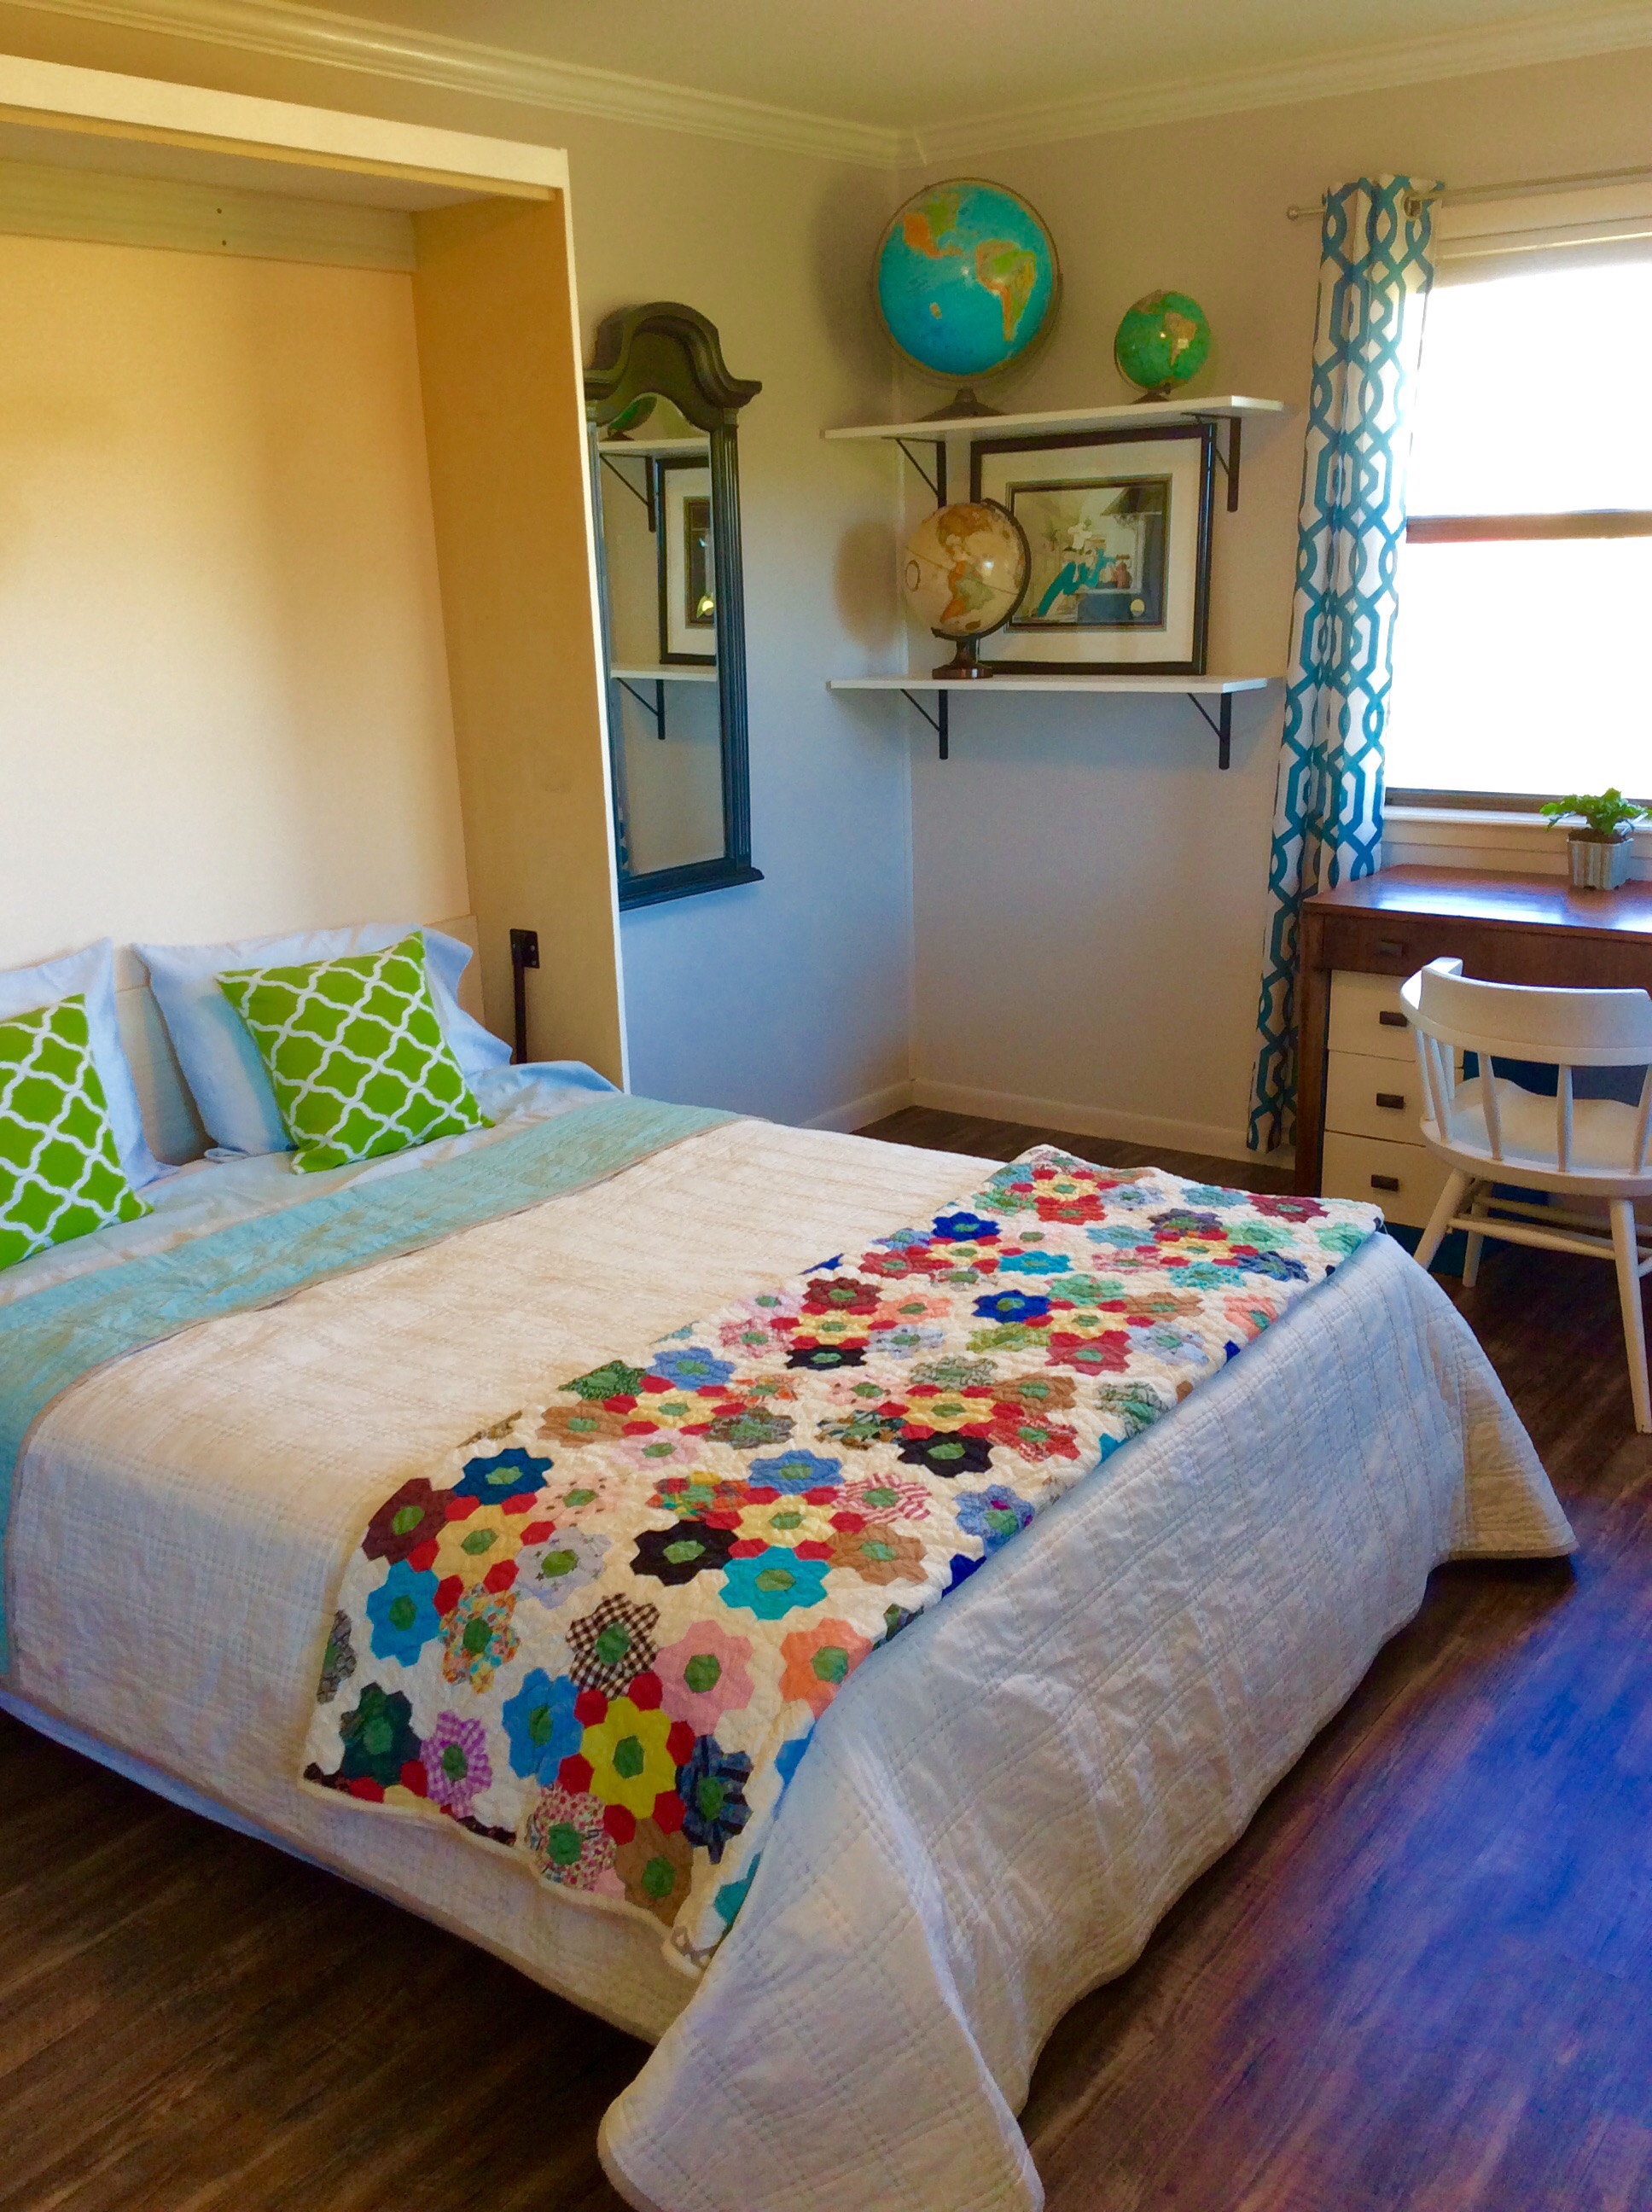
Craft/ Guest Room Update
Karen
October 28, 2015
Creating a Ship Lap Wall for the Mudroom
Karen
October 6, 2015
The Flooring Reveal
Karen
September 29, 2015
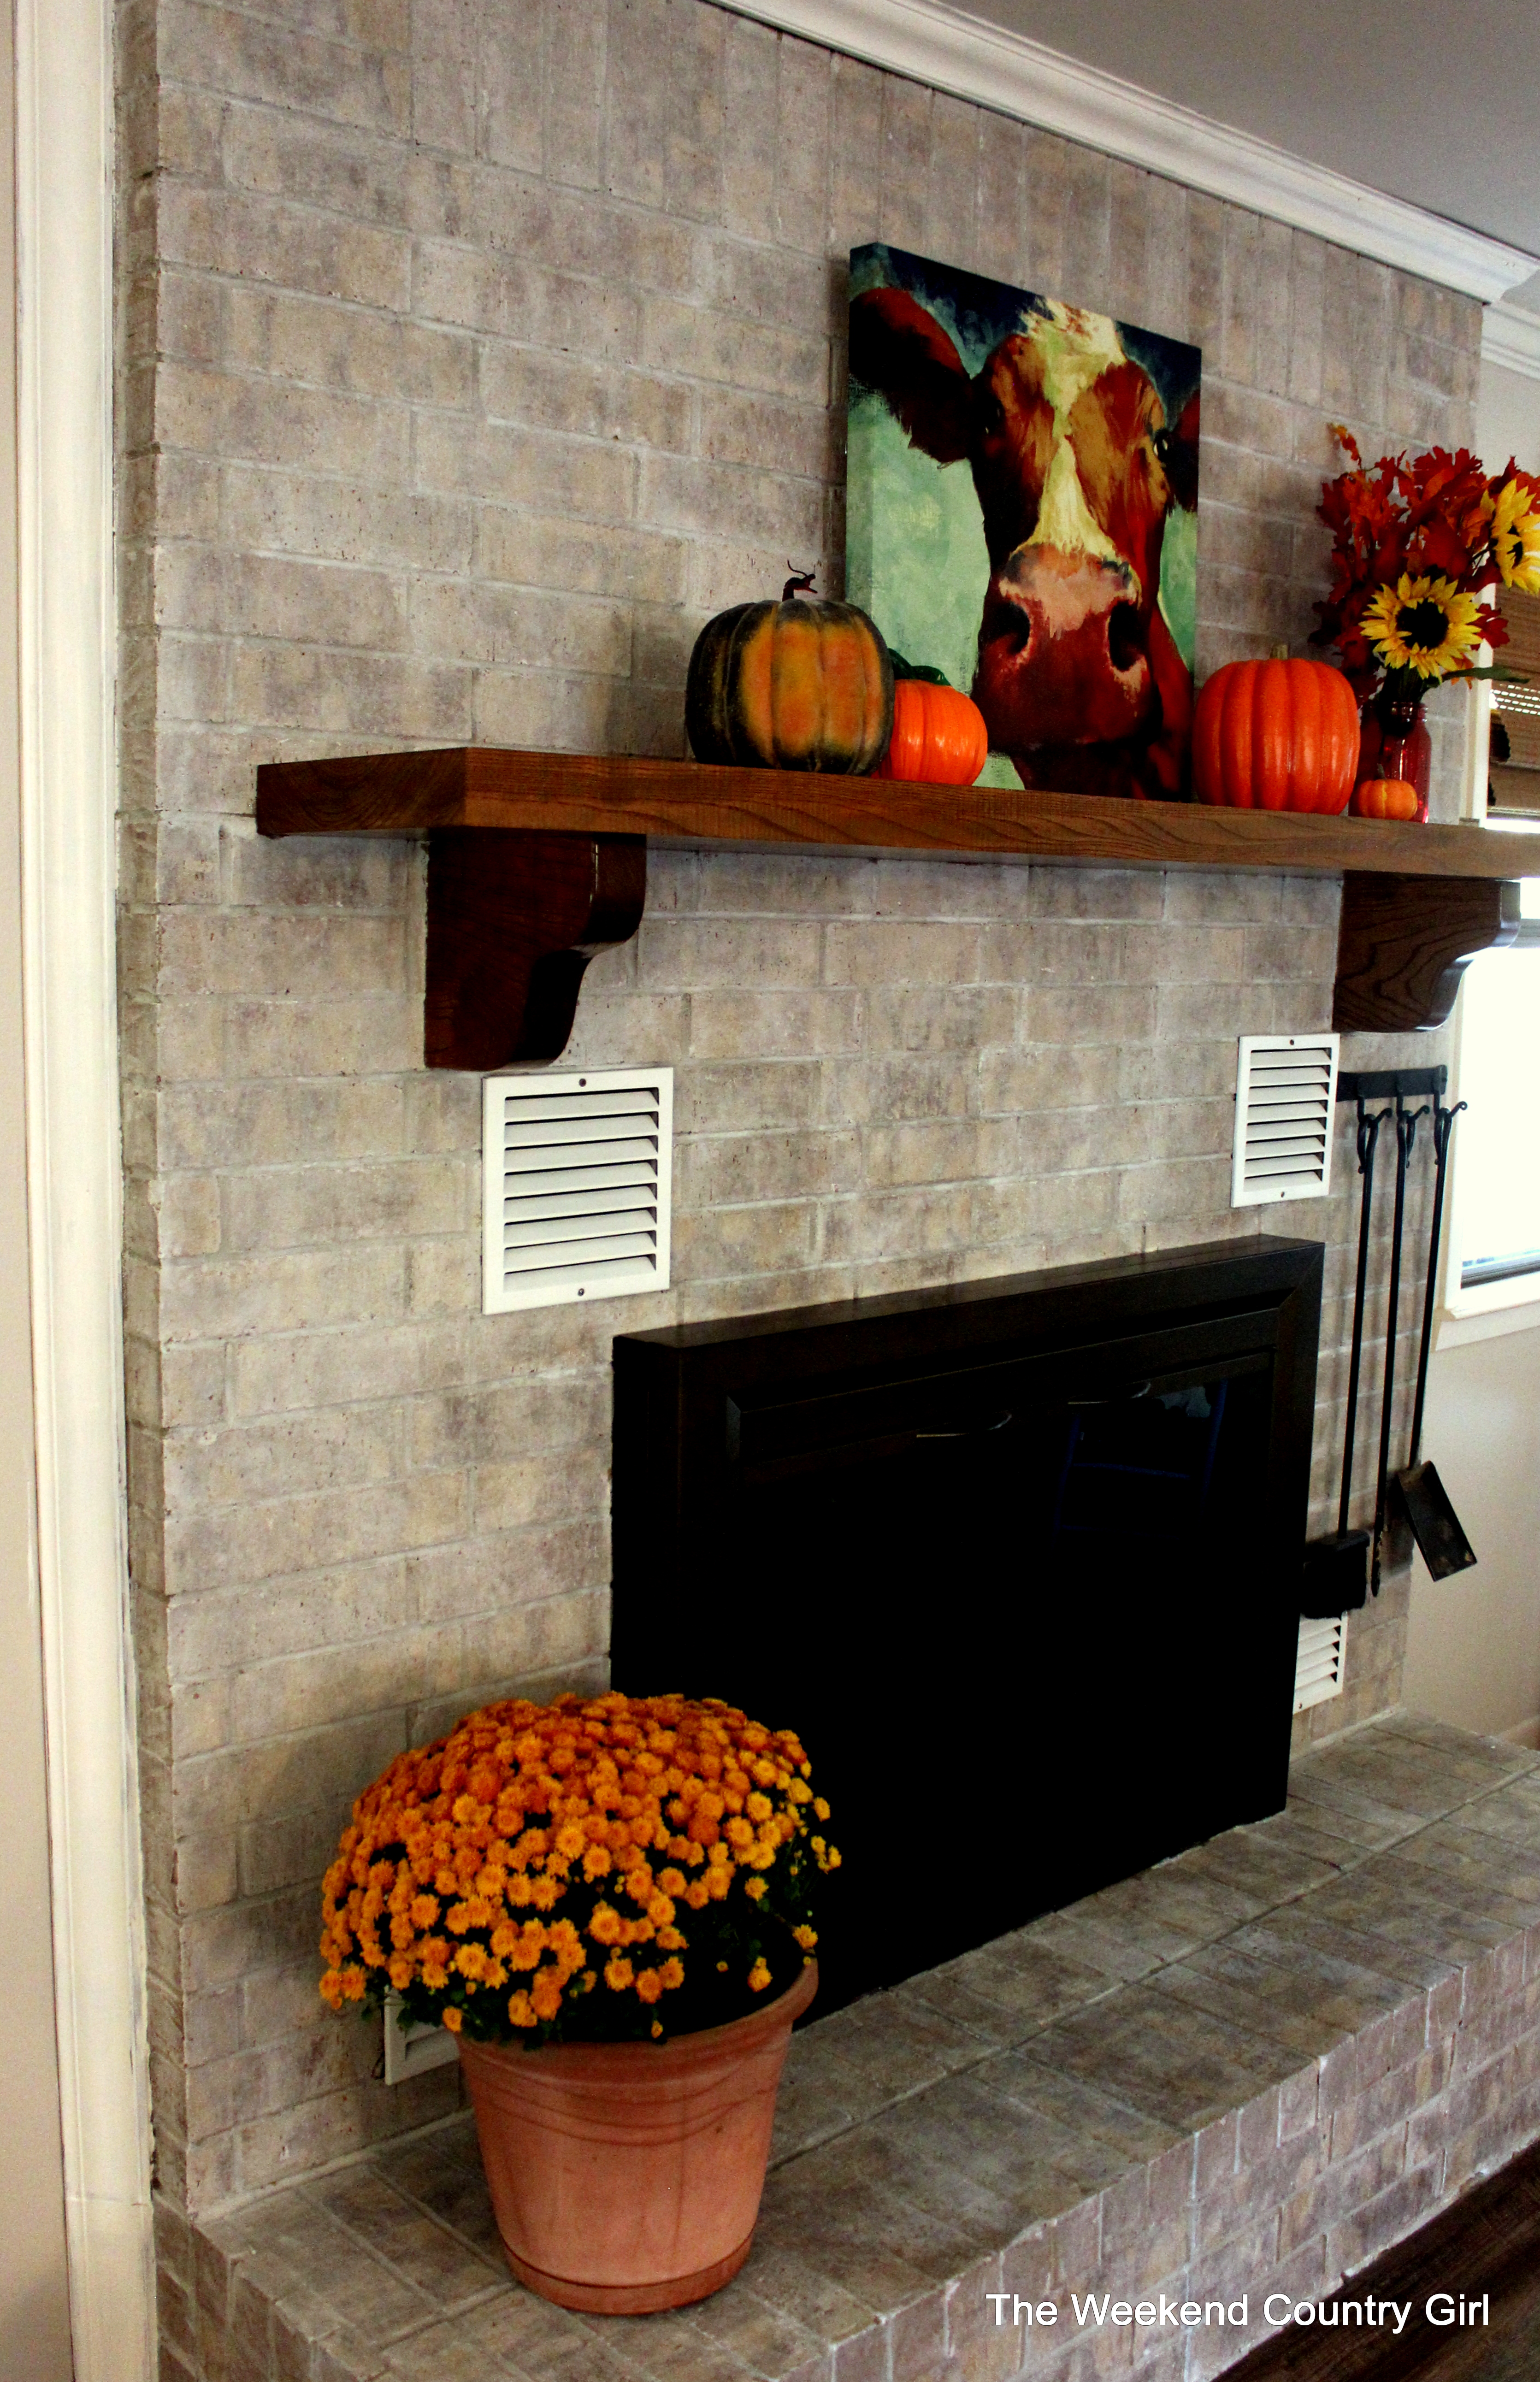
Whitewashing a Dated Fireplace
Karen
September 11, 2015
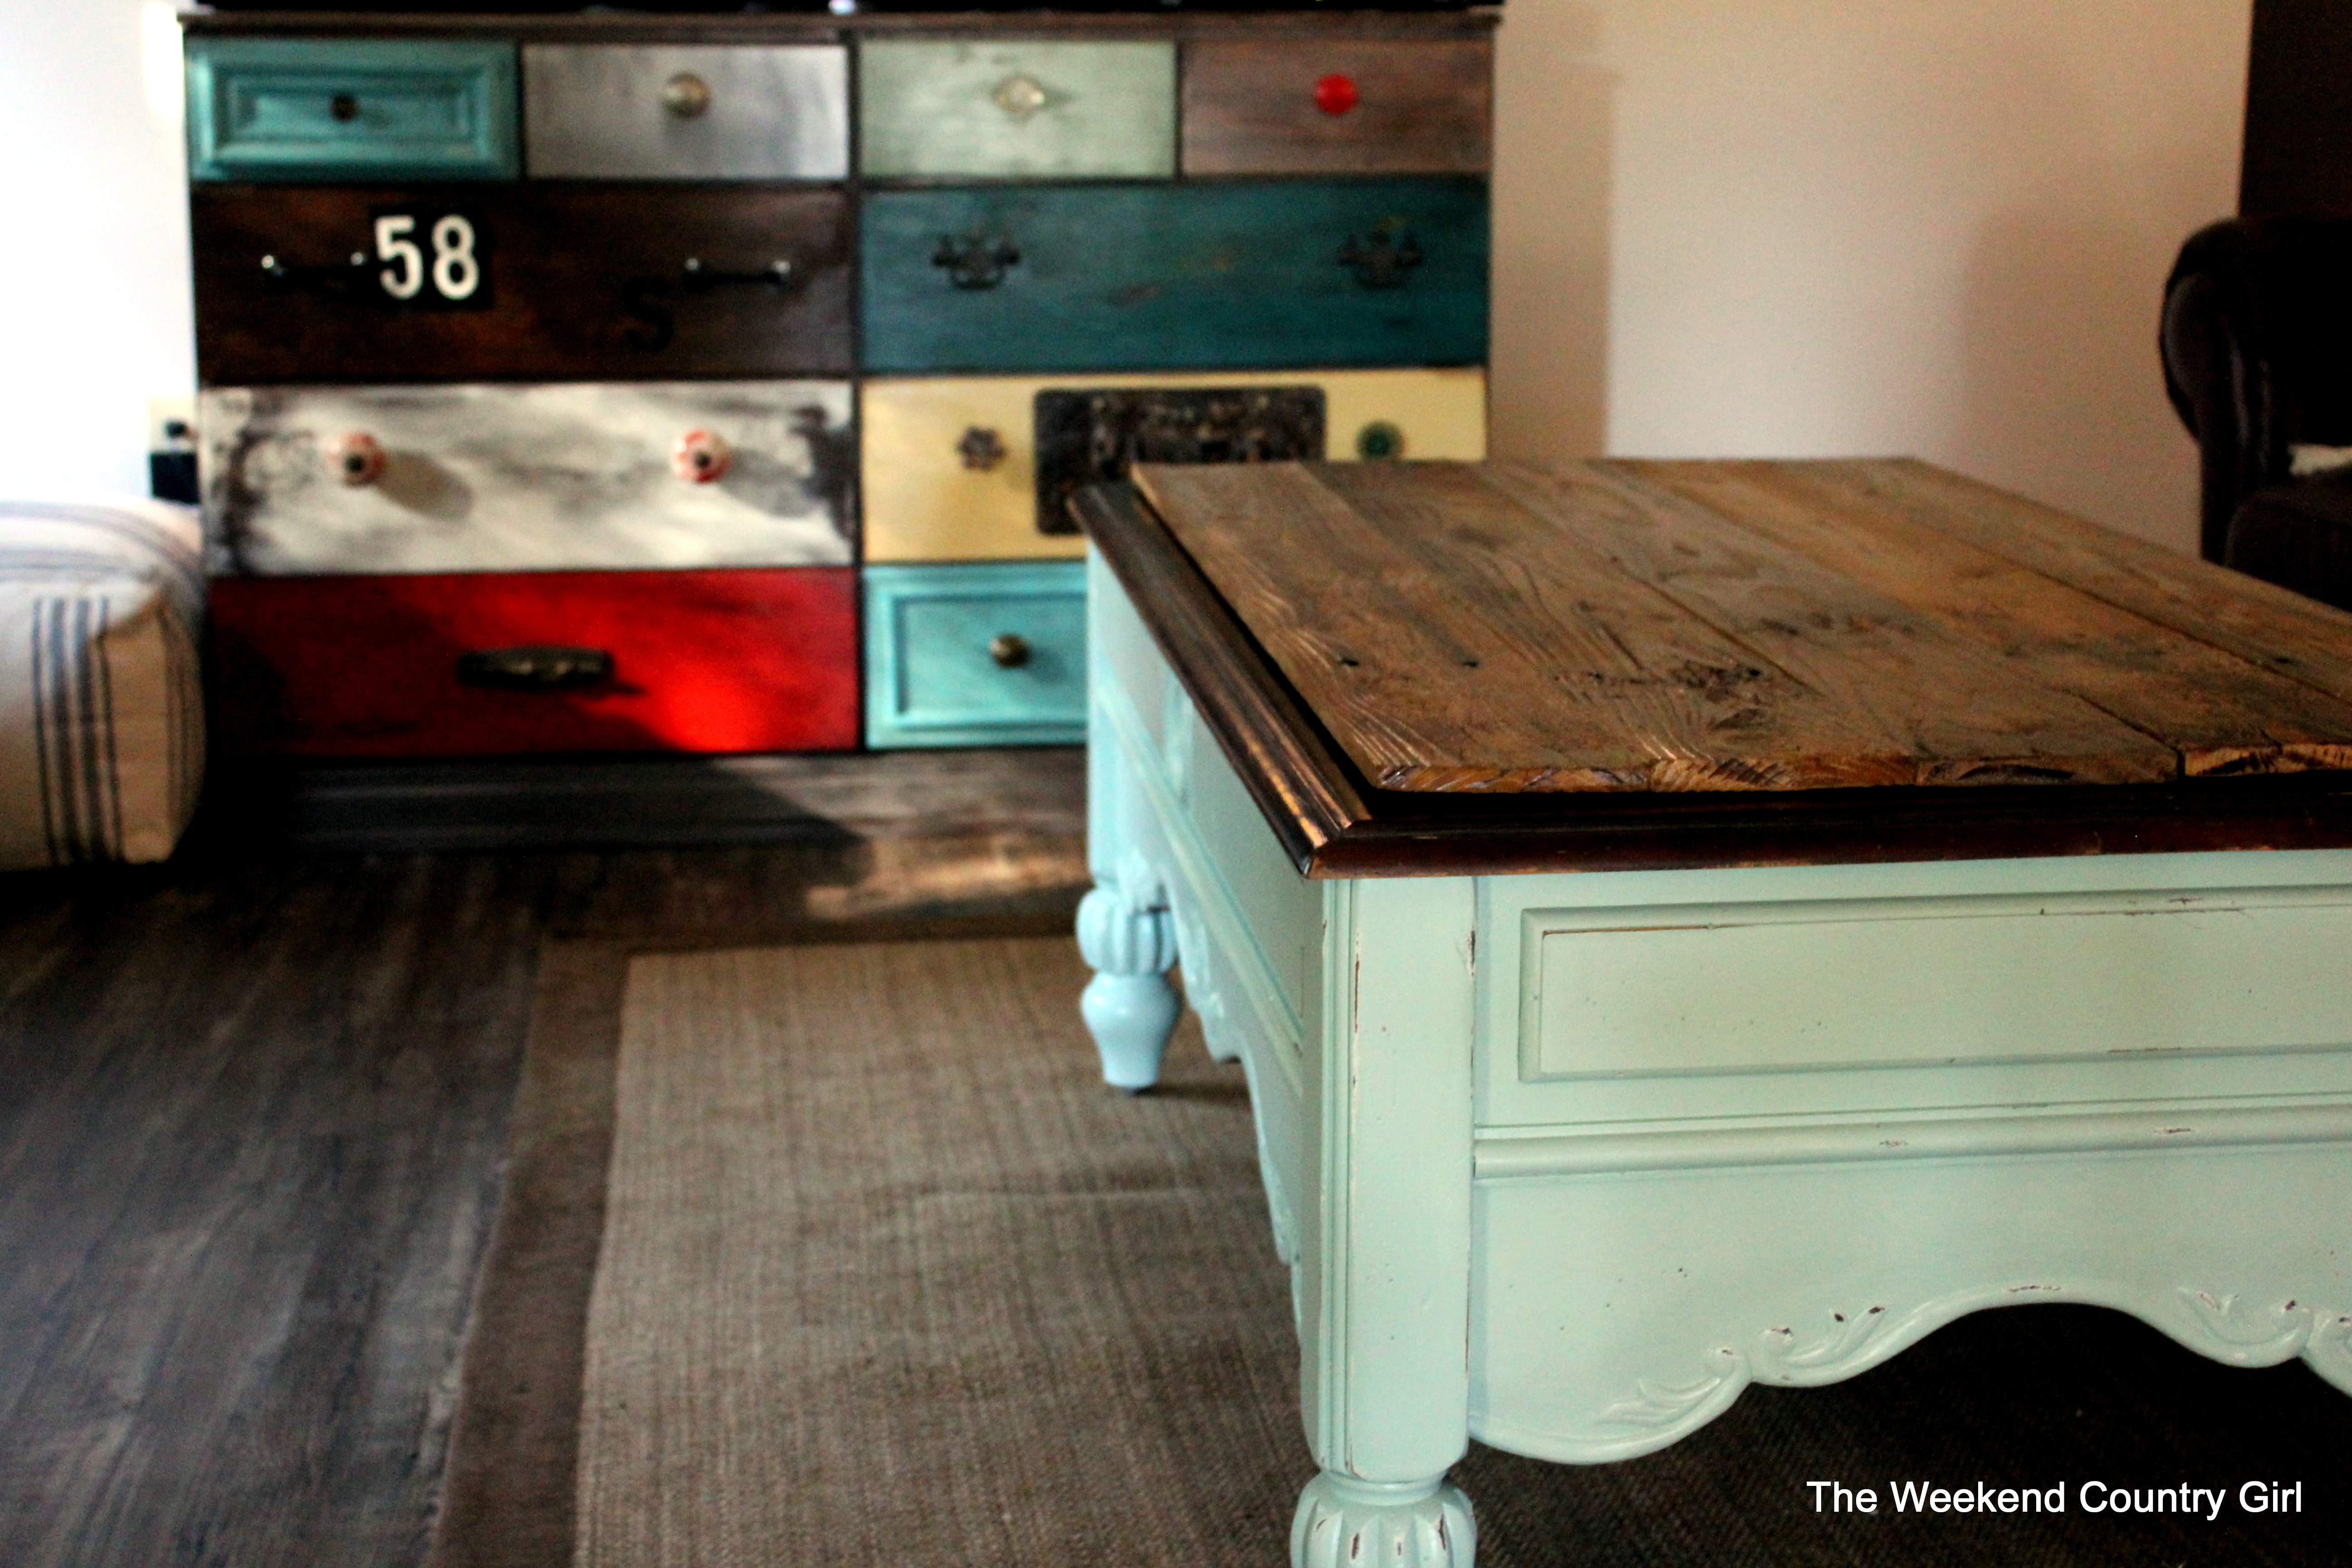
Belly Up to the Bar
Karen
September 9, 2015
Week 5 Progress
Karen
August 21, 2015
What’s In A Name?
Karen
Previous Page
1
2
3
4
…
7
Next Page
Archives
Health
.
Fashion
.
Food
.
Shopping
.
Events
.
Fiction
.
Travel
.
Japan
.
Education
.
Loading Comments...
Write a Comment...
Email (Required)
Name (Required)
Website