Facebook
Twitter
Instagram
TikTok
YouTube
Search
The Weekend Country Girl
Before and After
Blog
Sand Creek Cottage
The Cast of Characters
The Corner of 8th and M
The Redneck Retreat
DIY
June 14, 2022
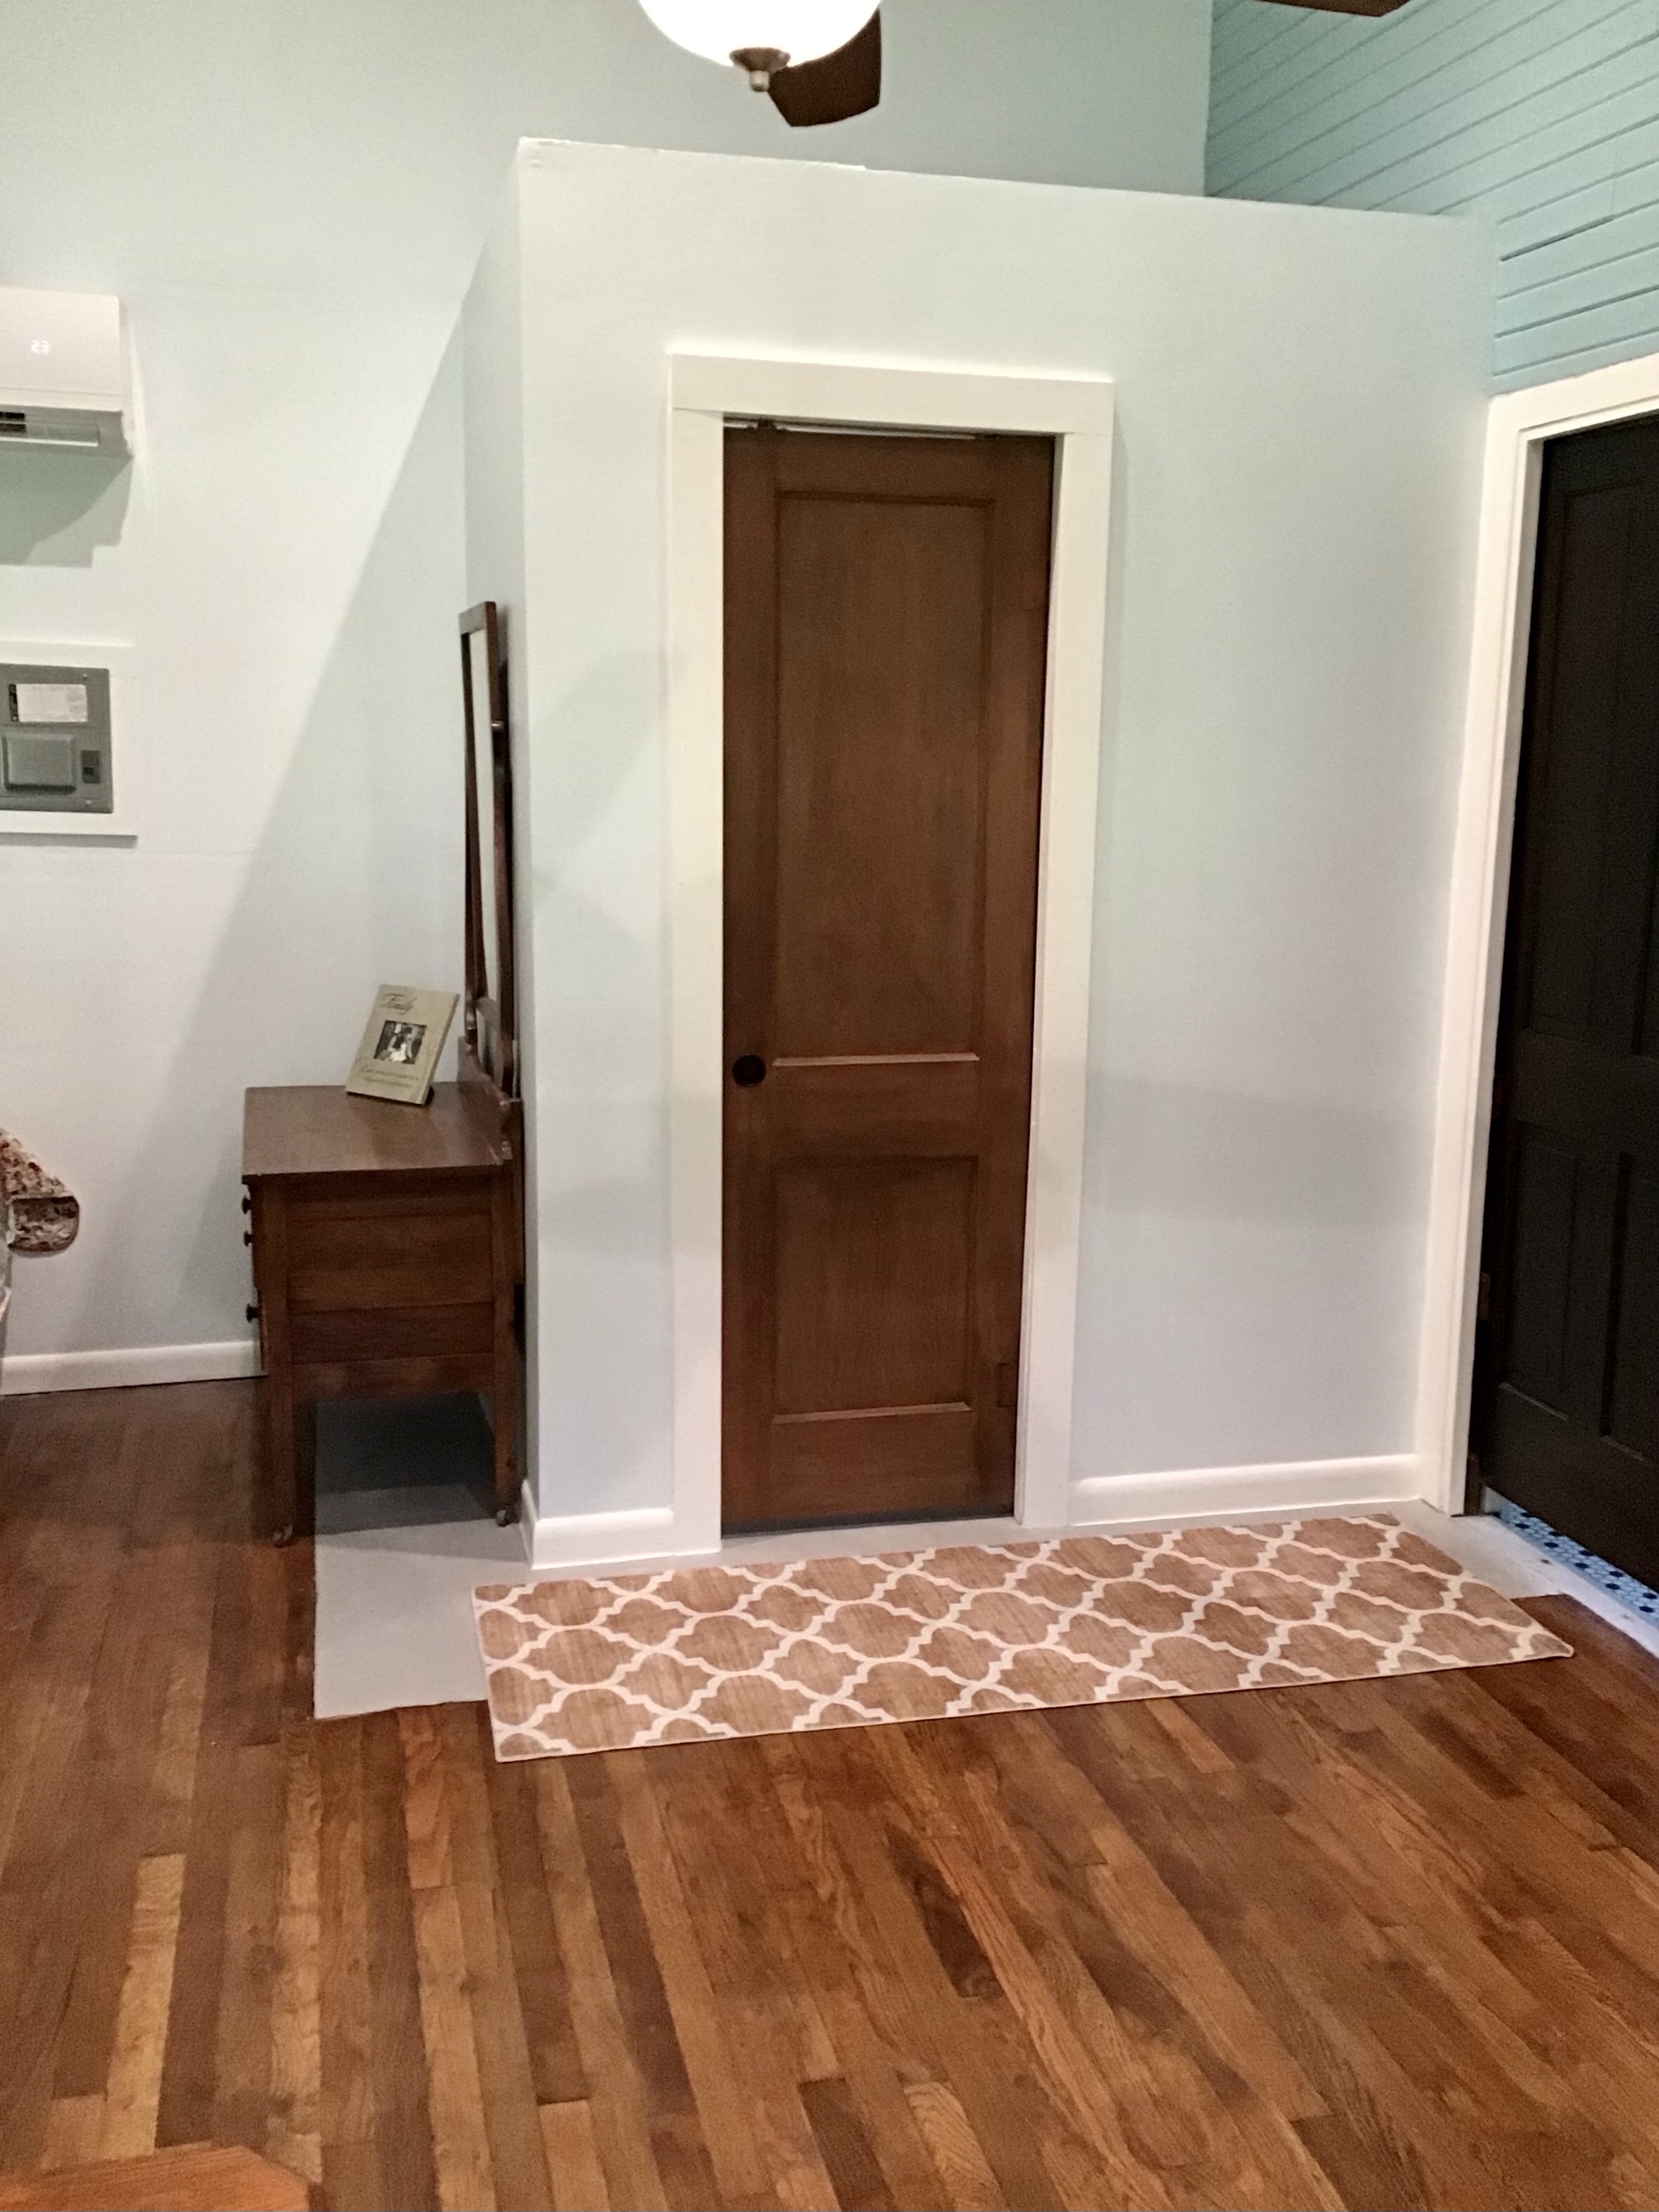
The Inside of the Guest House is Finished
Karen
June 8, 2022
Guest House Closet
Karen
April 10, 2017
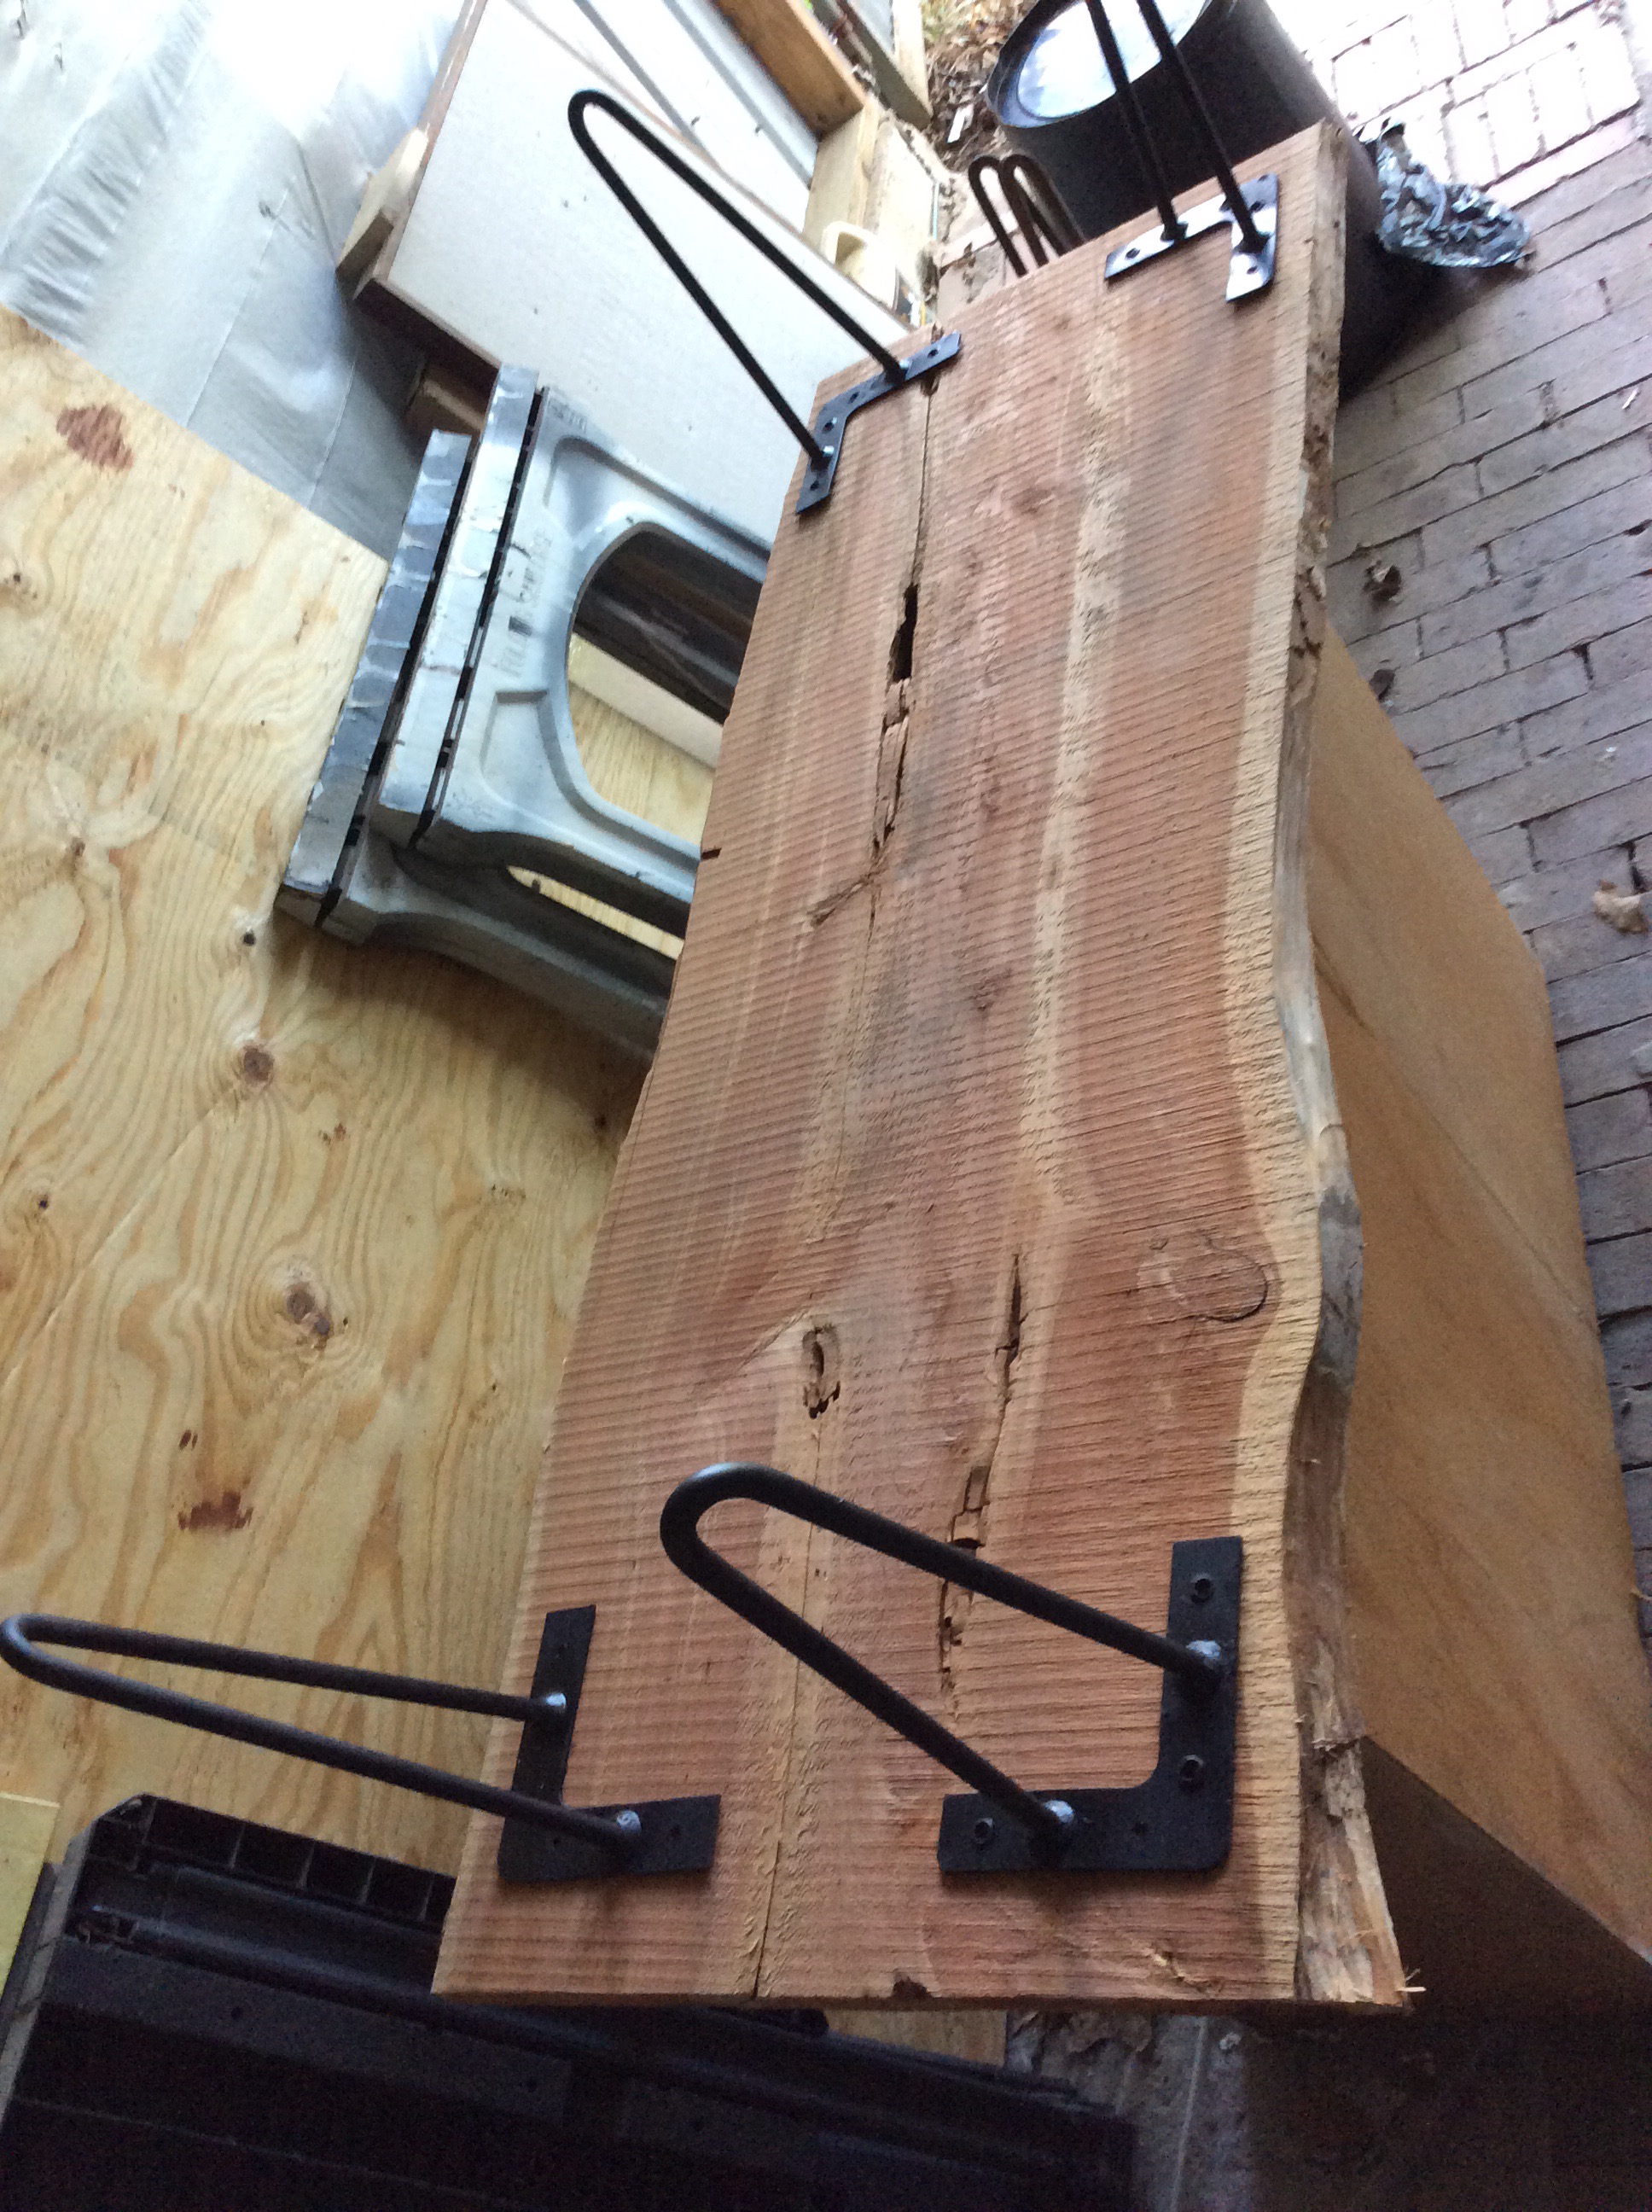
Hair Pin Leg Winfall
Karen
March 19, 2017
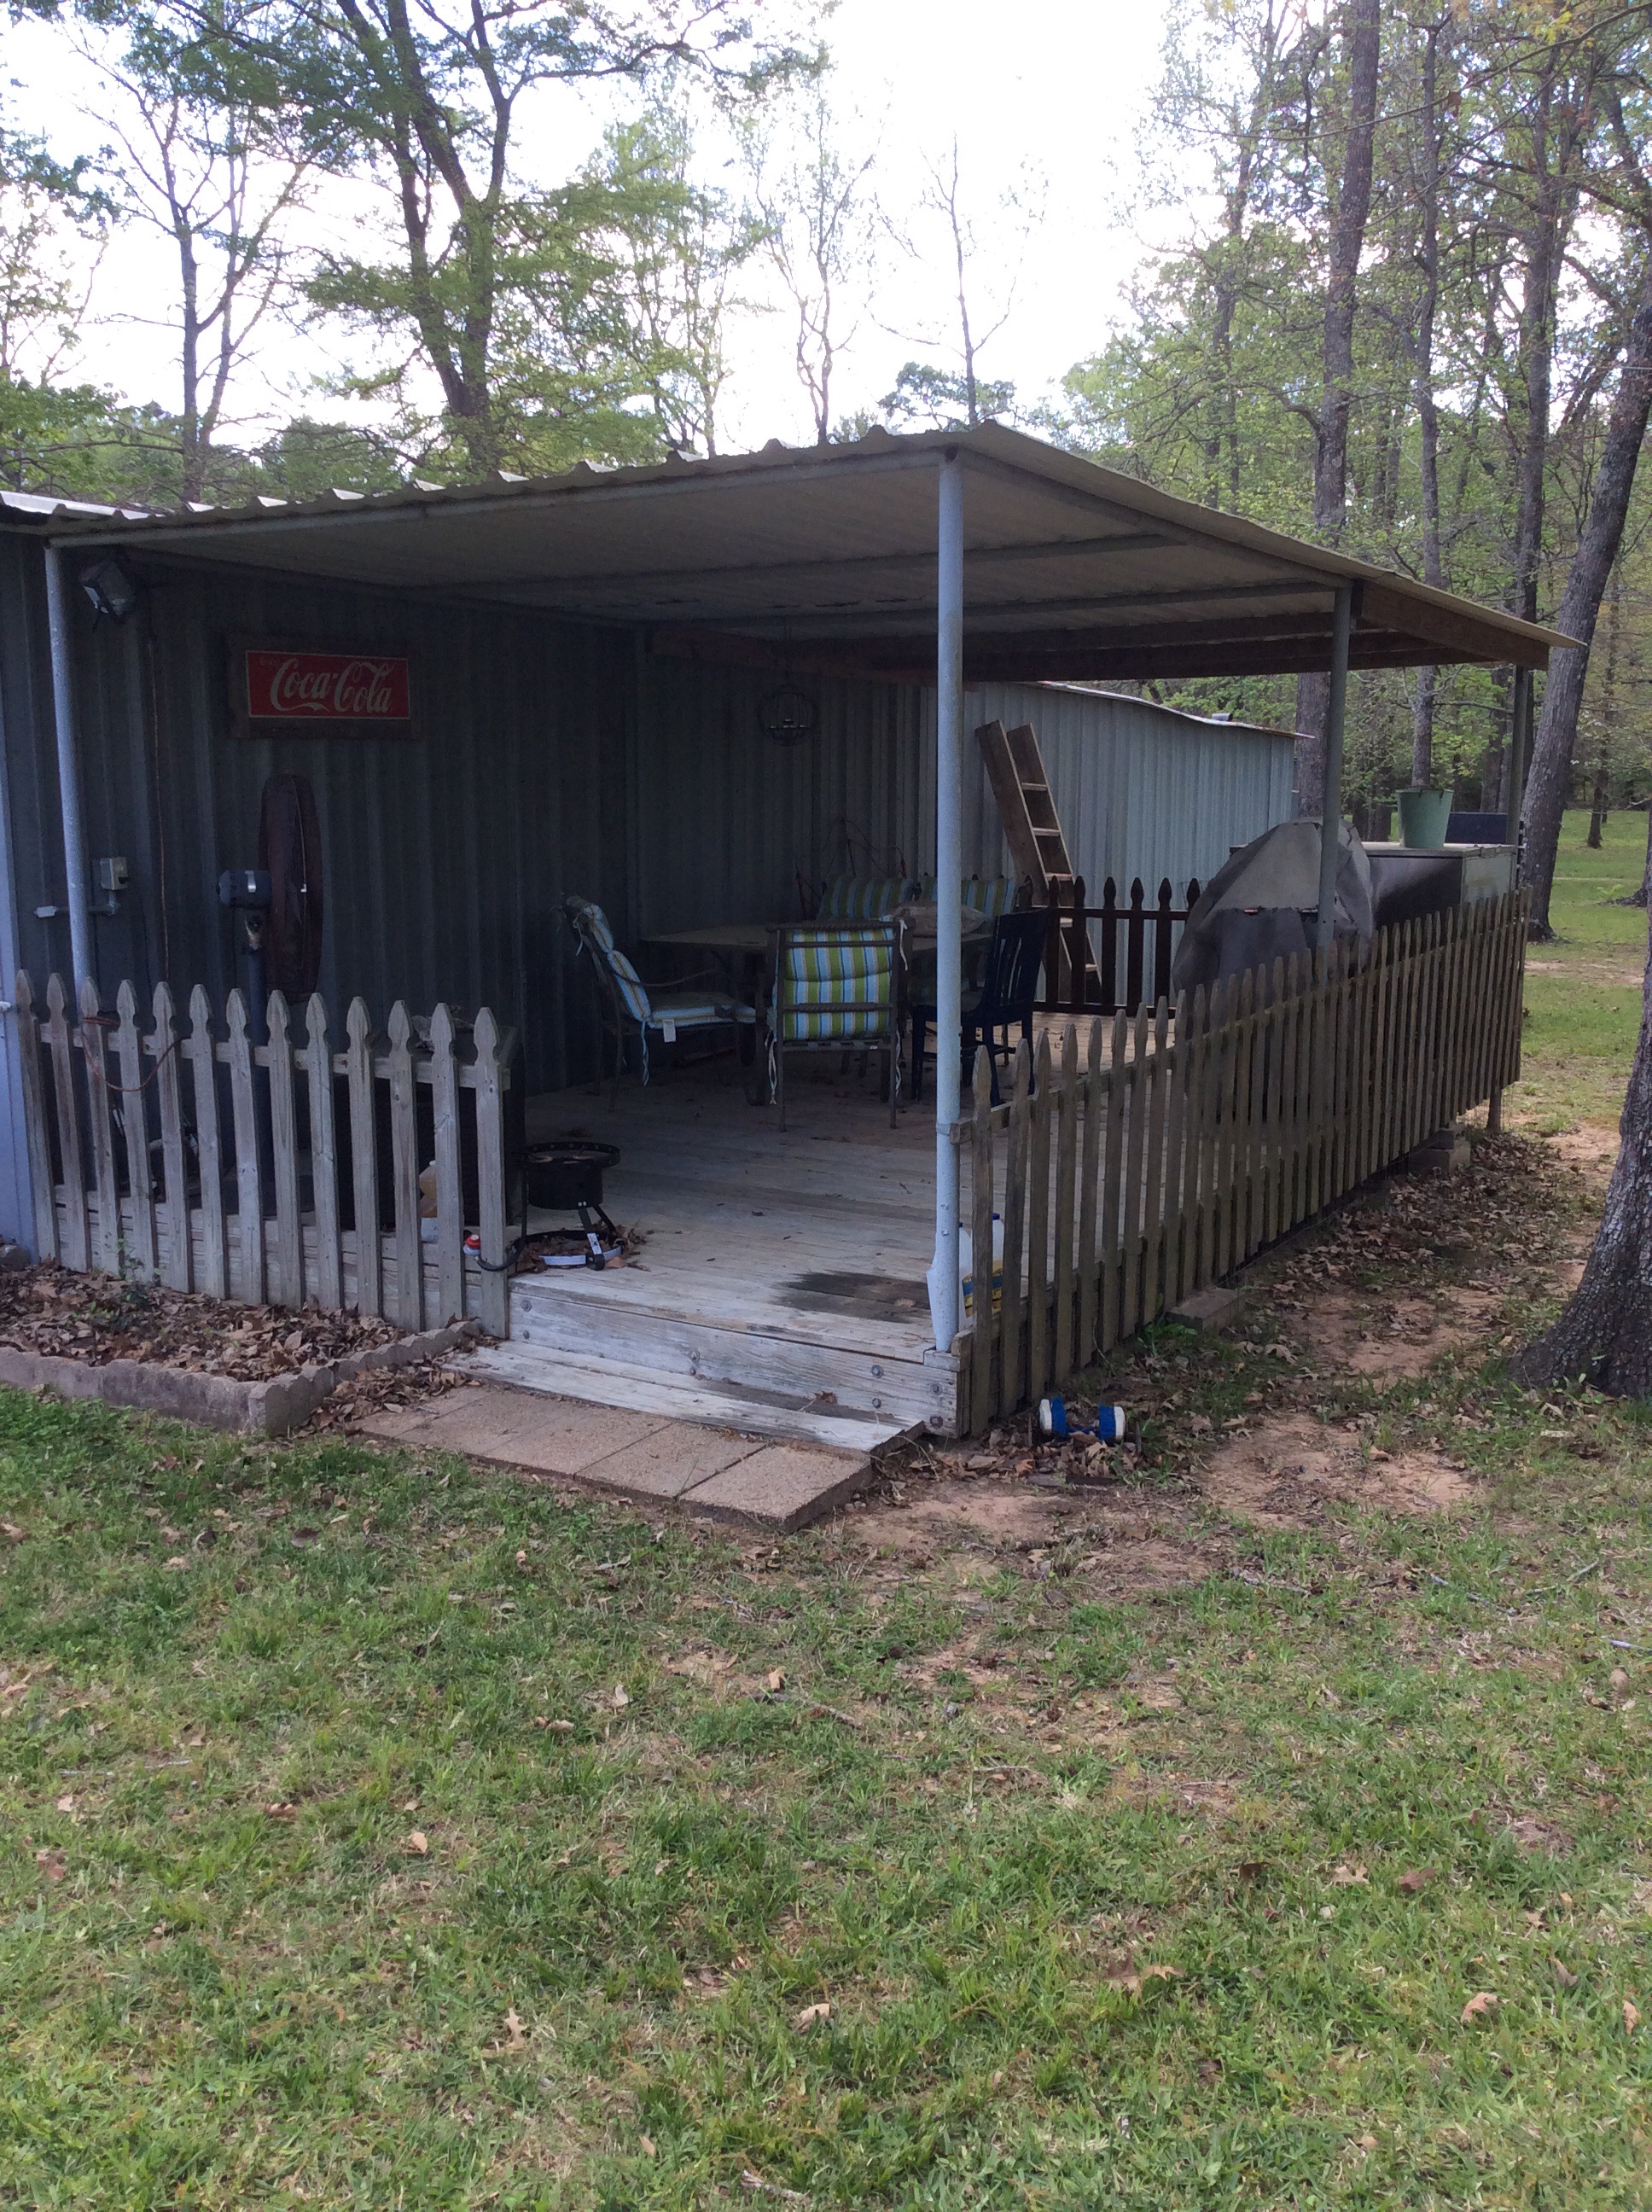
Summer Pojects
Karen
February 18, 2016
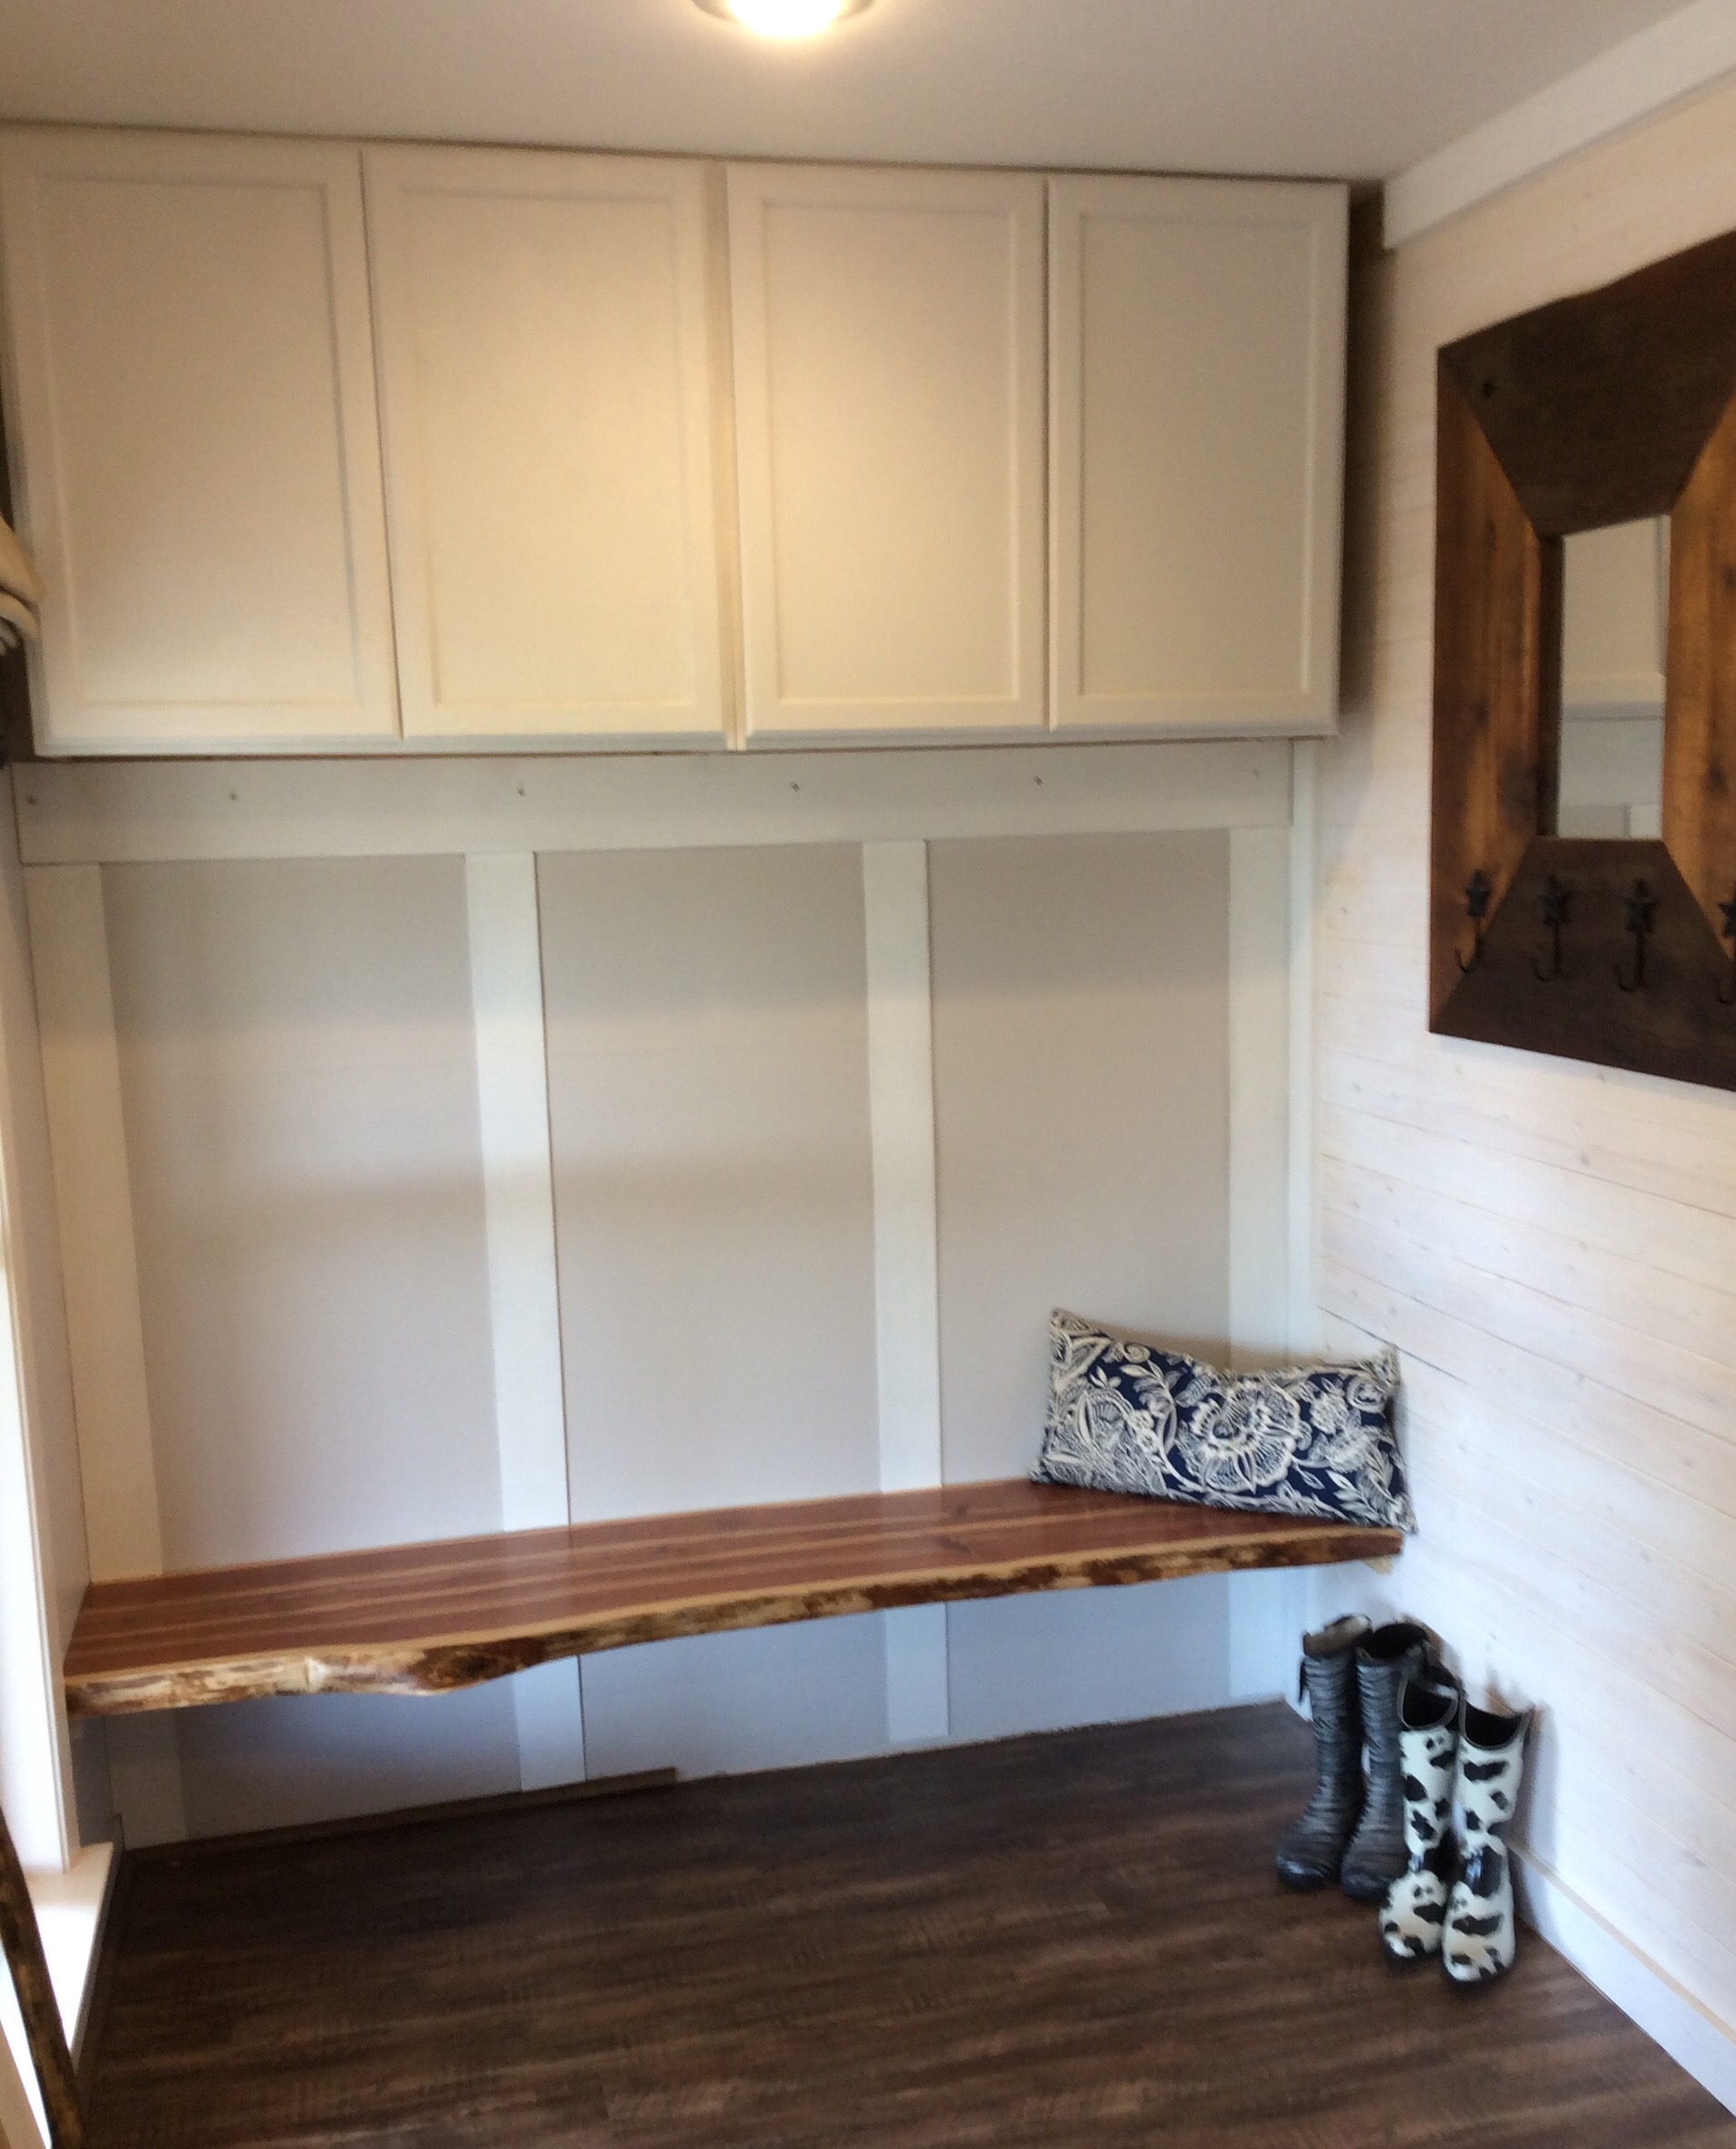
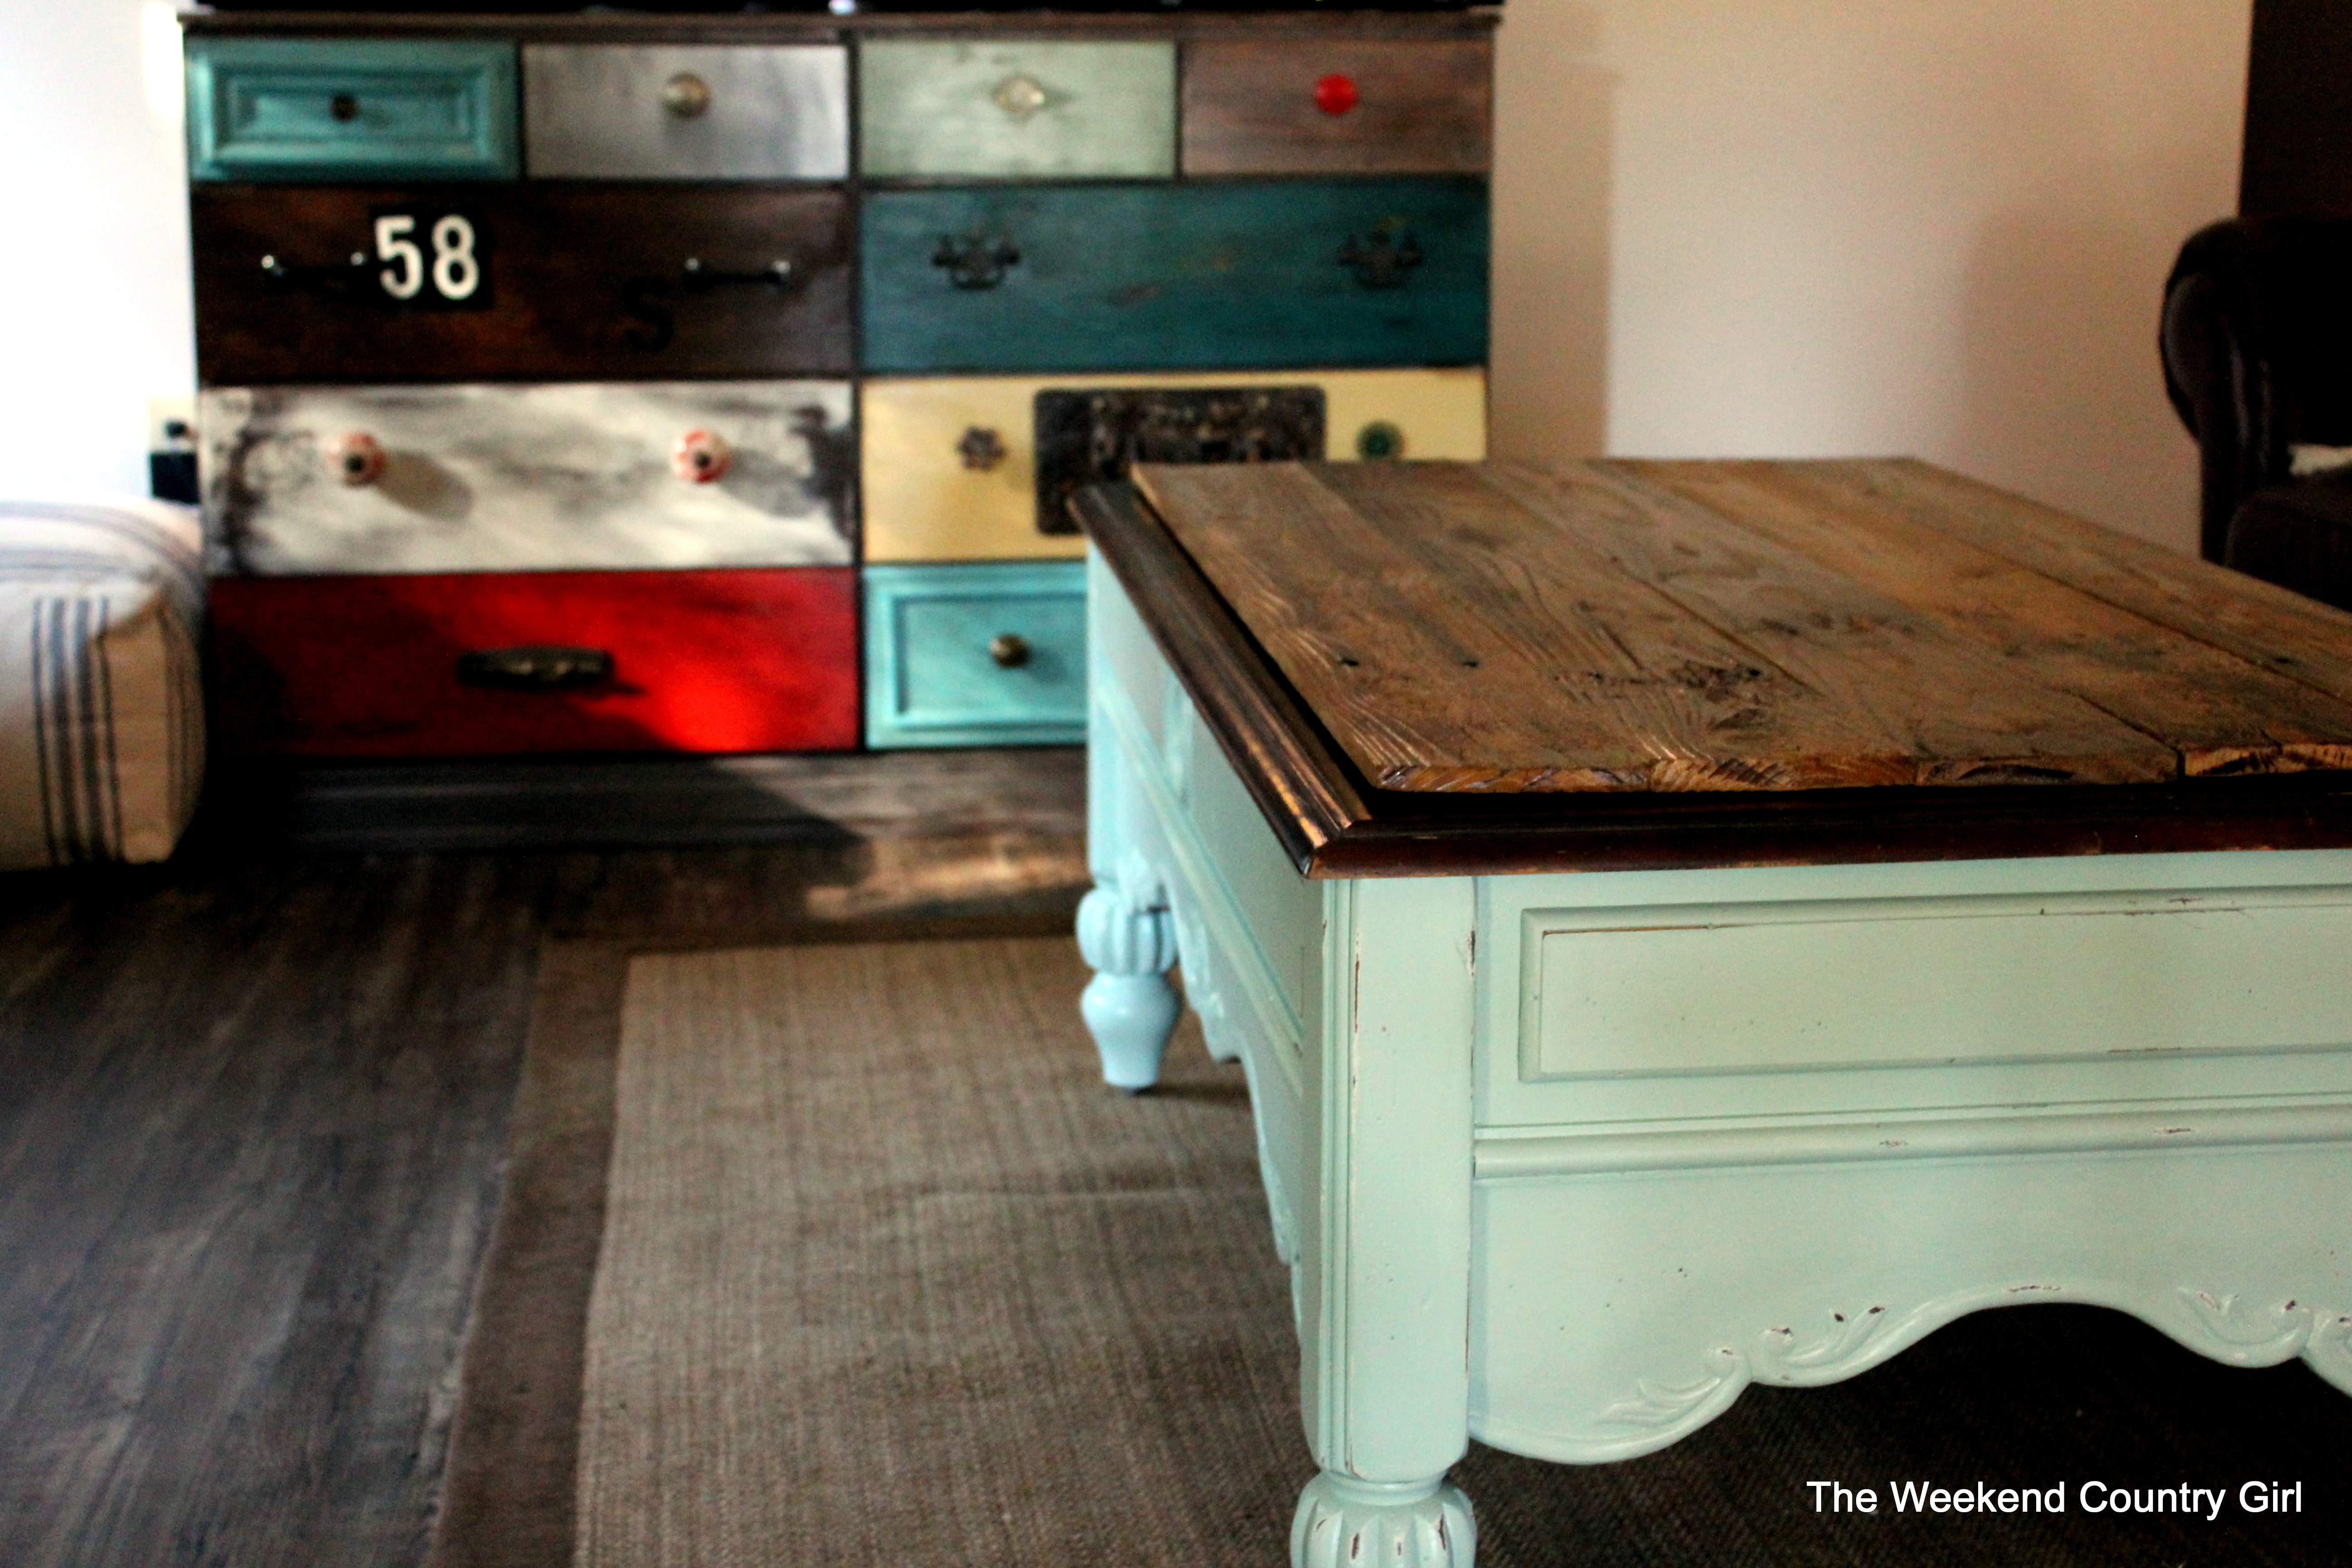
The Almost Finished Mudroom Bench
Karen
January 27, 2016
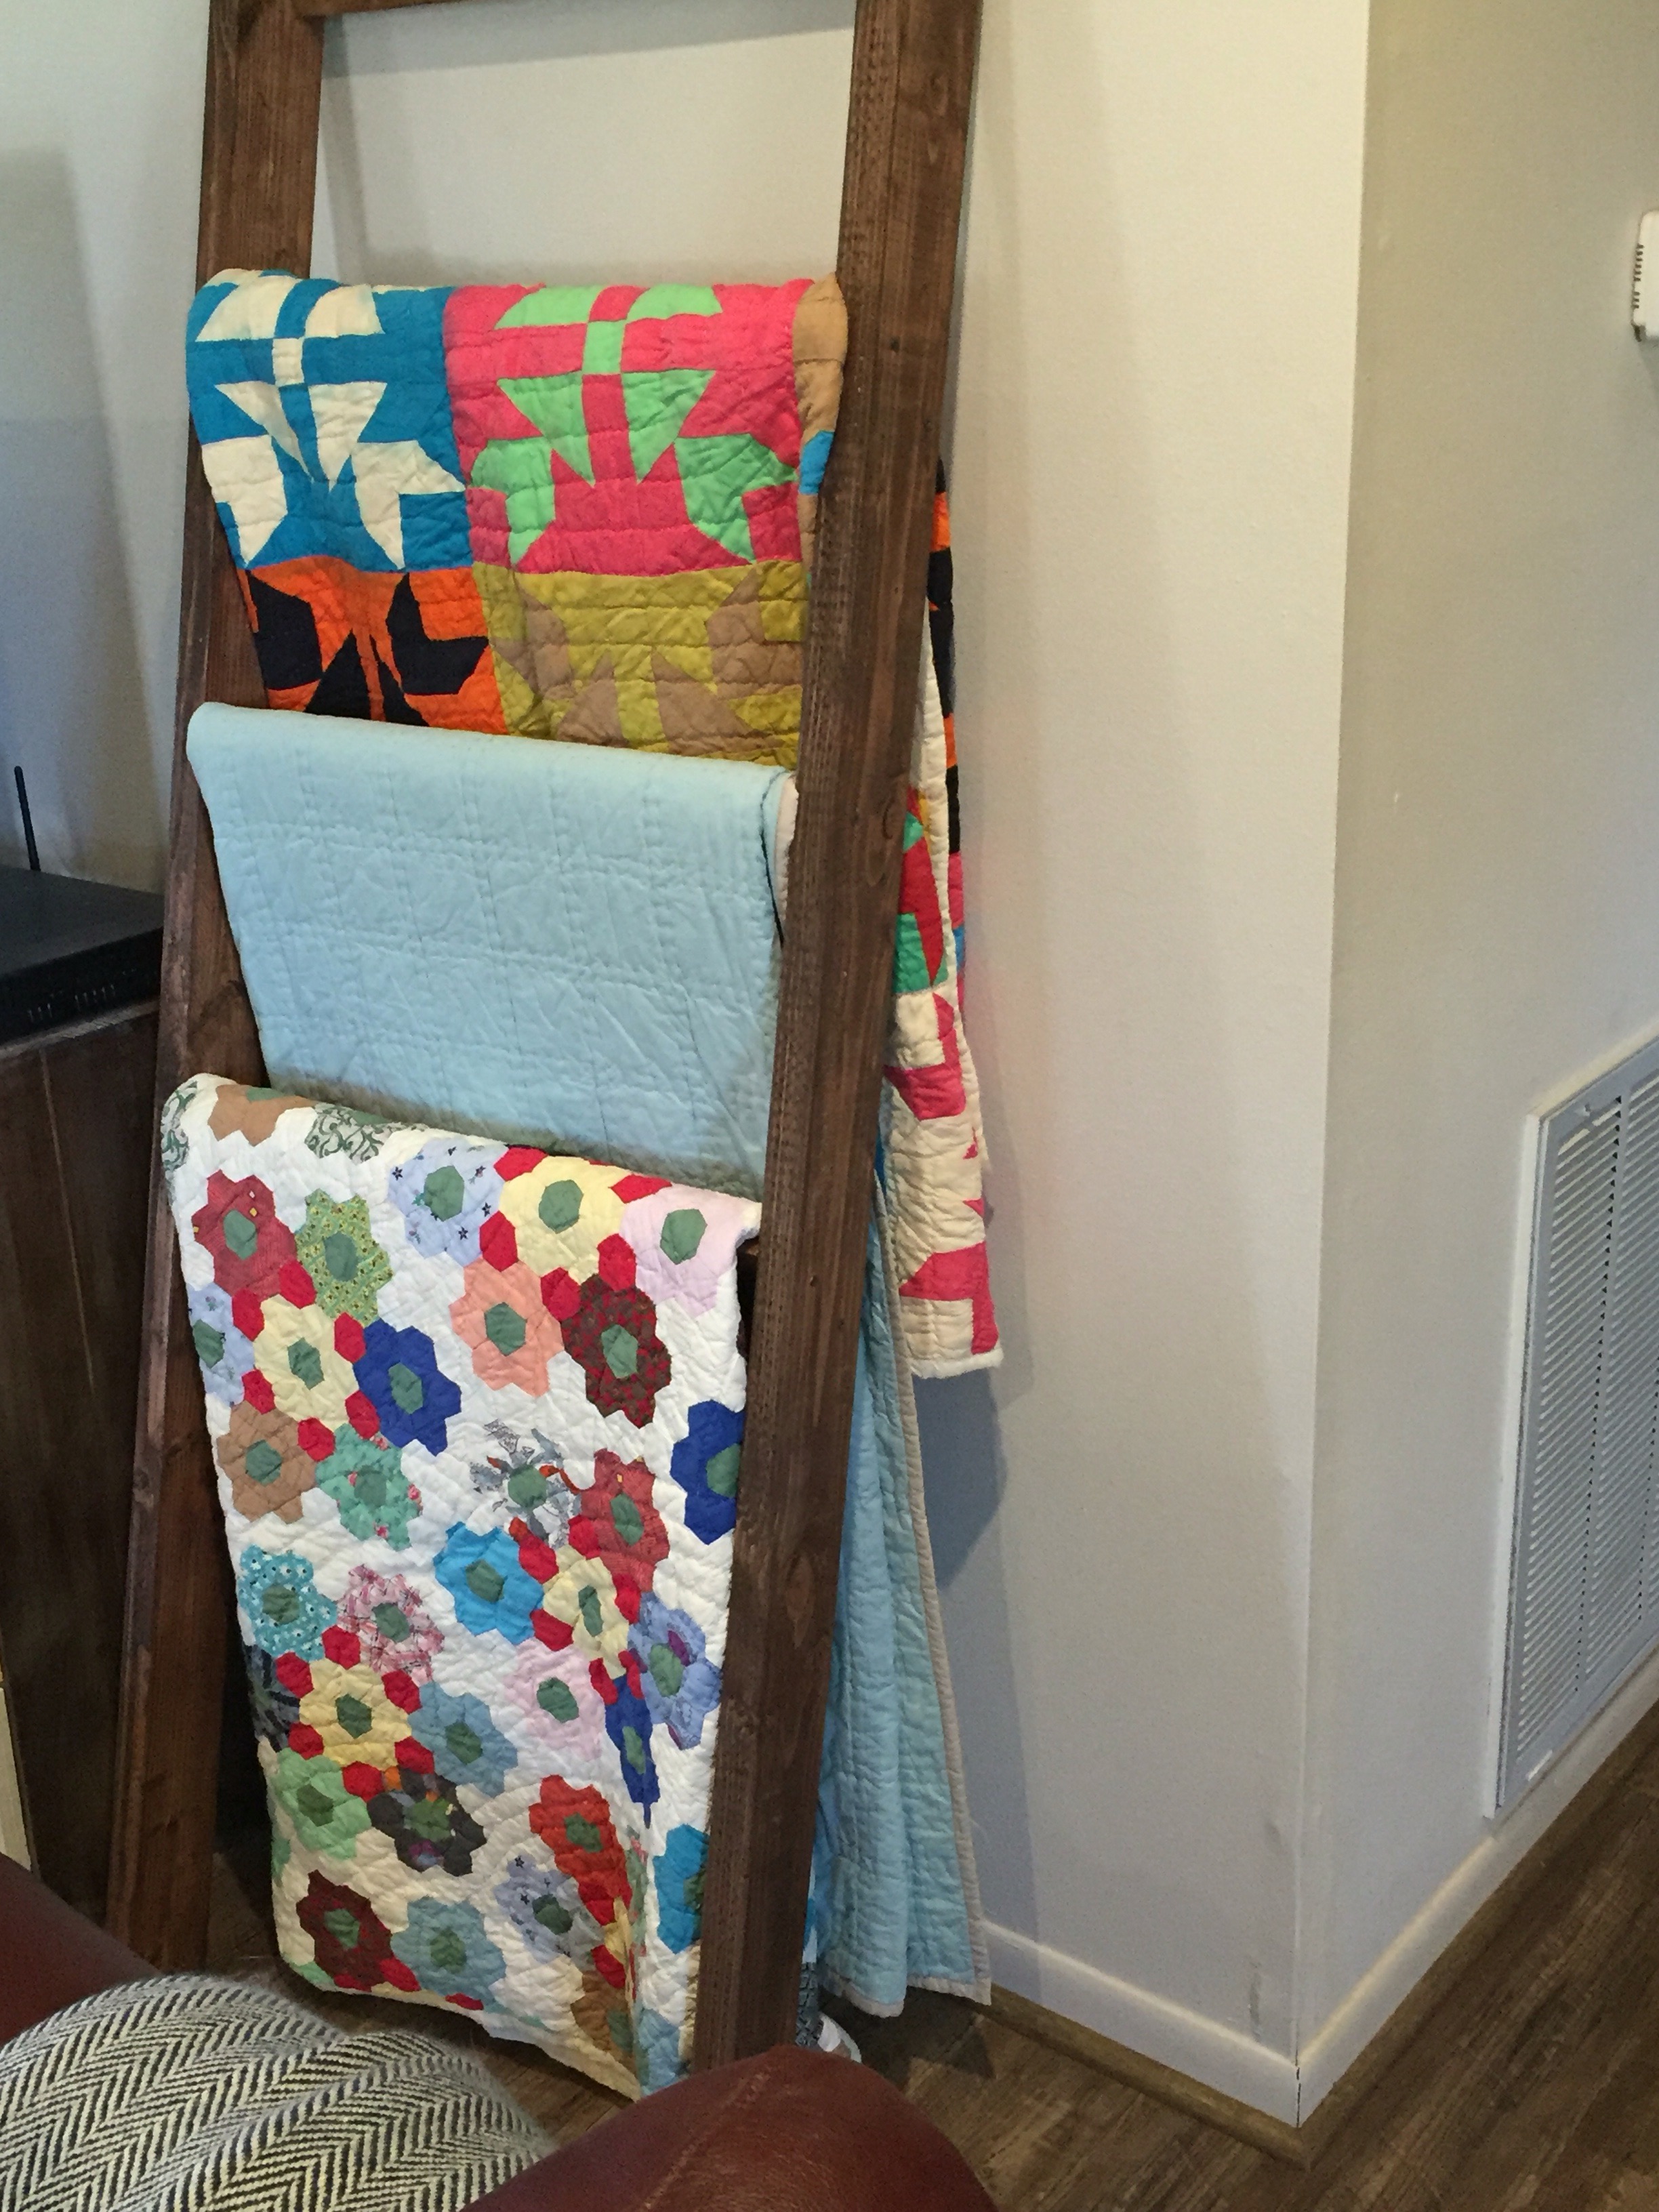
Quilt Ladder DIY
Karen
January 6, 2016
Making a Coffee Bar
Karen
January 5, 2016
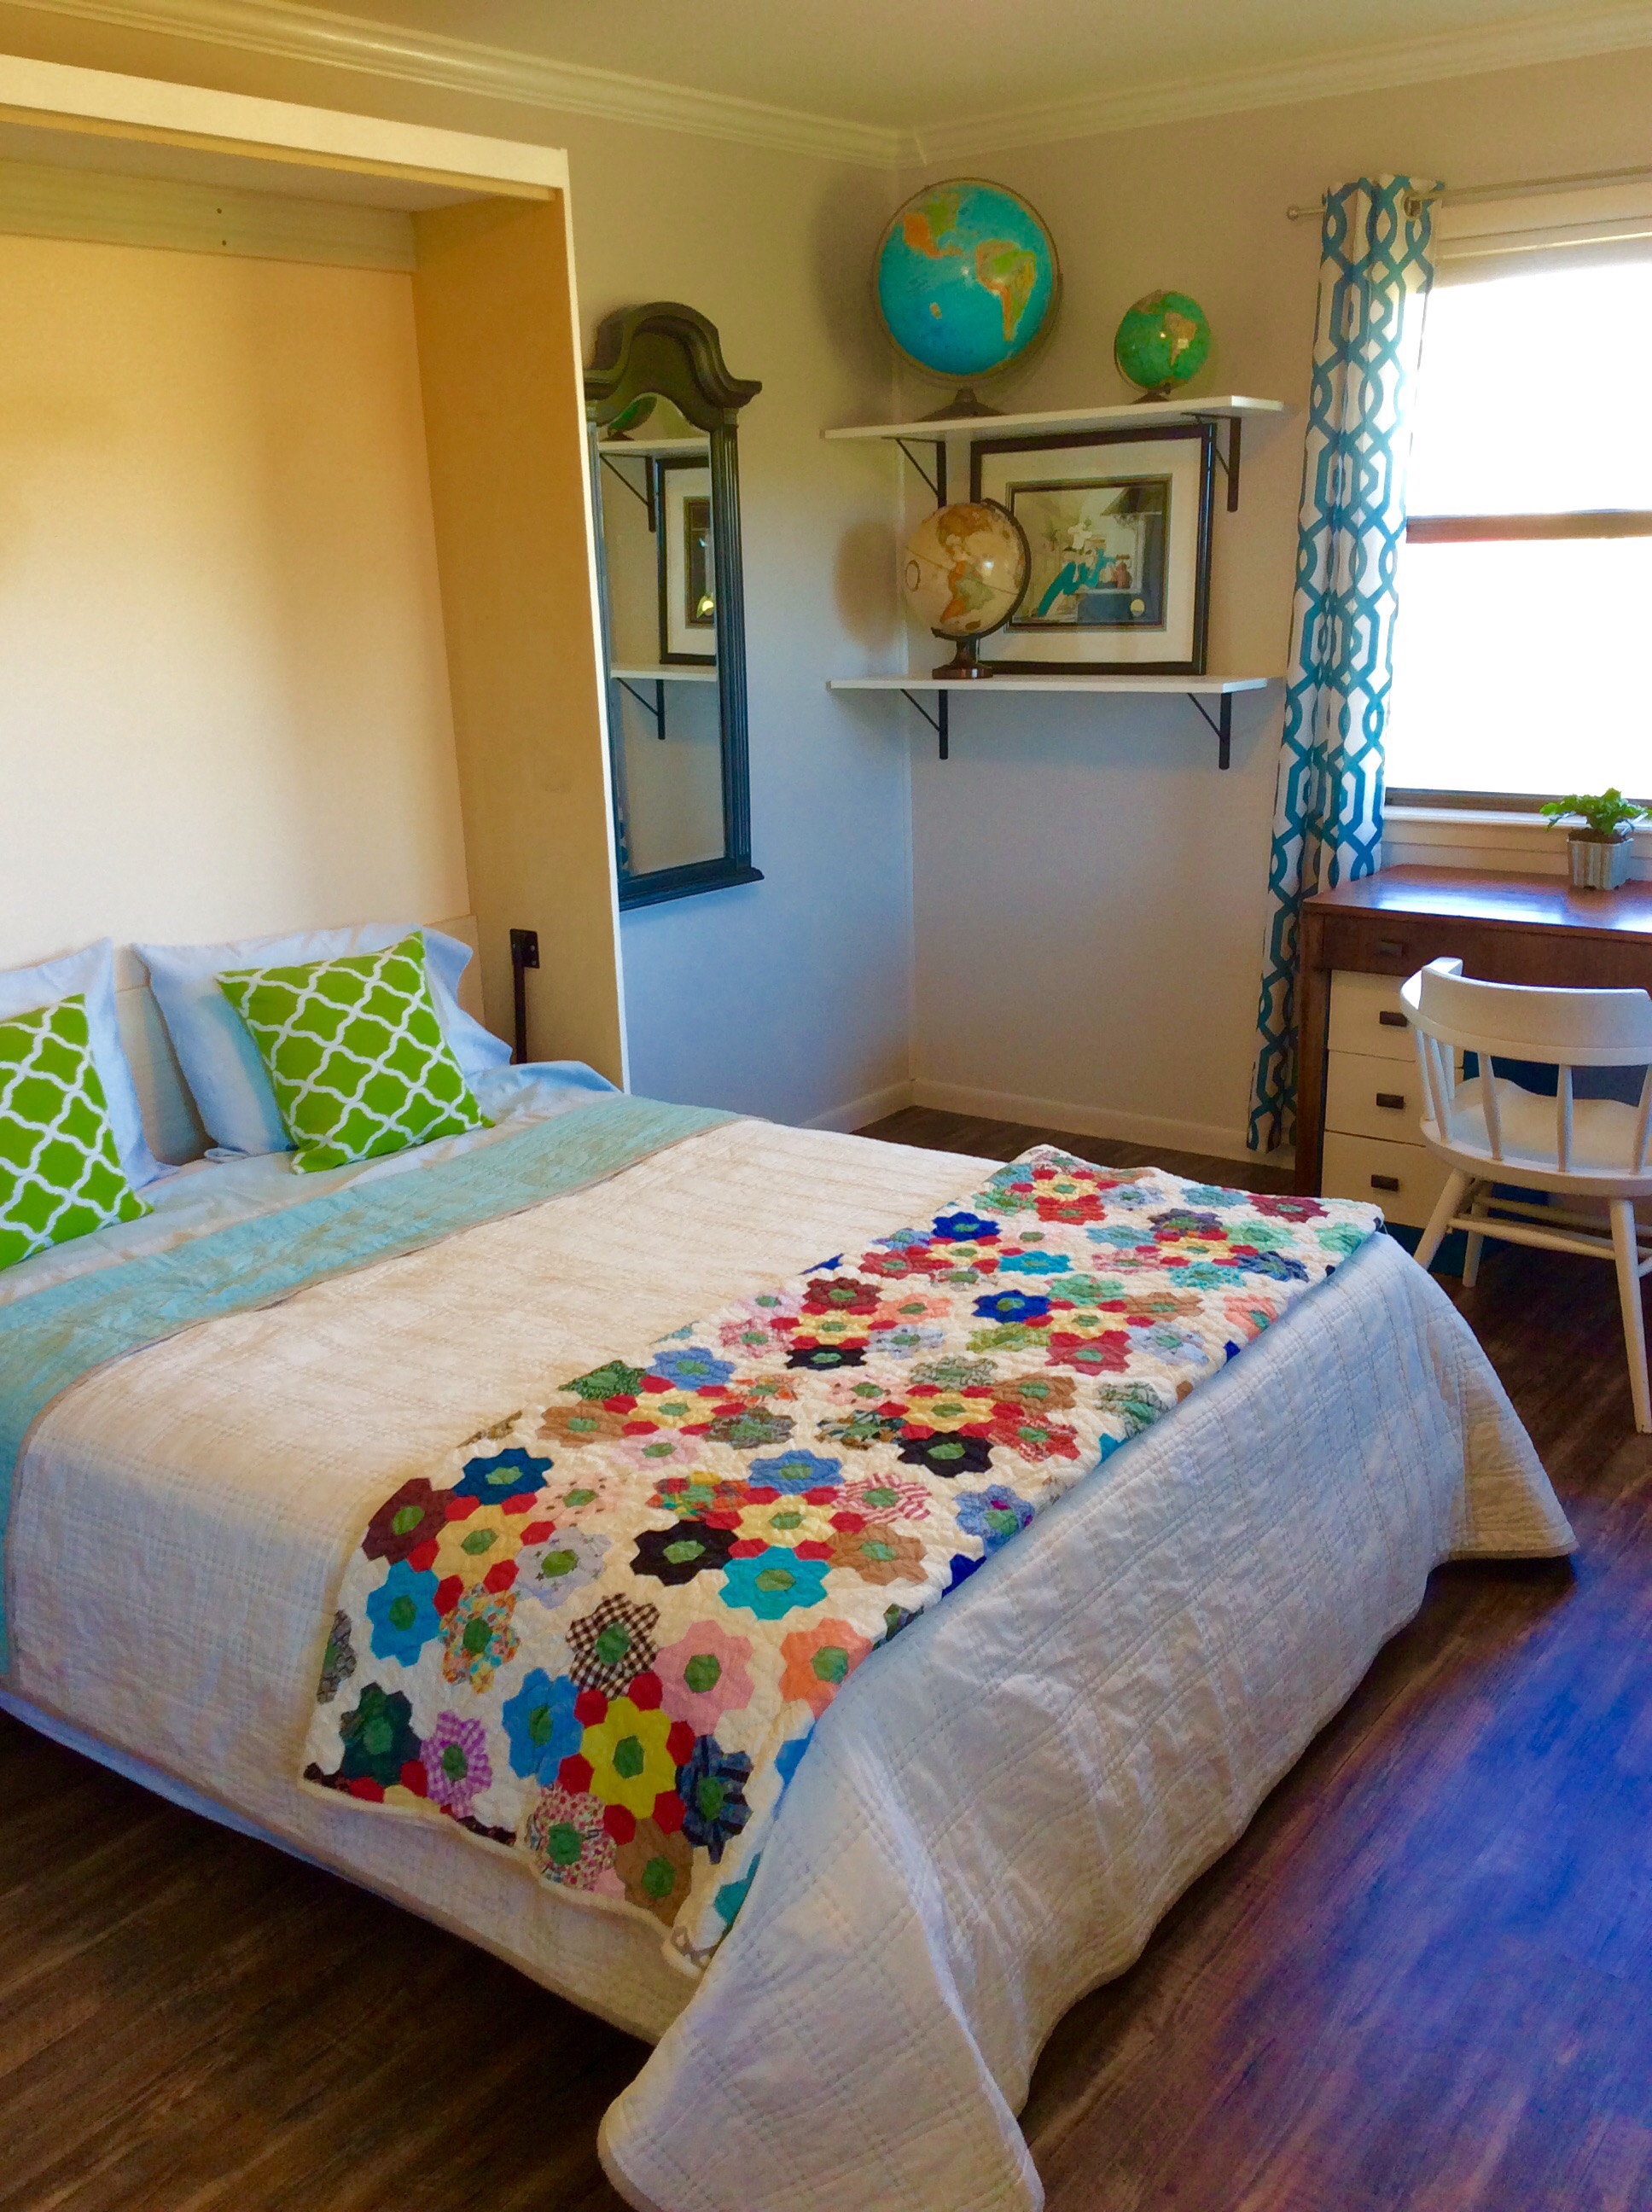
Craft/ Guest Room Update
Karen
December 15, 2015
Murphy Bed
Karen
October 6, 2015
The Flooring Reveal
Karen
1
2
3
4
Next Page
Archives
Health
.
Fashion
.
Food
.
Shopping
.
Events
.
Fiction
.
Travel
.
Japan
.
Education
.
Loading Comments...
Write a Comment...
Email (Required)
Name (Required)
Website