Facebook
Twitter
Instagram
TikTok
YouTube
Search
The Weekend Country Girl
Before and After
Blog
Sand Creek Cottage
The Cast of Characters
The Corner of 8th and M
The Redneck Retreat
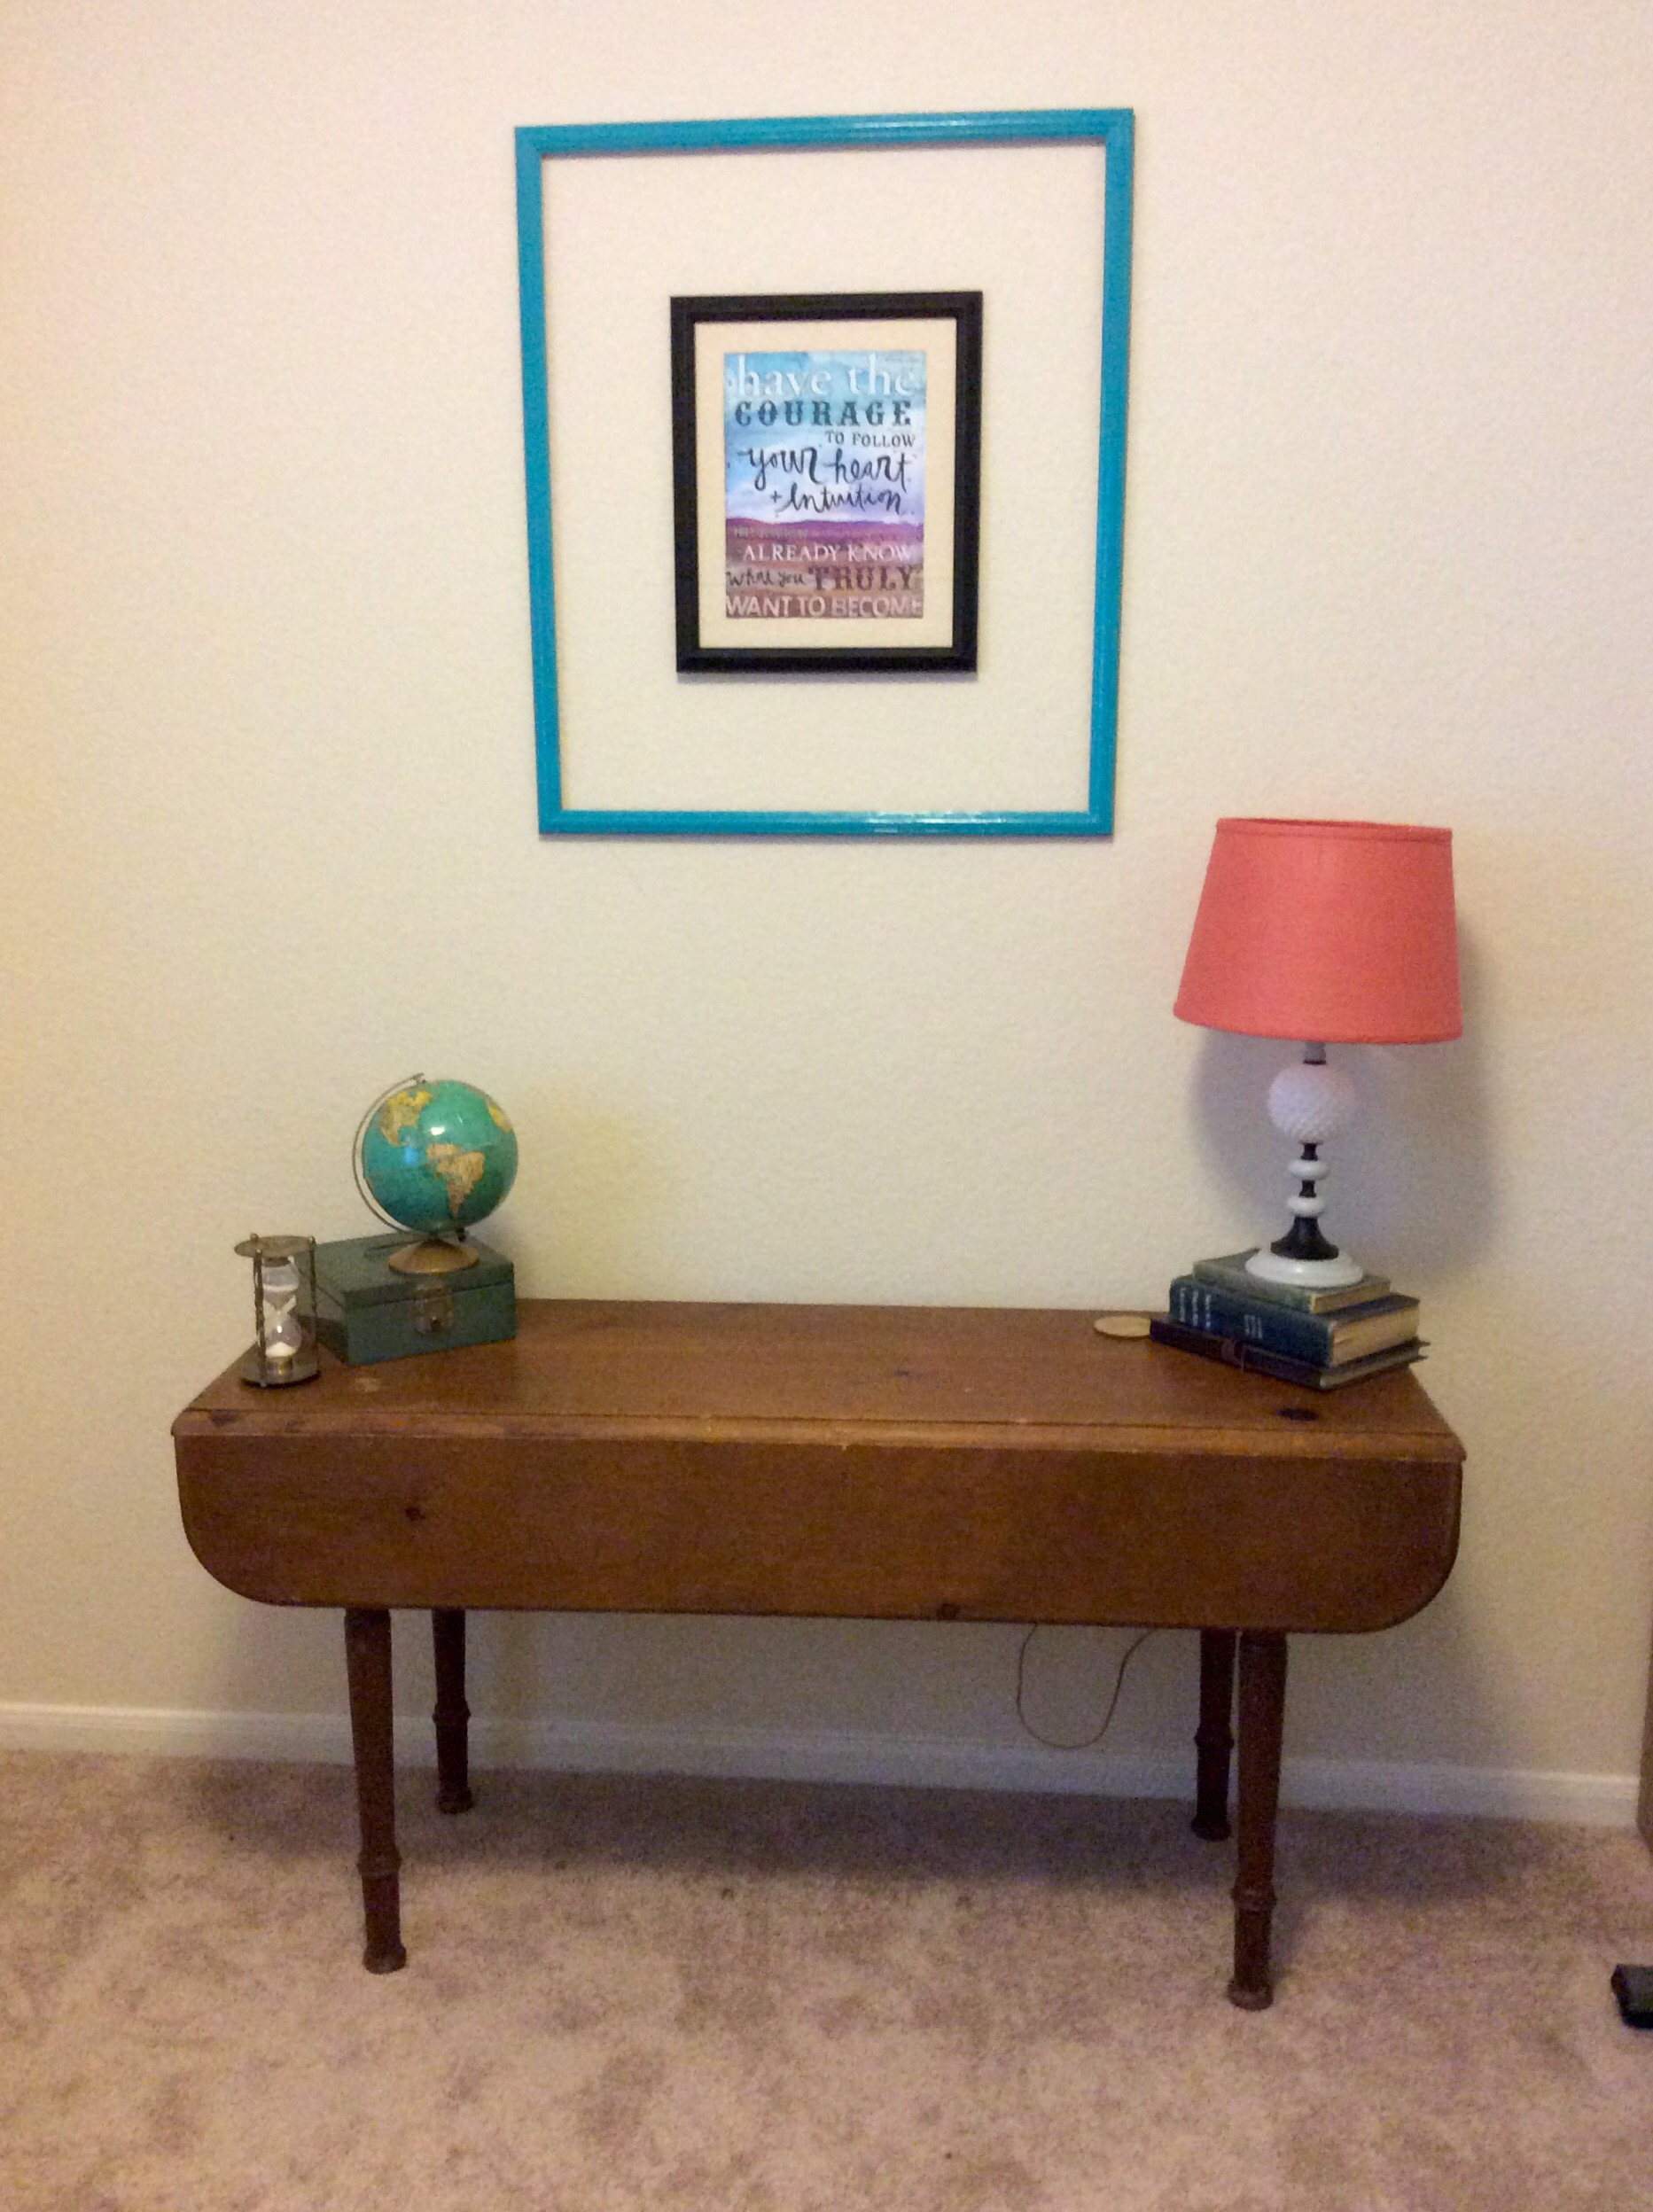
repurposed frame
July 21, 2015
Quick Home Office Makeover
Karen
August 25, 2013
How to Find Treasures at Garage Sales
Karen
January 29, 2013
Valentine’s Mantle
Karen
January 8, 2013
Turning Ugly Frames Into Key Holders
Karen
November 8, 2012
Finished Yellow and Grey Guestroom
Karen
October 30, 2012
Finding Frames for the Charlotte Wedding
Karen
October 15, 2012
Five Dollar Art for the Yellow and Gray Bedroom
Karen
July 17, 2012
DIY Framed Chalkboard
Karen
Archives
Health
.
Fashion
.
Food
.
Shopping
.
Events
.
Fiction
.
Travel
.
Japan
.
Education
.
Loading Comments...
Write a Comment...
Email (Required)
Name (Required)
Website