Facebook
Twitter
Instagram
TikTok
YouTube
Search
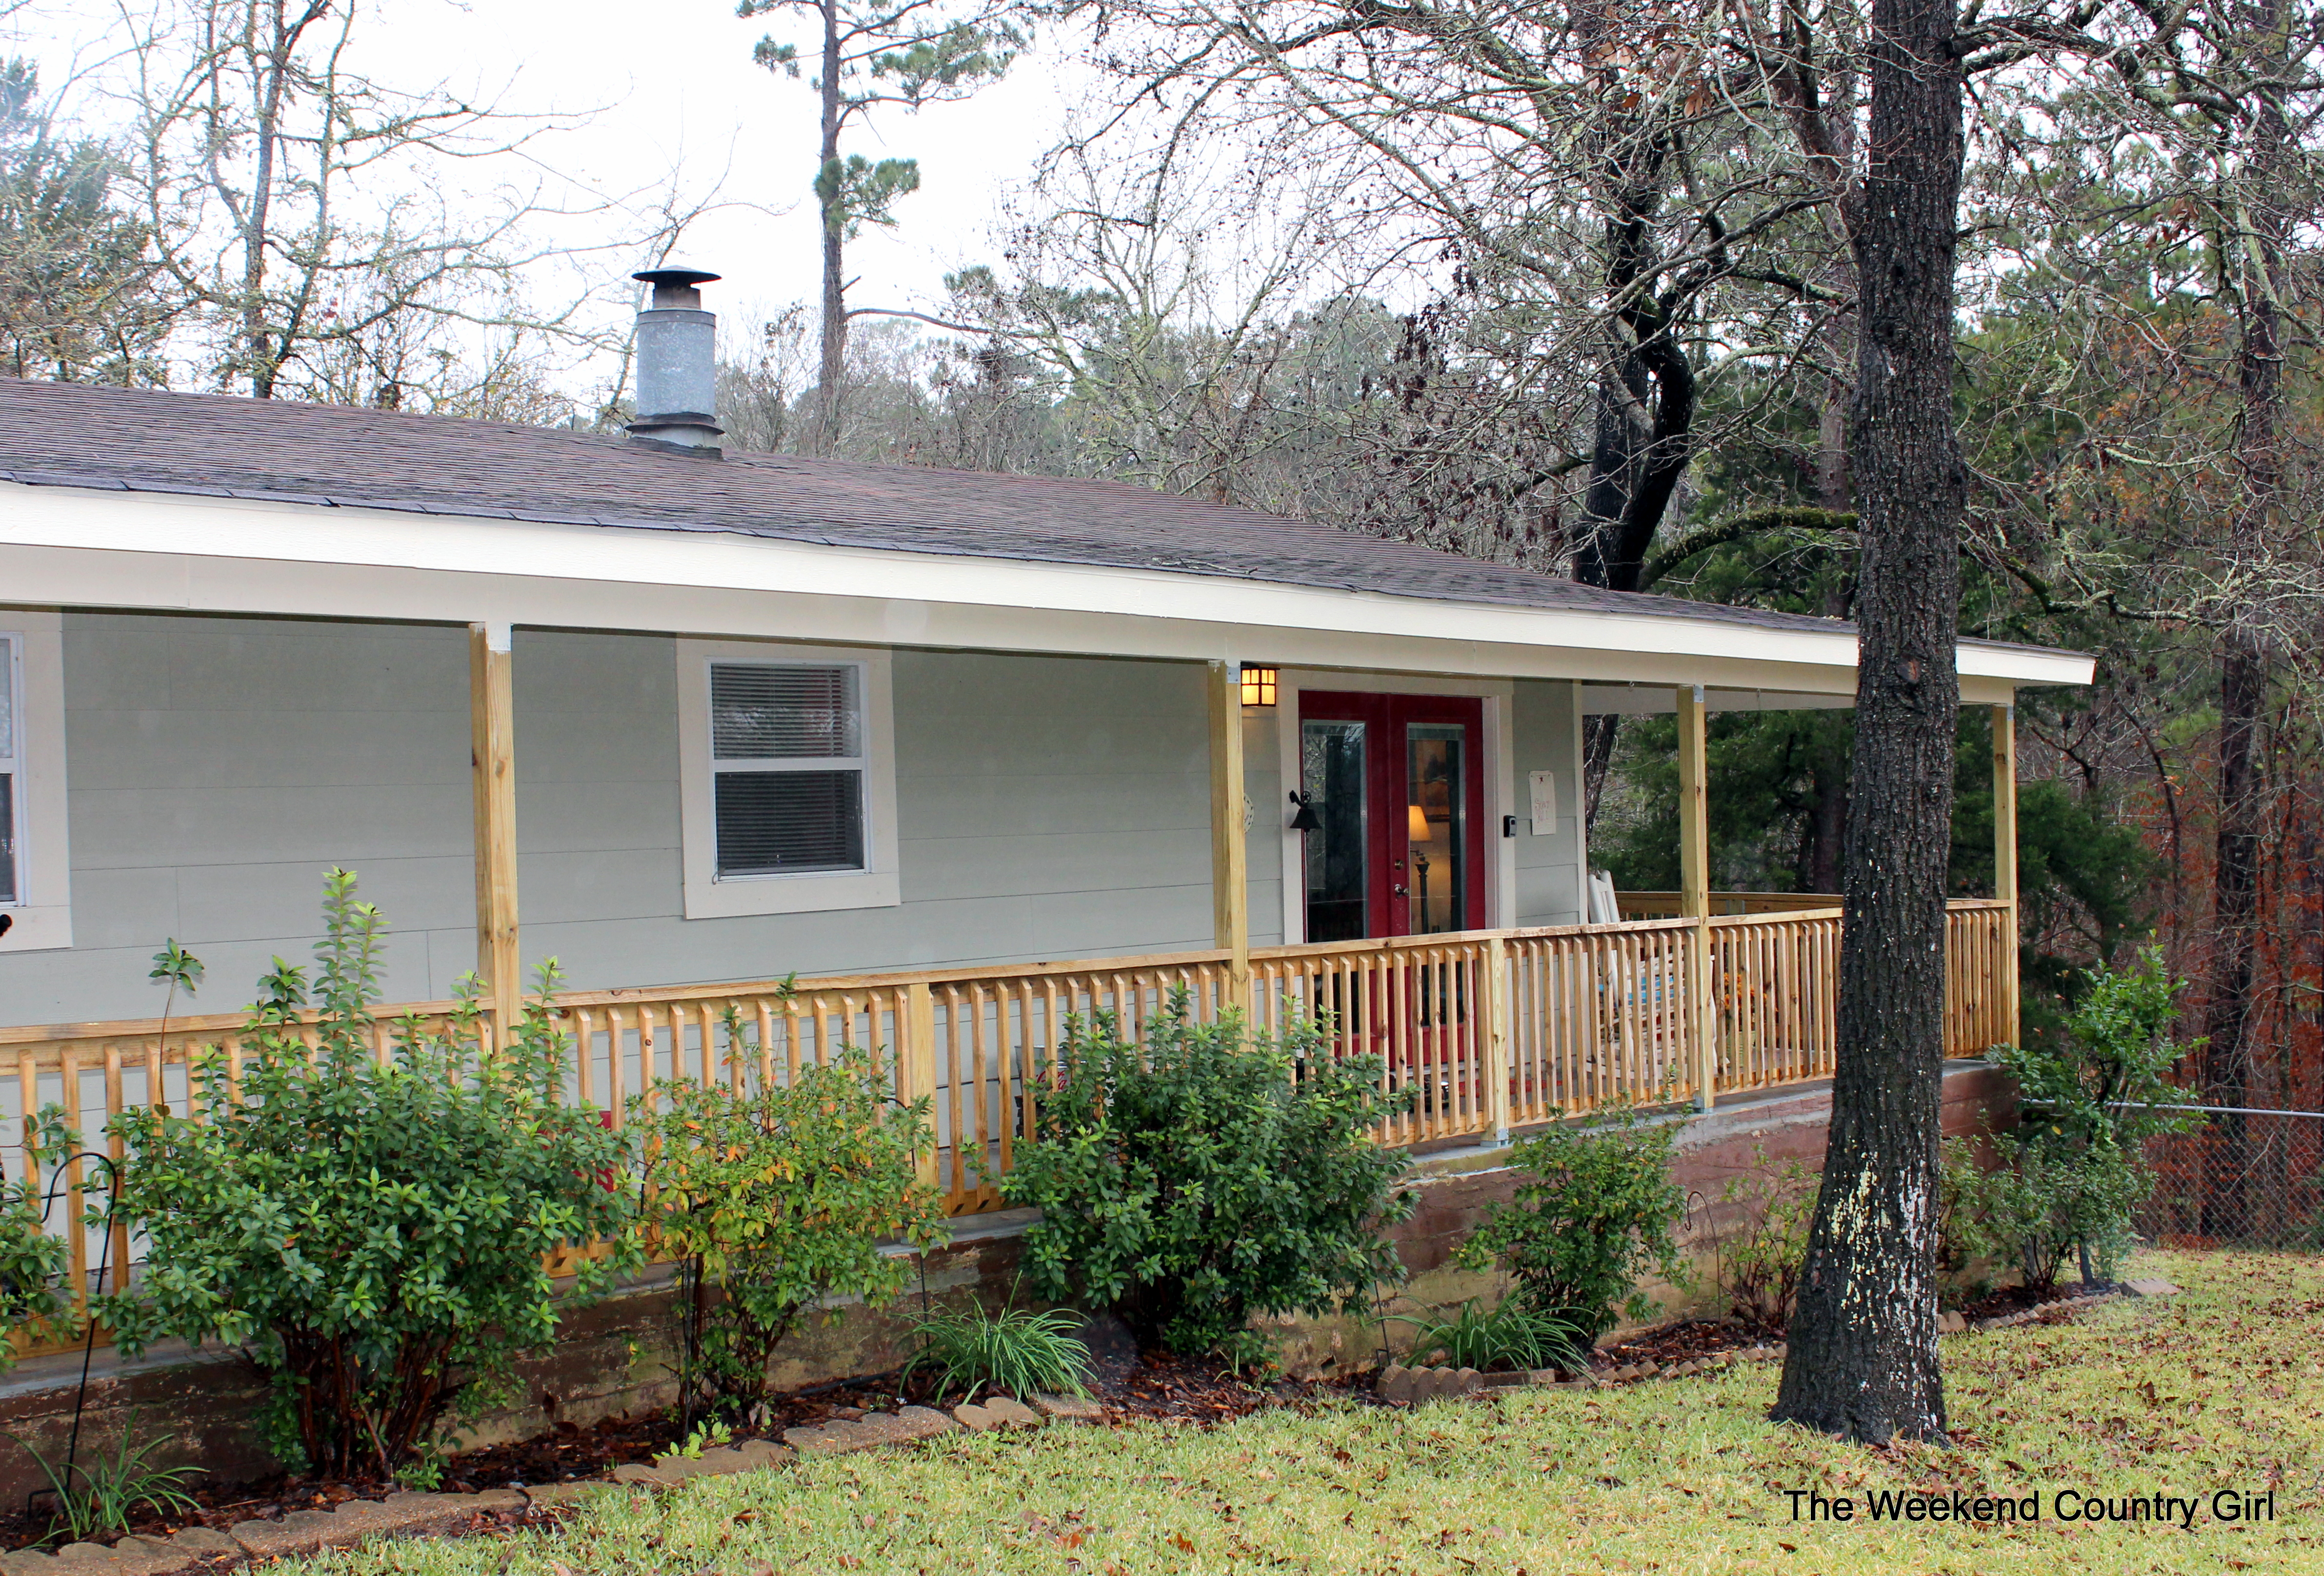
The Weekend Country Girl
Before and After
Blog
Sand Creek Cottage
The Cast of Characters
The Corner of 8th and M
The Redneck Retreat
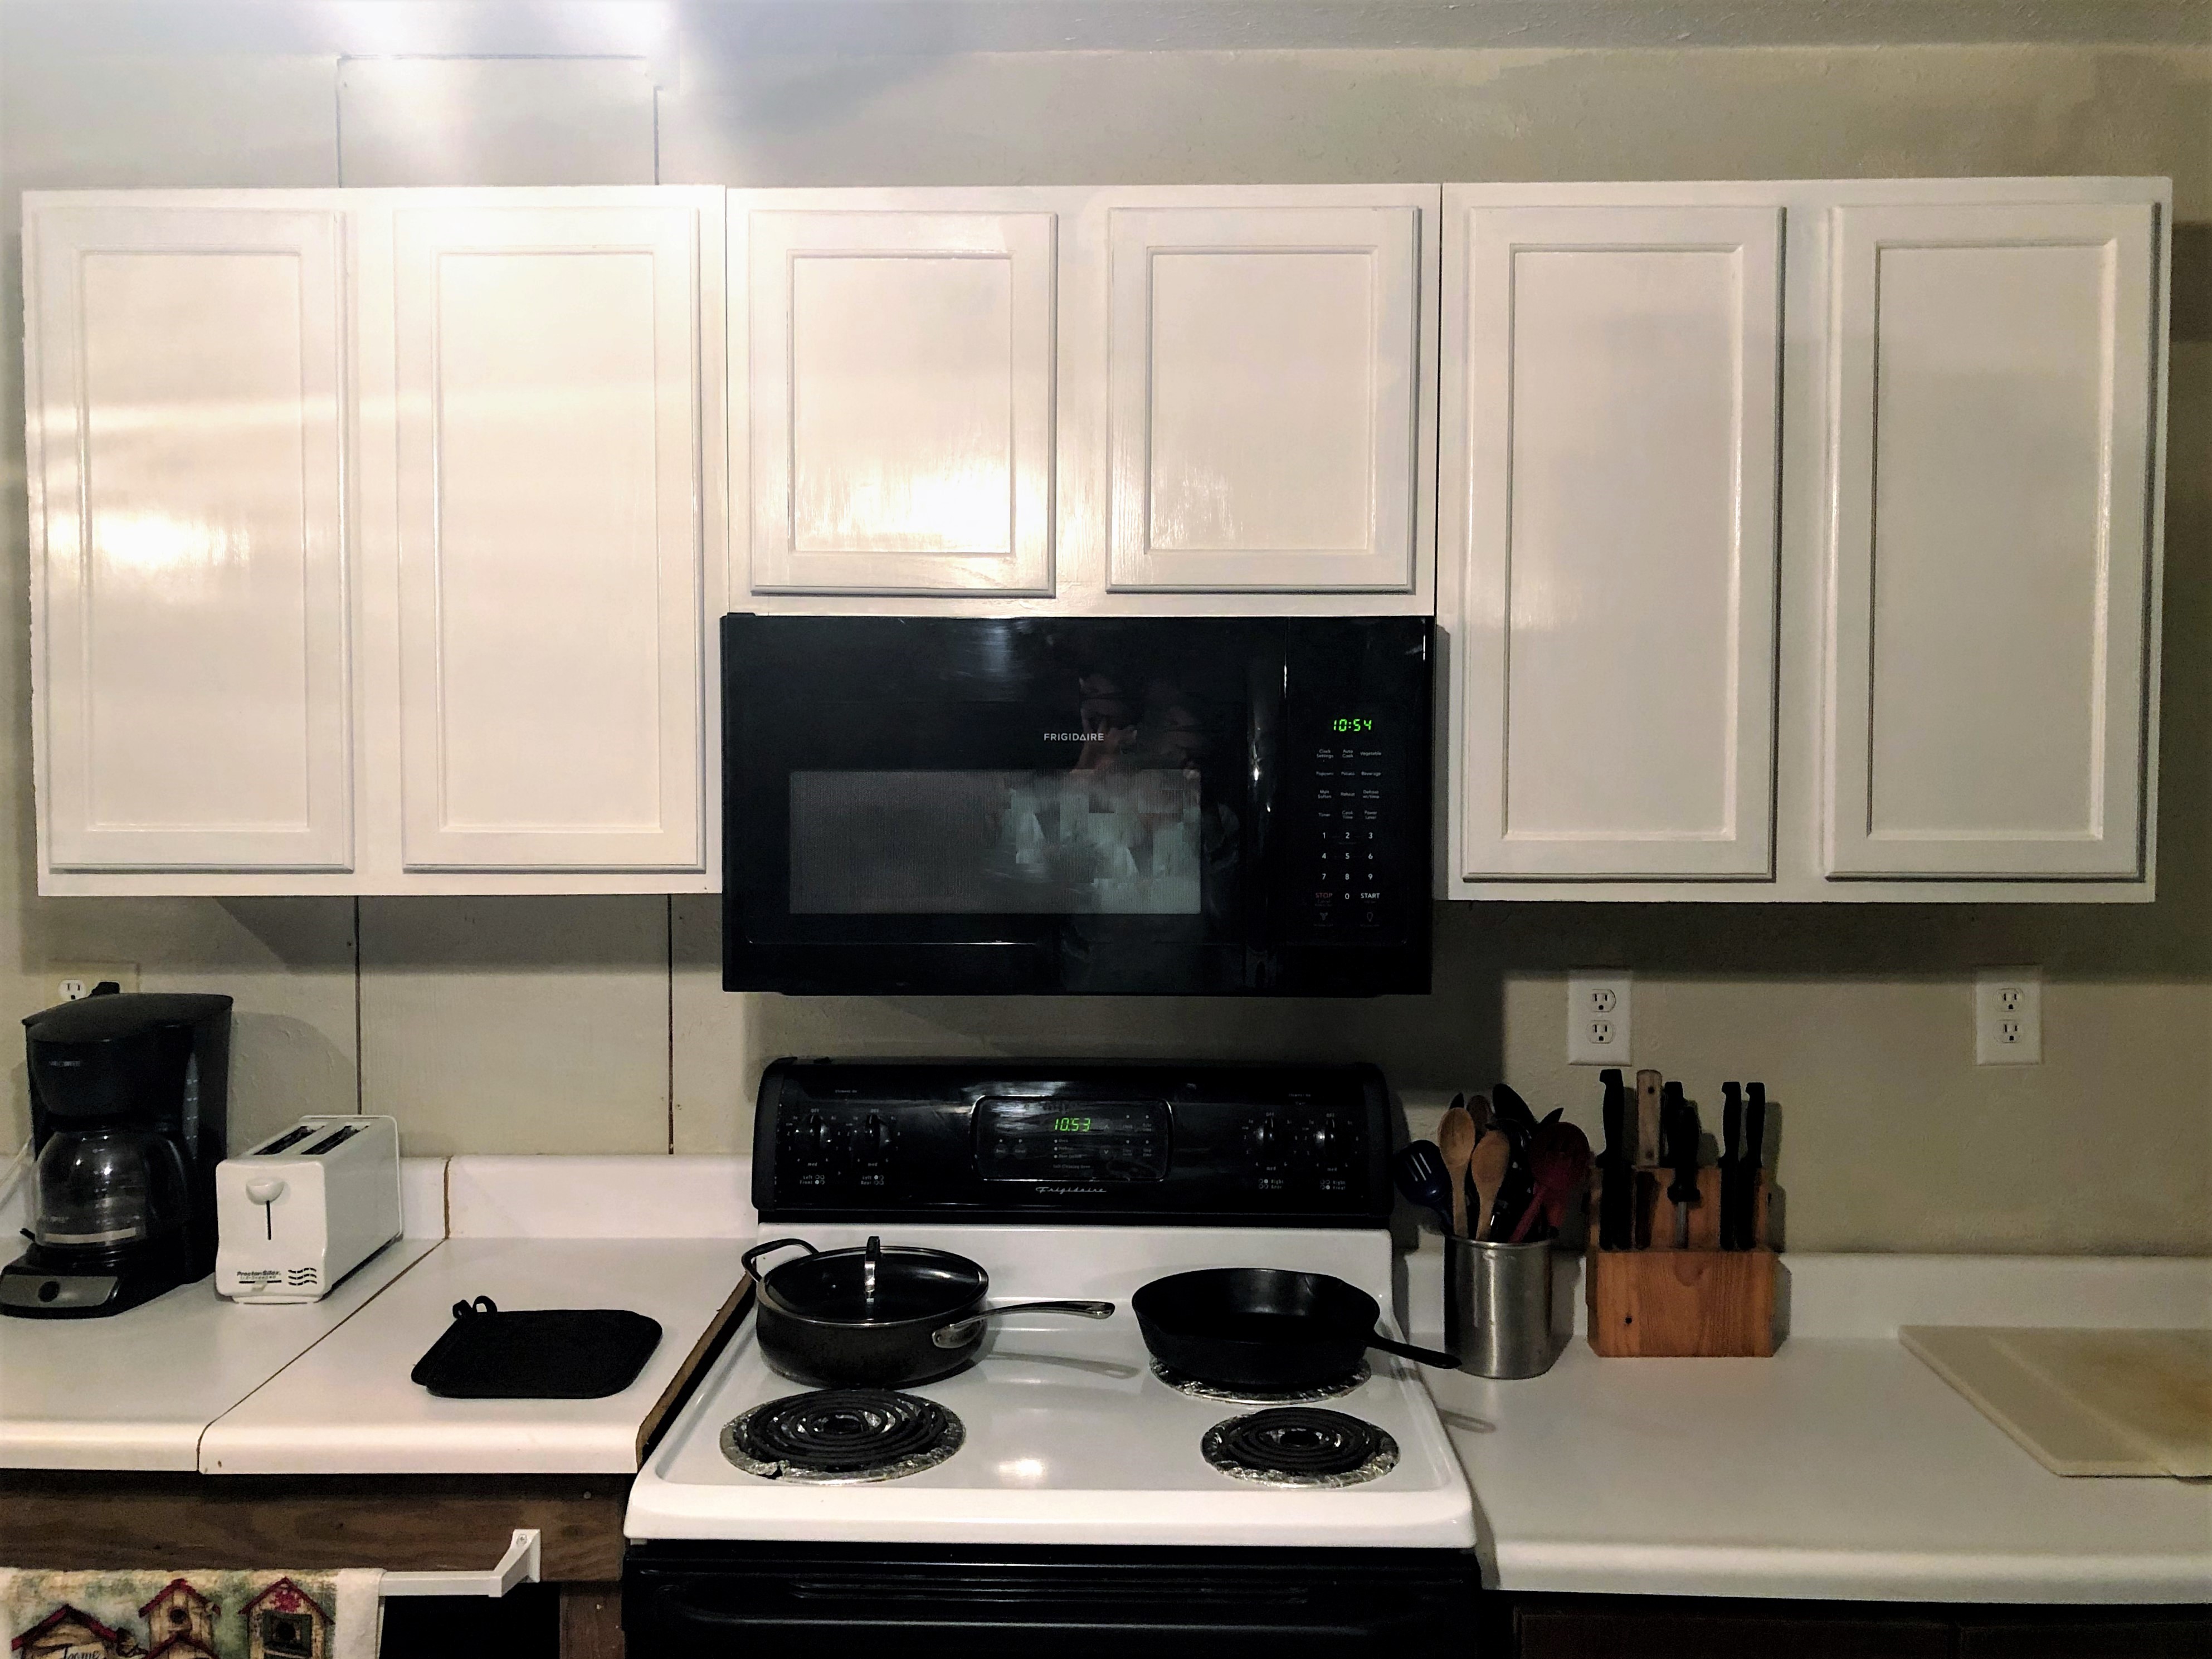
kitchen storage
April 8, 2020
Kitchen Plans
Karen
March 5, 2020
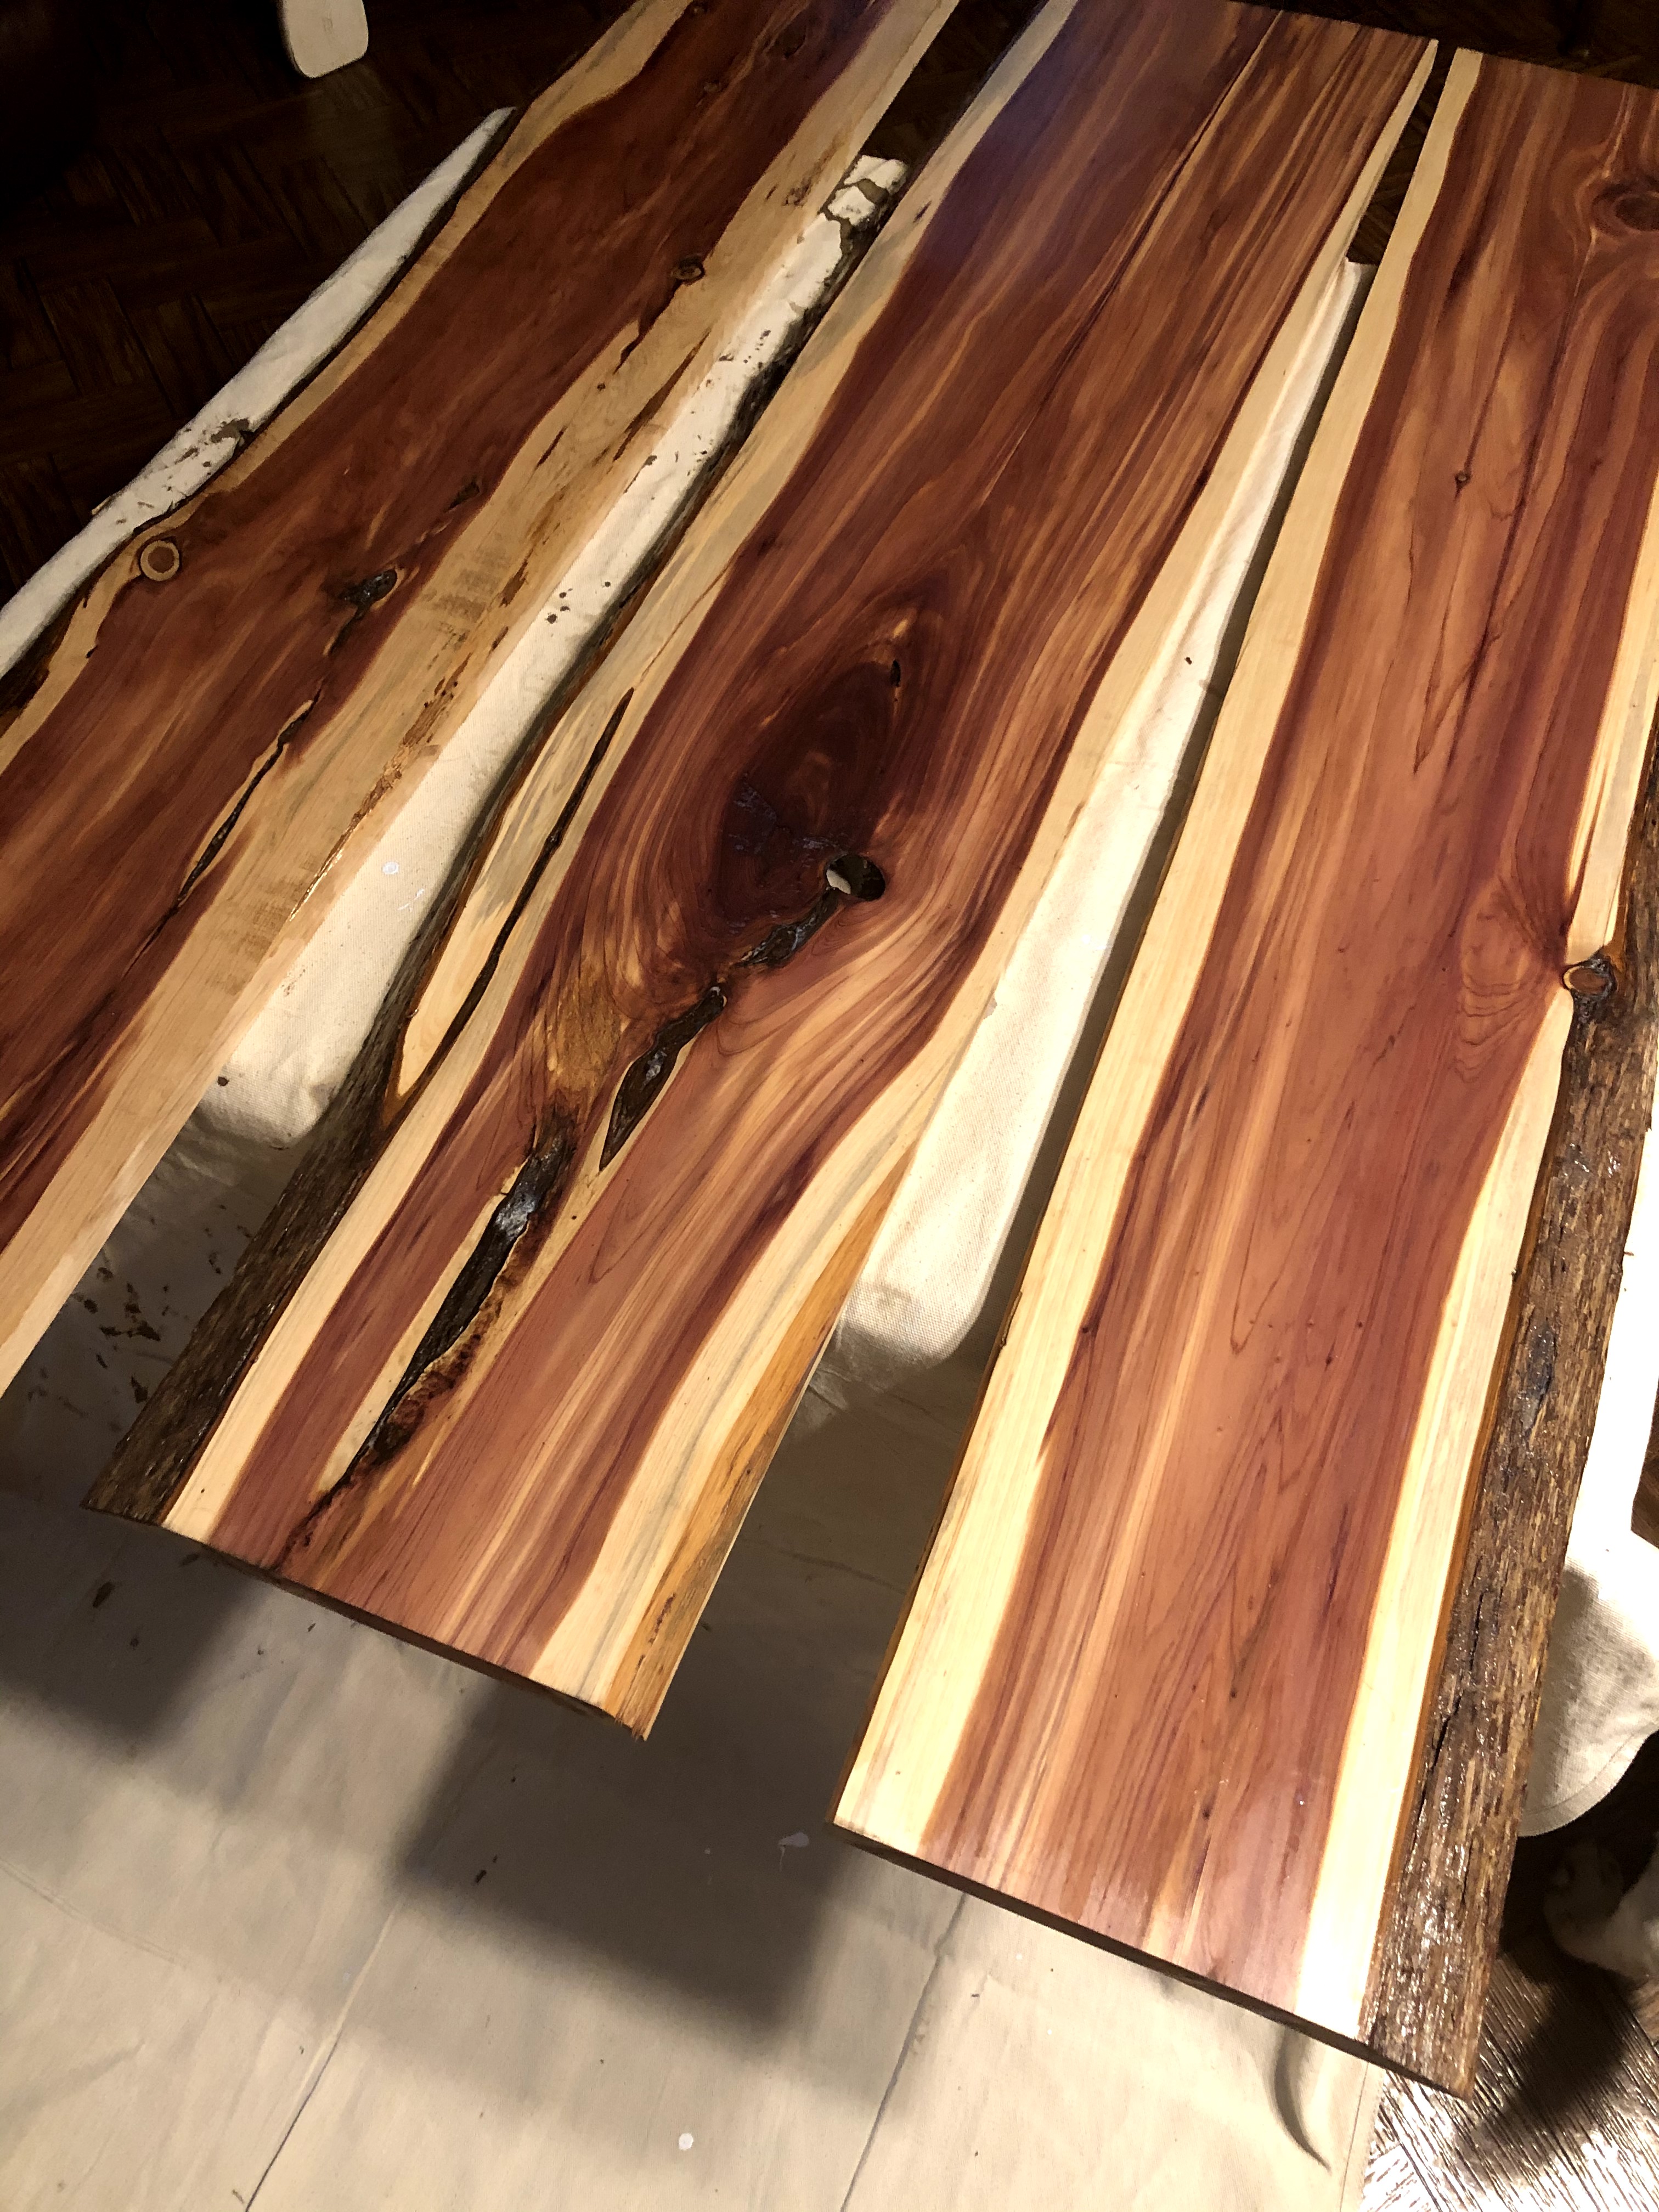
Open Live Edge Shelving
Karen
February 21, 2020
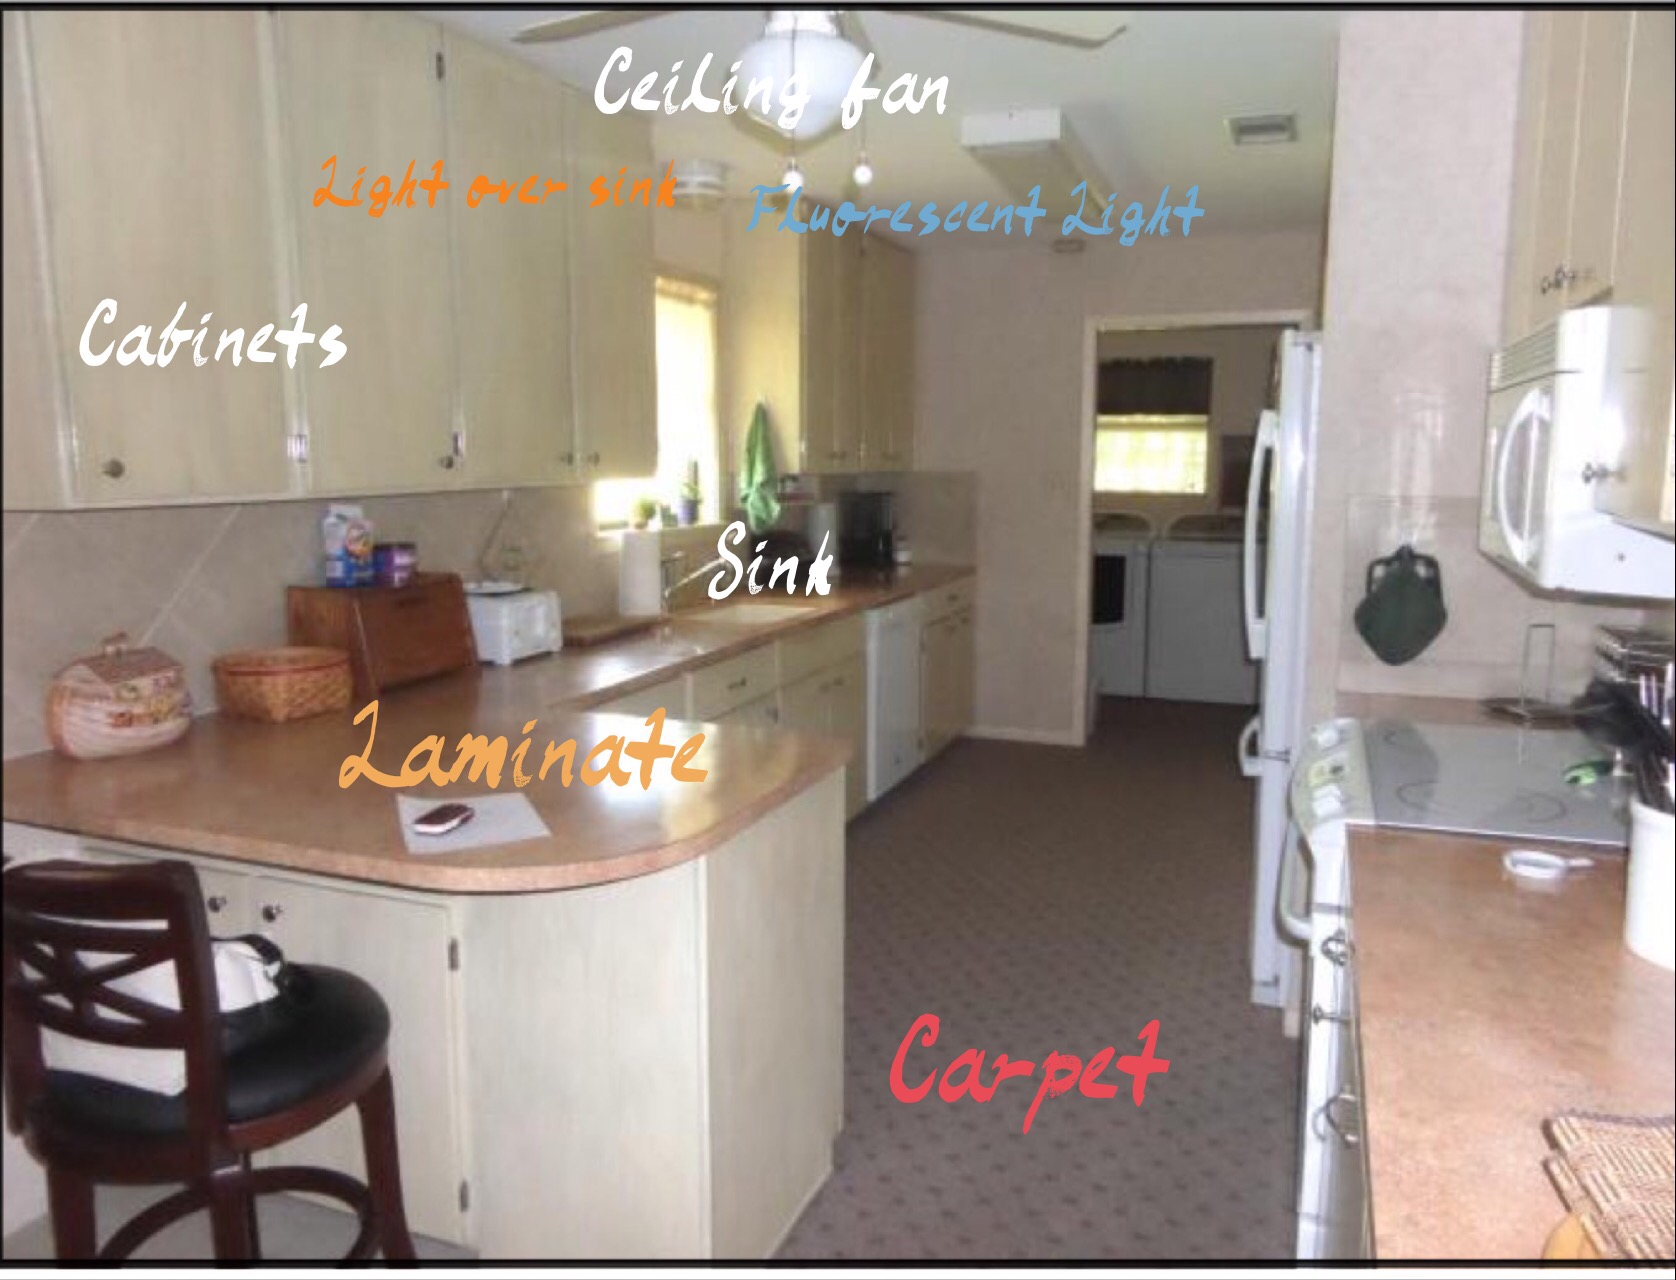
Kitchen Work at the Redneck Retreat
Karen
July 20, 2015
Our First Project- The Kitchen
Karen
April 9, 2015
Interior Photos of the Soon to be New Home
Karen
January 15, 2015
Selling Star Hill
Karen
October 8, 2013
An Unconventional Kitchen Island
Karen
July 16, 2012
Project Weekend
Karen
Archives
Health
.
Fashion
.
Food
.
Shopping
.
Events
.
Fiction
.
Travel
.
Japan
.
Education
.
Loading Comments...
Write a Comment...
Email (Required)
Name (Required)
Website